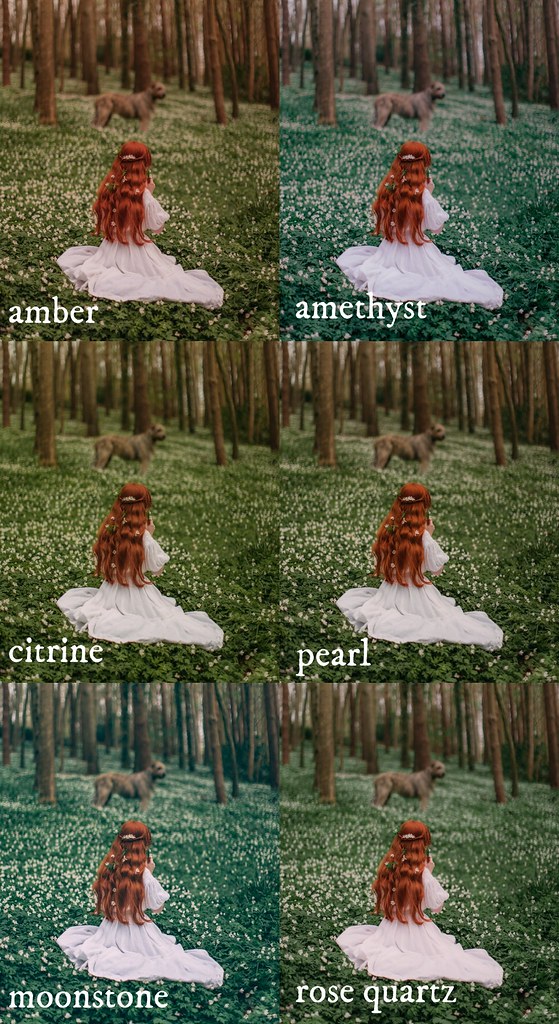
I never really do posts showing how I edit my pictures, largely because I have a lot of difficult articulating my process and because I have no idea what I'm doing! In photography shooting and editing I'm self-taught; the only photography class I ever took was one on film photography and much of the focus was on developing our own film in the darkroom. So when I picked up a digital camera it was a completely different ball game with a dozen settings not available on my Dad's old Pentax and developing is miles apart from editing (although the latter is far easier since you're doing going to loose a photo or entire roll of film by accidentally mixing the wrong chemicals or something). I'm still not sure I can my editing in a step-by-step manner, but I thought I'd share some insight into my process and focus when it comes to editing. I also tend to work from scratch to edit my pictures these days, although I have created a few filters for A Color Story if you'd like some filters that can help replicate the "look" of my photographs. I also change up how I edit seasonally; things tend to be a lot cooler and darker in winter, but come spring and summer I want to warm everything up and shift to lighter, airier edits with less shadows and contrast. Ultimately I want to make my pictures look the way a scene or moment made me feel.


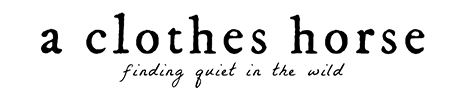
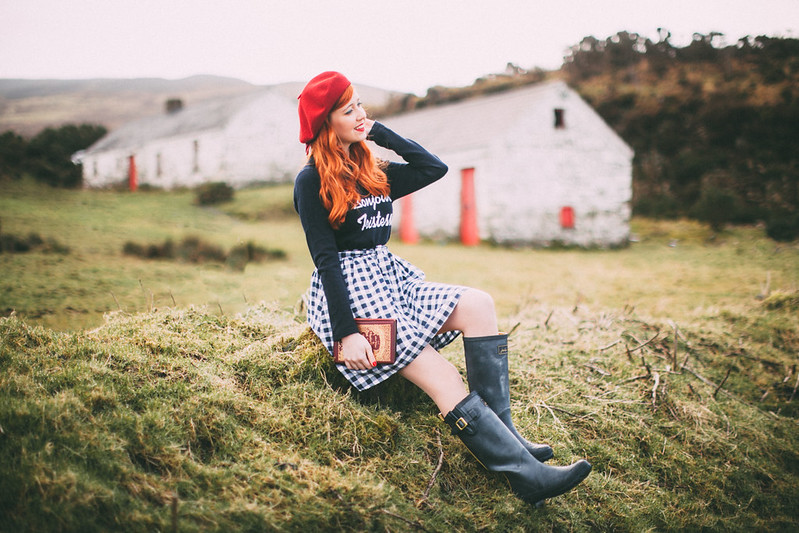
We shot these pictures on a pretty overcast day so the light was fairly blue/cool; I always like my pictures to have a warmer and slightly vintage feel to them so my focus on editing these pictures was to kick up the warm tones and add a bit of brightness to the pictures. Many of the days we shoot on are overcast days because that's typical of the weather here; a lot of people don't like overcast days but as long as it isn't raining, we don't mind shooting in overcast days at all. I also made the red pop a bit more because I felt the red windows on the white stone building were the focal points. On top of the color and brightness, I added a bit of grain to the pictures to give them more texture and a bit of vintage feel. In the second set of pictures above, you can also see I took out some of the little spiky bits of grass in the field on the right-hand side of the photo. I edit in Lightroom so there's limitations on the editing you can do vs Photoshop, but I do get a bit crazy with removing tiny flaws in the landscape. Shooting in cities can be a real pain because I'll spend five minutes color editing and an hour removing tiny bits of grime from the ground! Most of the time nature is so perfectly imperfect and lovely I don't have to remove much if anything.
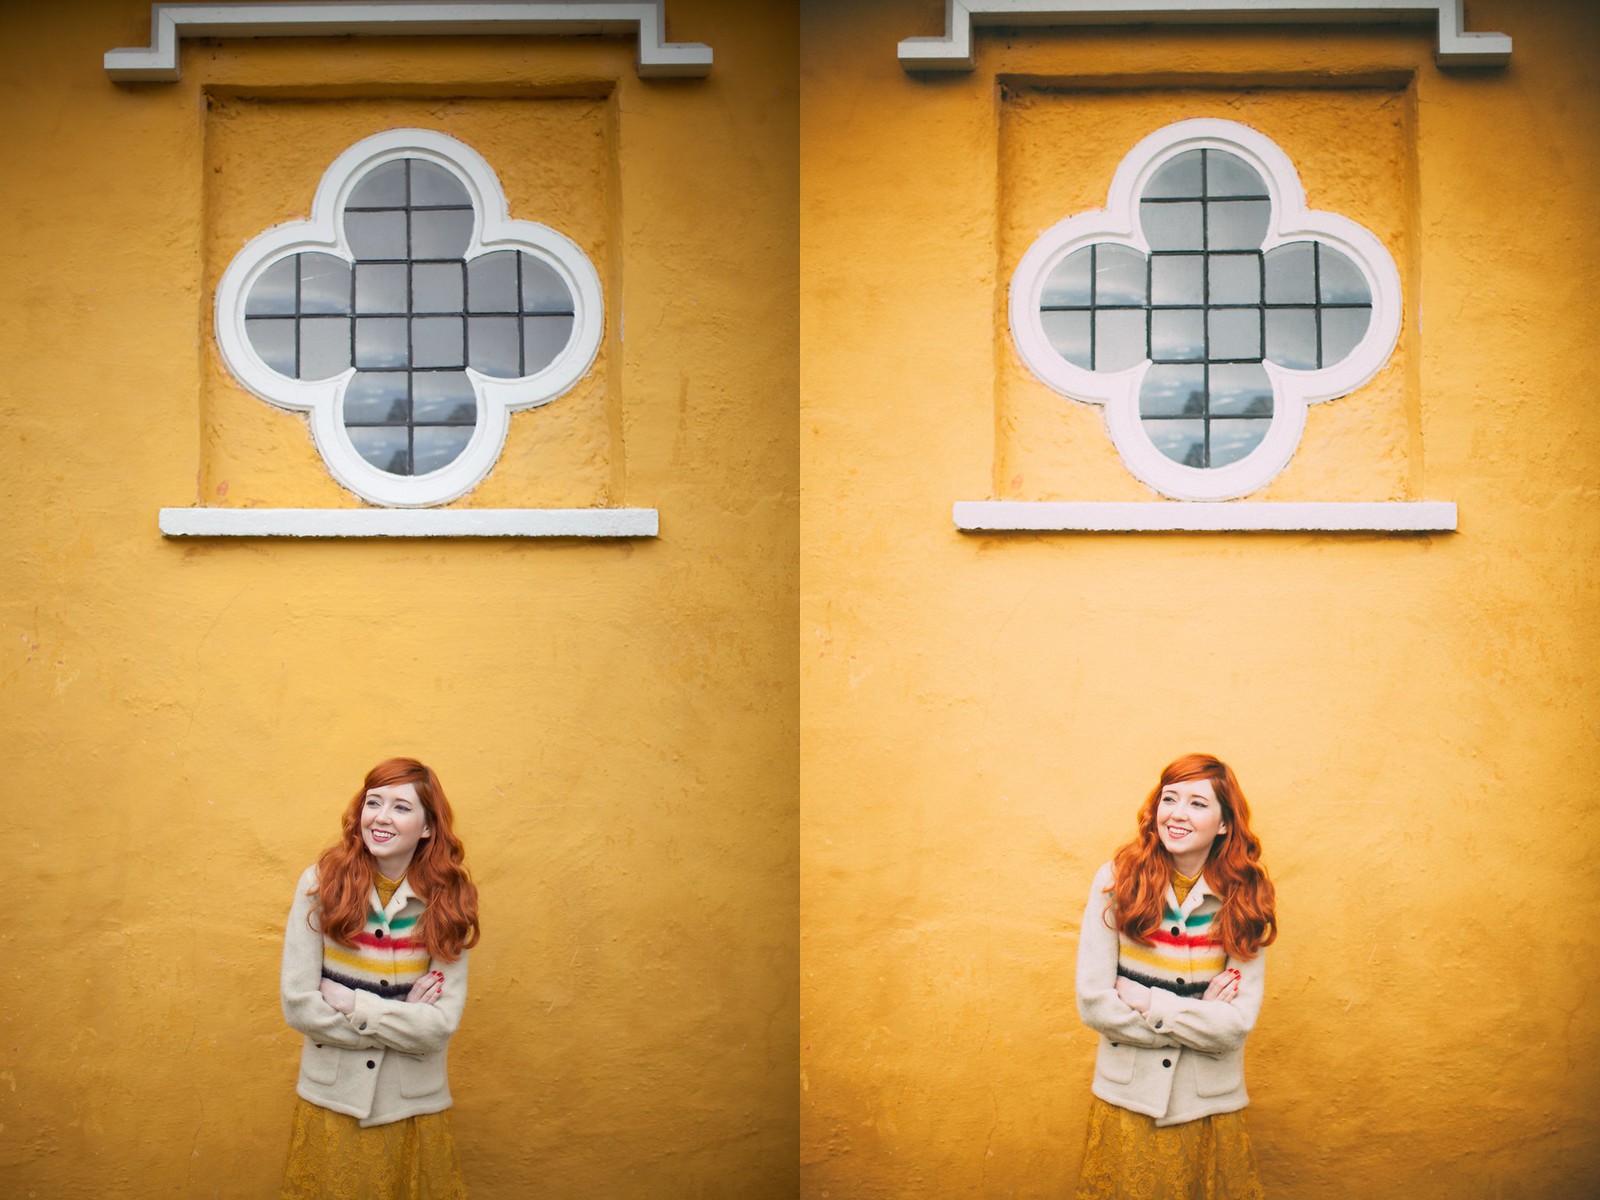
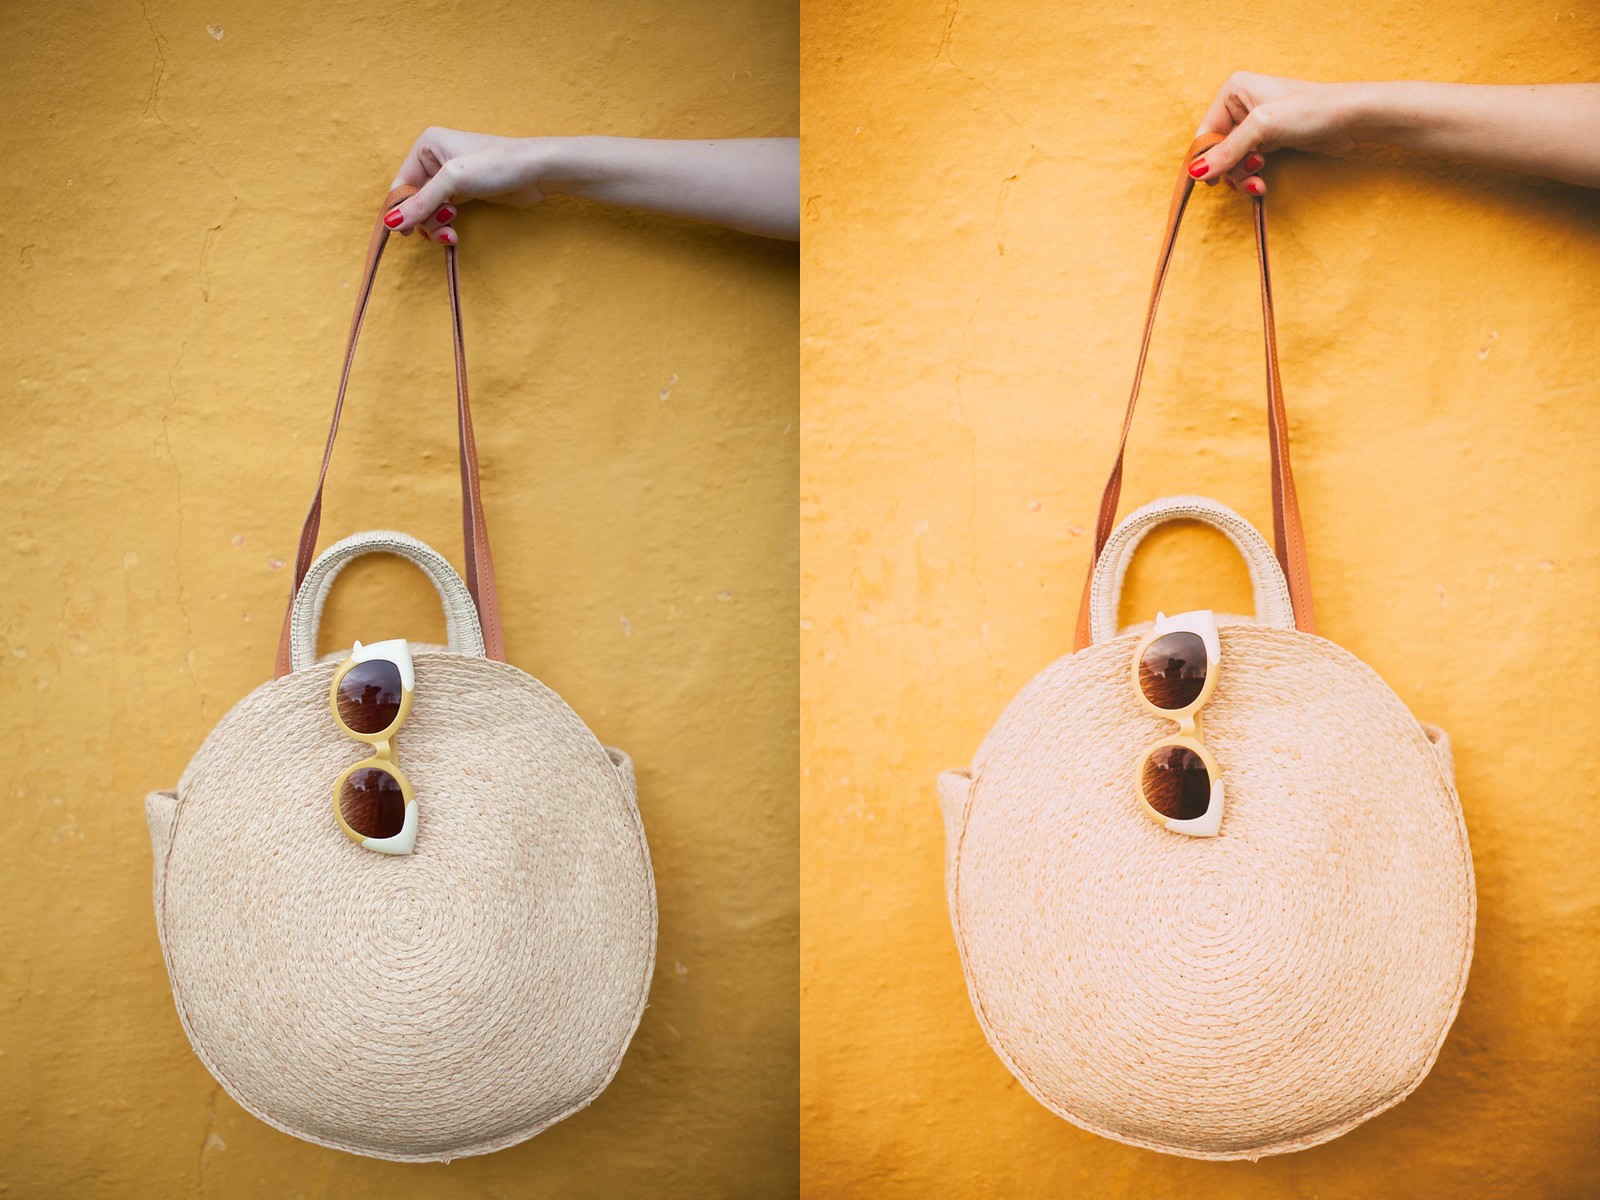
Again these pictures were taken on an overcast day, but I wanted the pictures to feel bright and the yellow walls of the house to seem summery and cheerful because I shot two outfits (expectations vs reality) and the second shoot was all about dreaming of warmer weather. Since the location was already colorful I didn't have to do a ton of editing and the difference is probably more subtle. Again I punched up the colors a bit and adjusted the temperature to be warmer. You can probably also tell I didn't crop many of the pictures much; when Thomas helps me shoot he's obsessed with getting everything perfect in the camera including the crop and composition. It means I have to spend a long time posing as he works on perfecting the composition in camera (my bag was full in the picture above and my arm was starting to wobble by the time he took the snap!), but then it saves me a lot of time editing because I can already "see" the shots I want to edit as they will be in the end and not have to work out what will look nice once cropped/fixed. We both shoot fully manual and in RAW; RAW takes up a lot of space on my computer and sometimes it loads so slowly because of the file size, but it makes a big difference when editing.


CONVERSATION