The Secret to Long, Shiny, Healthy Hair
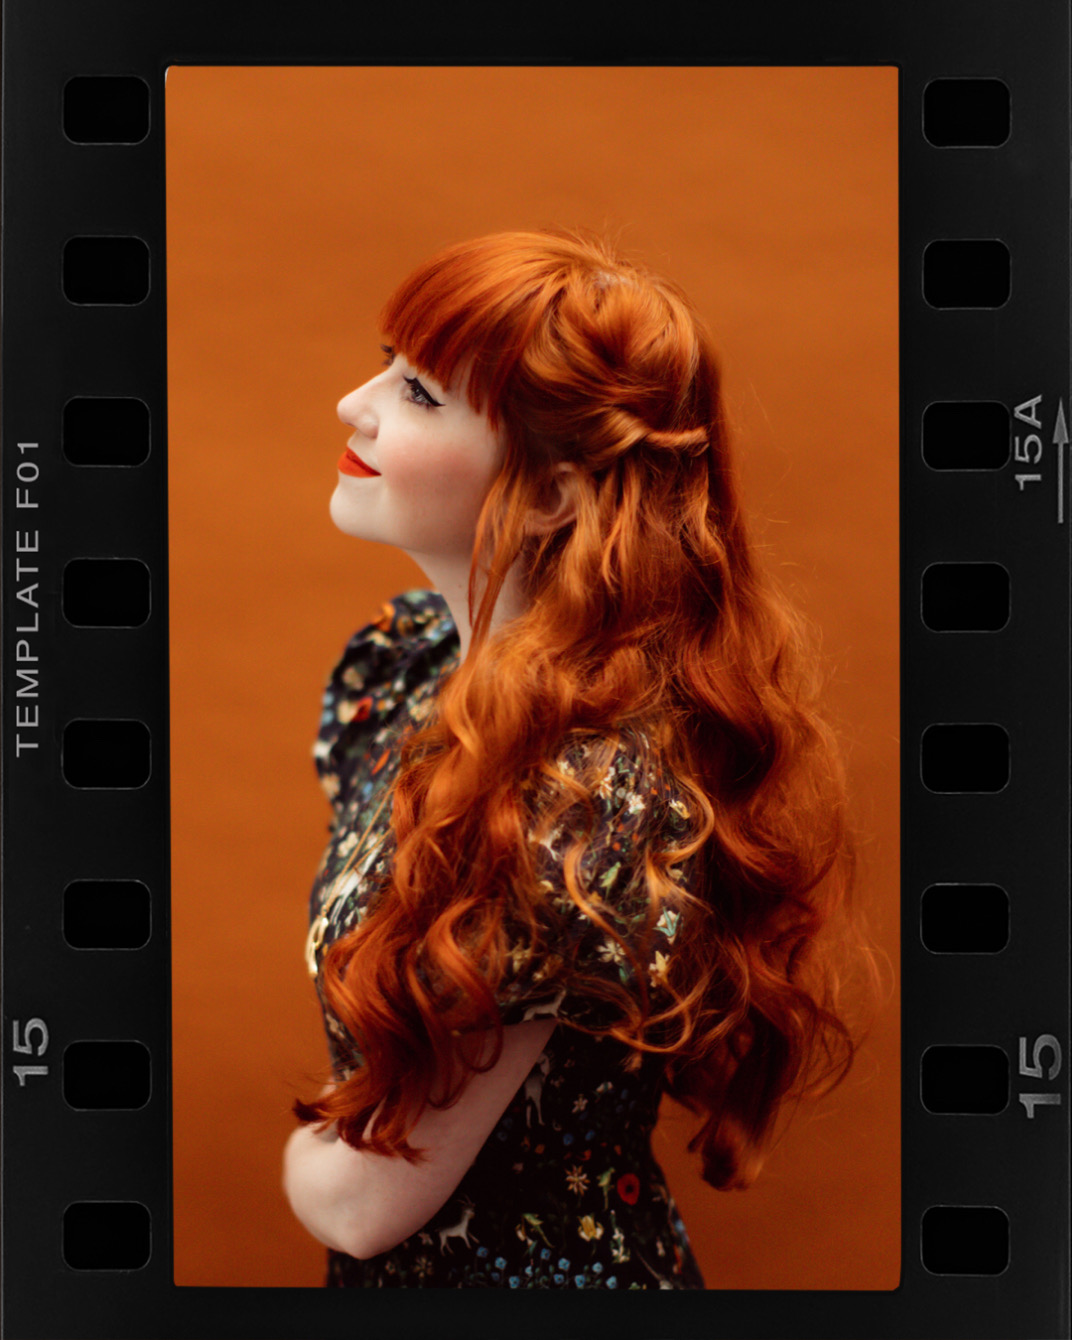
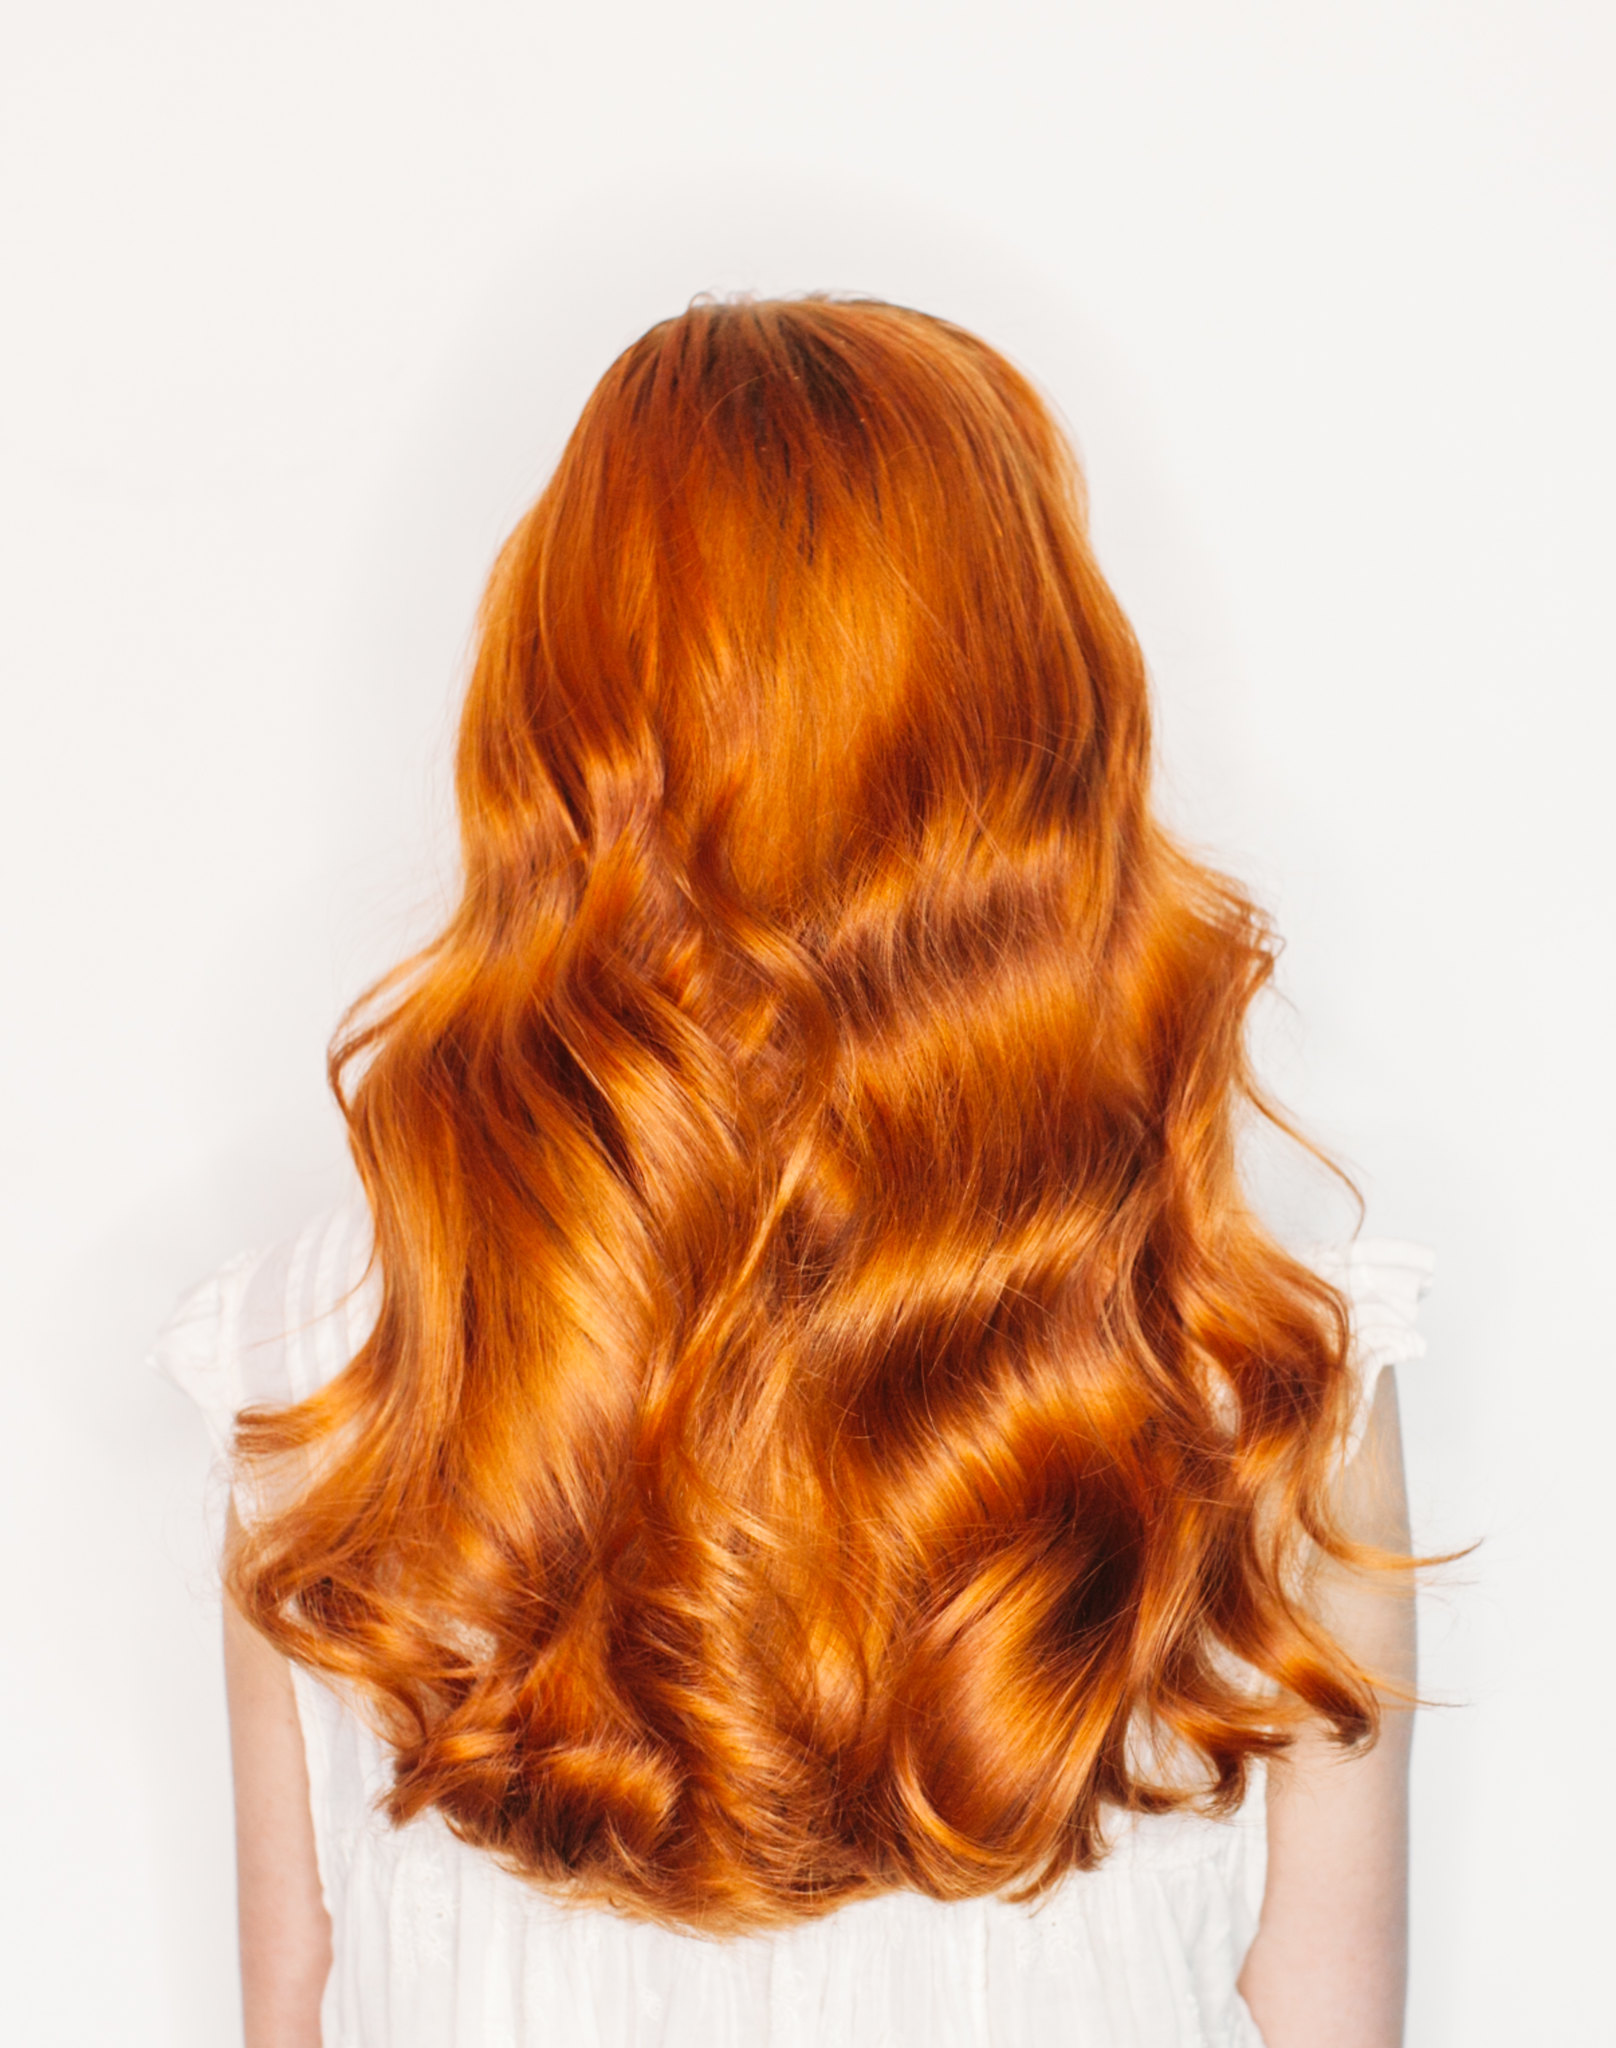
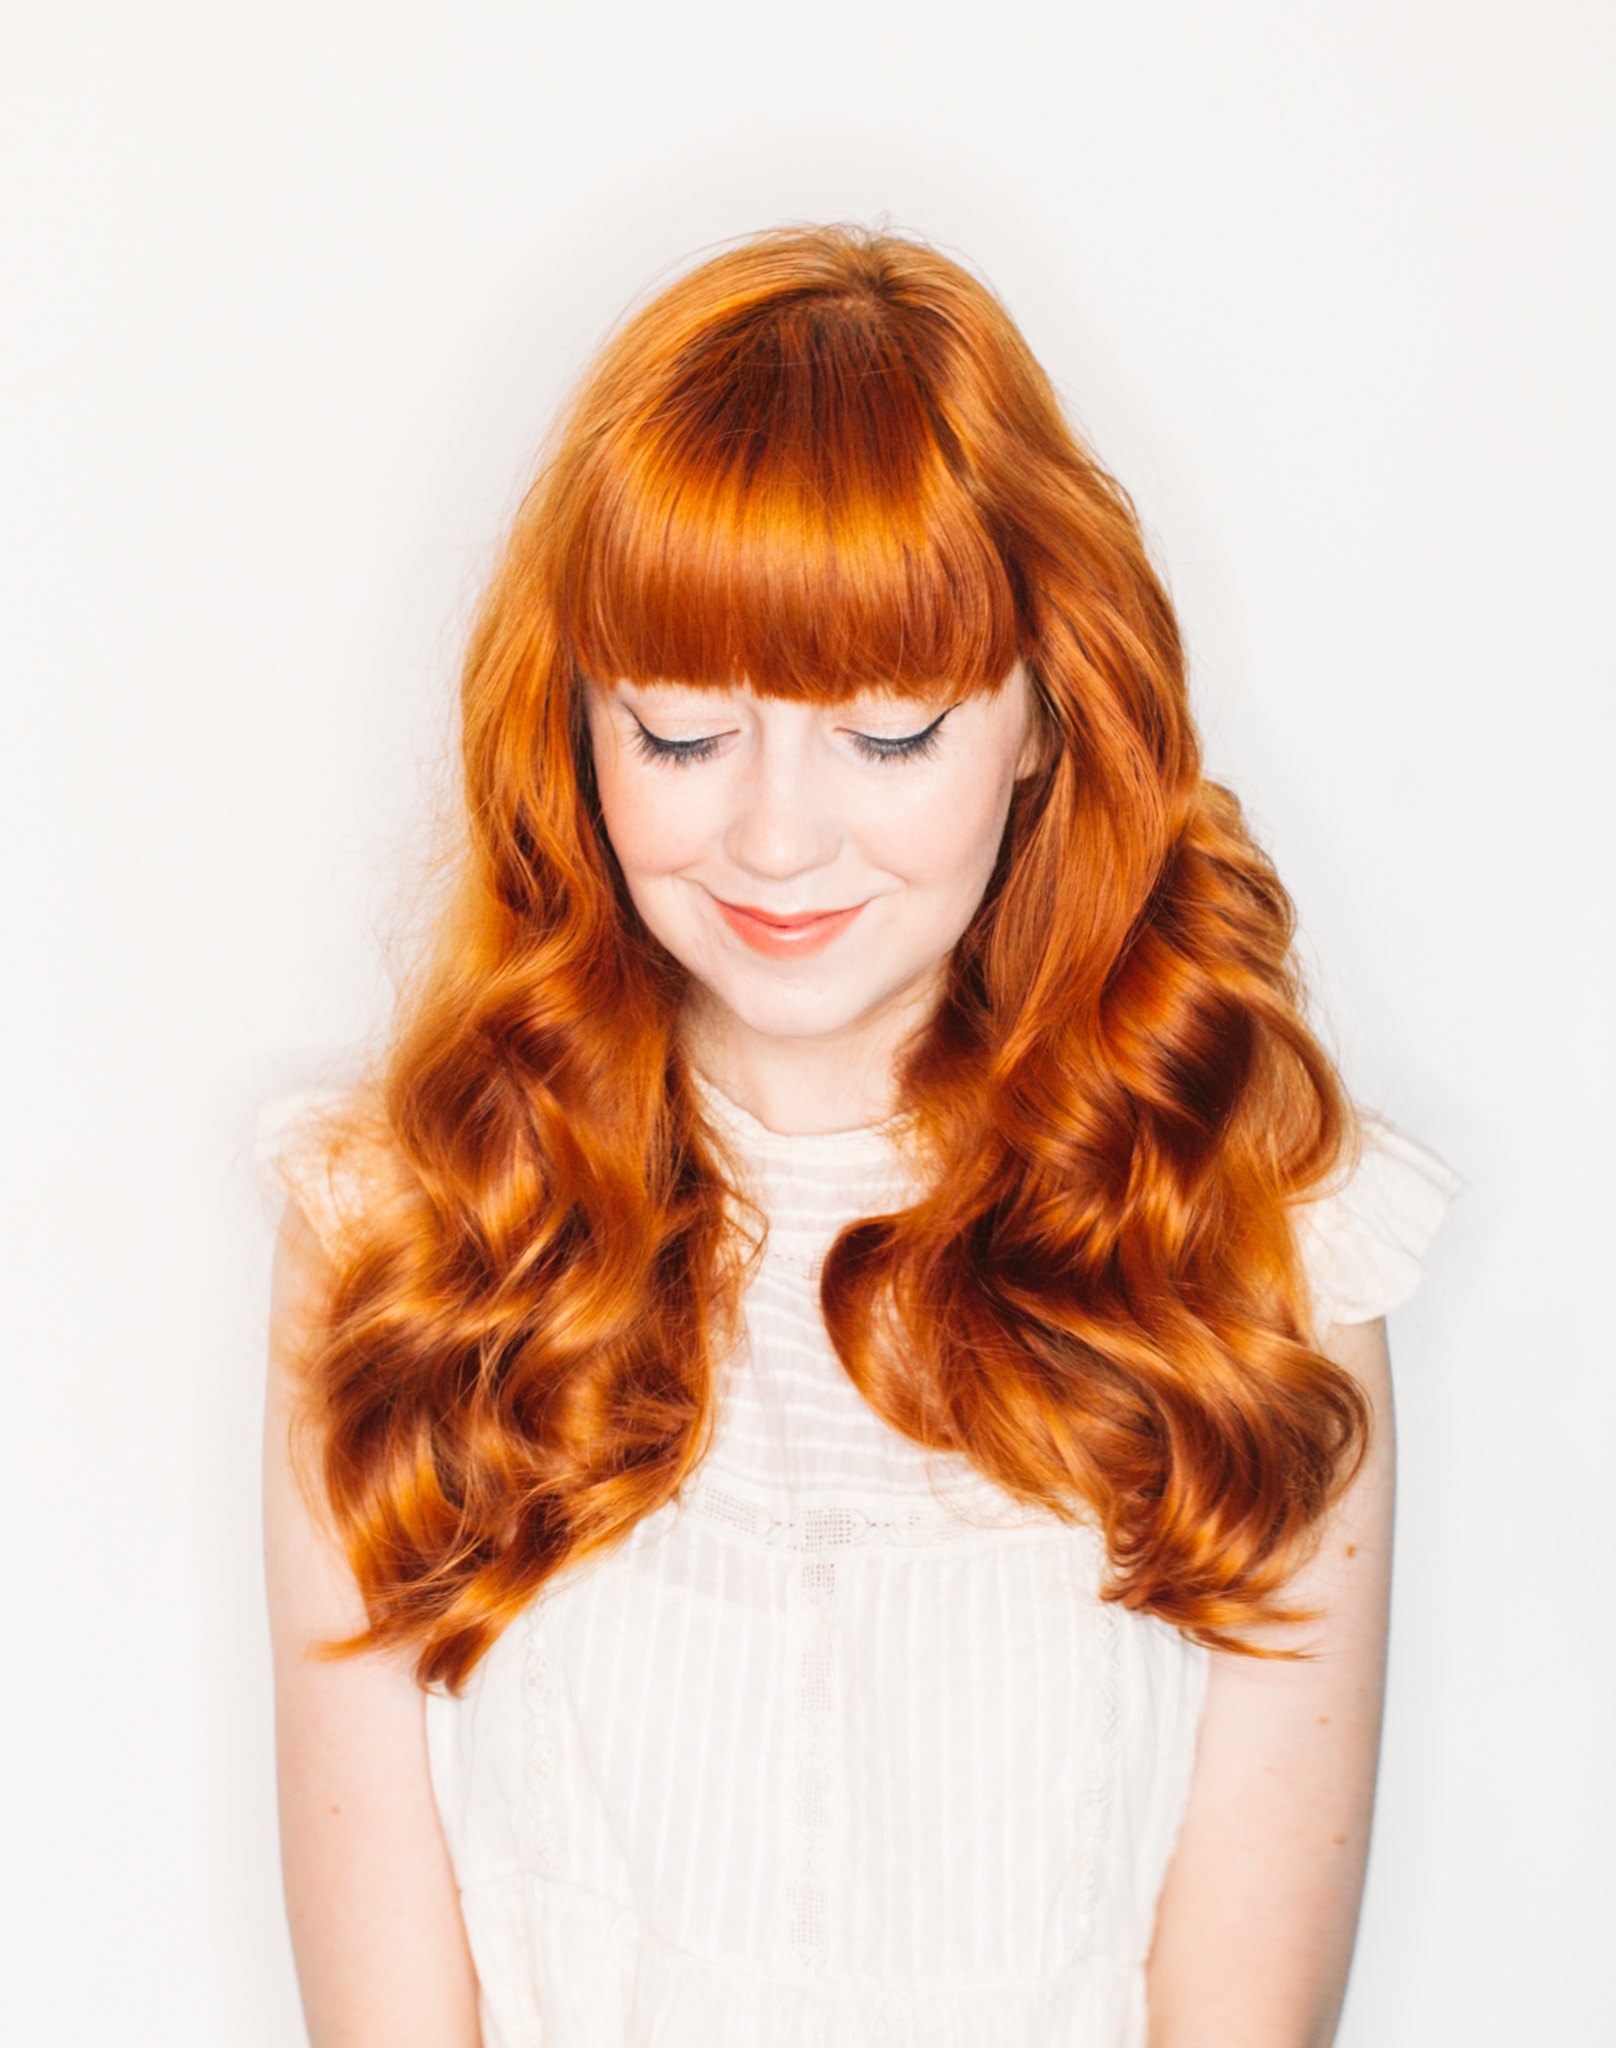
I do feel the need to preface this post stating that I am by no means a hair care expert, but I have received a number of requests asking what I do to keep my hair healthy, so these are the steps I take. I think with hair it’s important to be less formulaic about things and rather focus on how your hair responds to different techniques. I'm not going to say "only wash your hair once a week" because that might not work for you, but maybe you can skip a wash here or there or look into some of the more harsh chemicals in the products you use. For me it's about trial and error and figuring out what your hair responds to. The following tips have become my routine and when I do these my hair is softer, shinier, and fuller and I have less split ends.
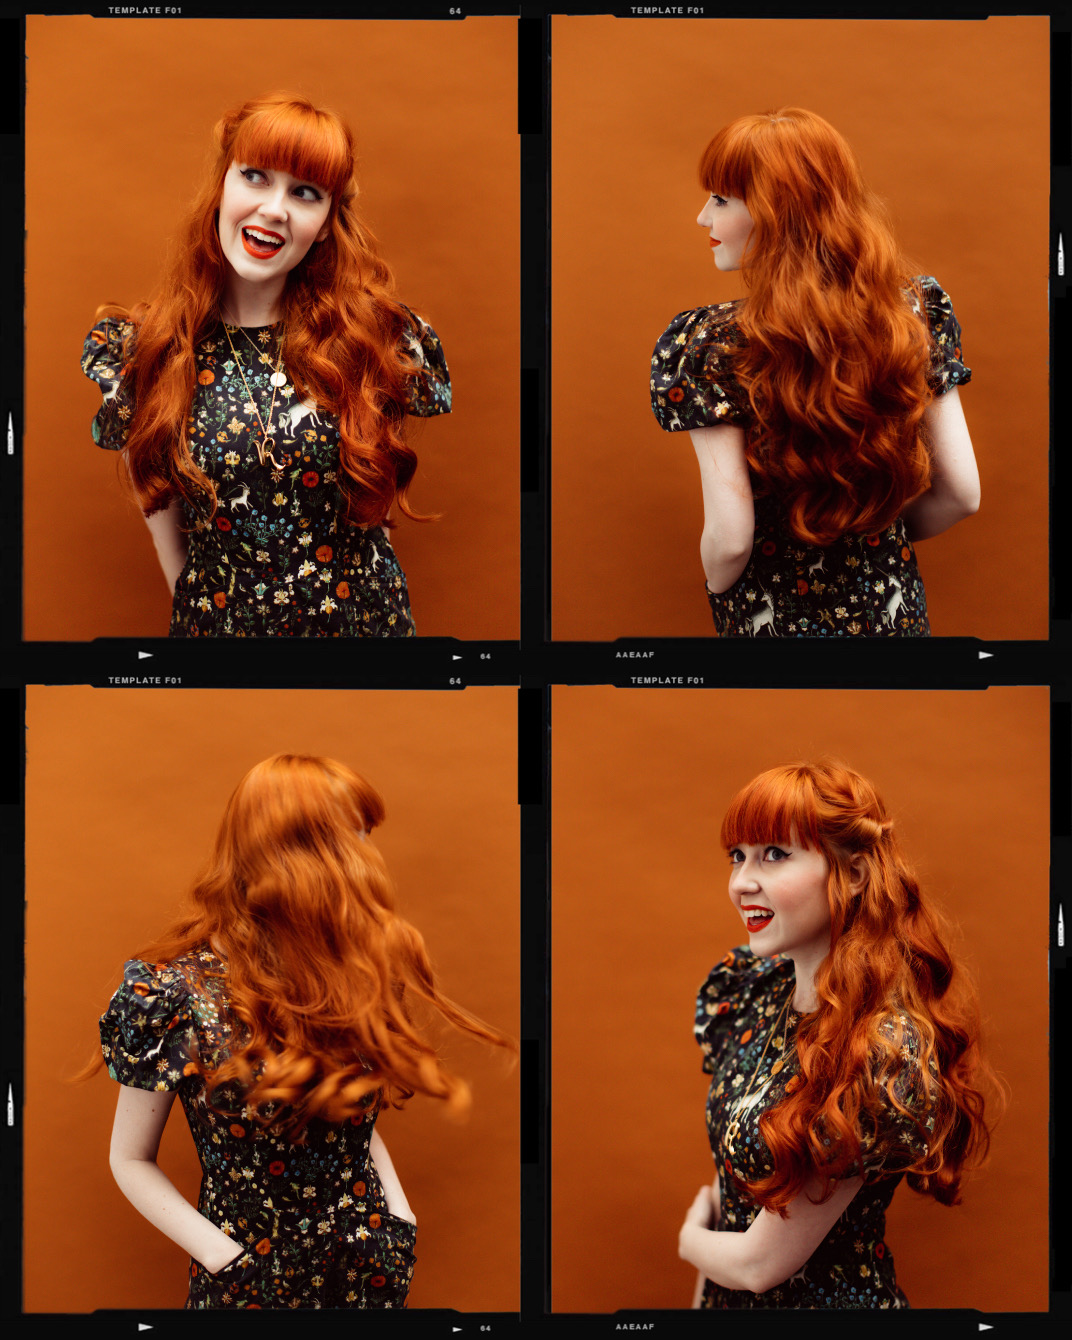

Whew! That seems like a lot of steps, but it basically boils down to being gentle on my hair and avoiding unnecessary damage. People always want to know how to make their hair healthier, but the first step is just letting it be itself more naturally, less washes, less products, less heat, etc. Rather than trying to correct problems with a lot of products I just try to be gentle with my hair. I’ve done a lot of damage to my hair in the past with bleach and wild colors, but I’ve always managed to get it back not with products or pills, but simple, everyday care steps. Your hair might need different steps or just slightly different versions of these steps, so keep in mind the trick isn’t to copy everything I do but pay attention to what your hair responds to.
- Avoid overwashing your hair. I wash my hair about once a week, sometimes I can go even longer between washes, but conversely sometimes I wash my hair sooner! For me it’s less about only washing my hair once a week and more about washing my hair when it feels like I need it. If you do wash your hair daily it might take awhile before your hair and scalp are used to less washes, because when you wash your hair you strip your hair and scalp of your natural oils. If you wash daily your hair overproduces these oils in an attempt to hydrate your hair again, so when you first start skipping washes your hair can get extra greasy, but after a time your hair will get used to less washes and it won’t get greasy as quickly. Usually we just overwash and then try to mask our dry hair with different products, but if you can wash your hair less you don’t need to use as many products and your hair will naturally be healthier and shinier. You can use dry shampoo on your roots between washes if your hair gets greasy, but I honestly don't use dry shampoo--I occasionally use some baby powder in my fringe because it gets greasier than the rest of my hair, but it's usually several days to a week before my roots feels greasy and then I just wash it.
- Only apply shampoo to your scalp/roots. Again this has to do with your natural oils, sweat, etc, but your roots are the part of your hair that needs to be washed the most (especially if you have long hair). So apply your shampoo quite vigorously to your scalp/roots and massage it there, then let the product wash through the rest of your hair when you rinse it out. Similarly, I don’t apply my conditioner anywhere near my roots; I apply my conditioner from below my ears down. My roots don’t need conditioner, but ends really do. Apply your conditioner to the lower part of your hair and let it sit in your hair for a few minutes before you wash it out; give your hair a chance to soak up some product before you rinse.
- Brush your hair often. Some people swear by unbrushed hair, but my hair truly looks a mess when I don’t brush it. Plus brushing your hair often is necessary if you have long hair. Remember those natural oils? Well they start at the scalp and the best way for them to reach the tips of your hair is by brushing. Your tips are the most damaged, driest parts of your hair, so they need all the love they can get. I also will add a smidge of argan oil to the tips of my hair when they look particularly dry. I use 1-2 drops of argan oil: put the oil in my palms, rub my hands together together, then I rub my fingers and palms against the ends of my hair to distribute the oil. A tiny bit of oil goes a long way.
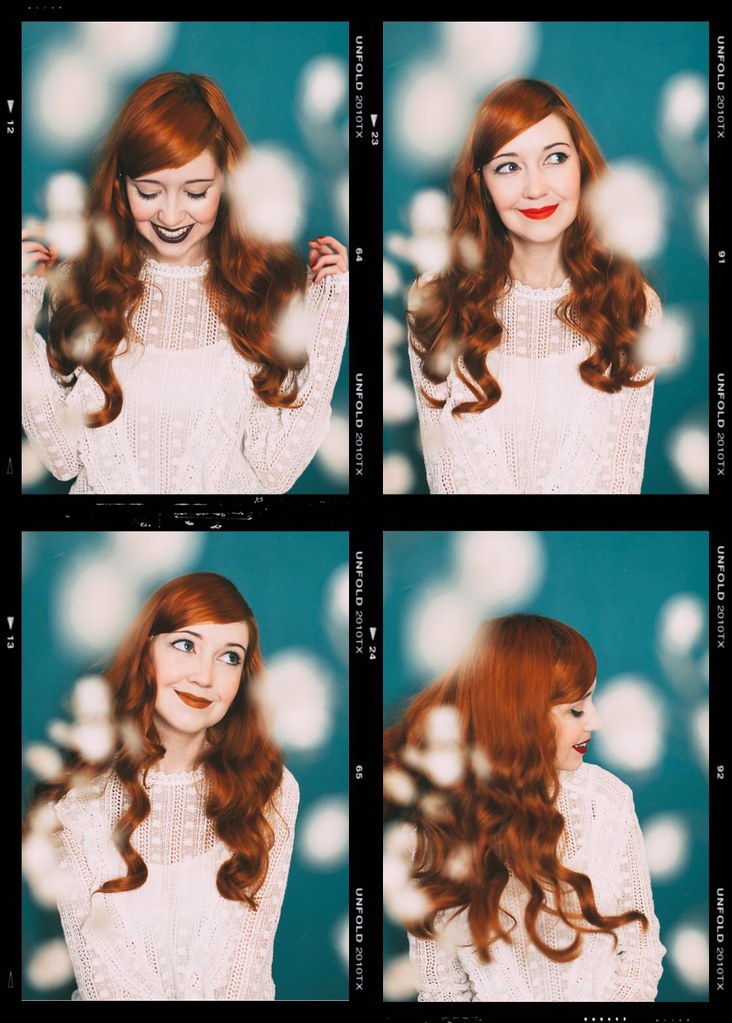
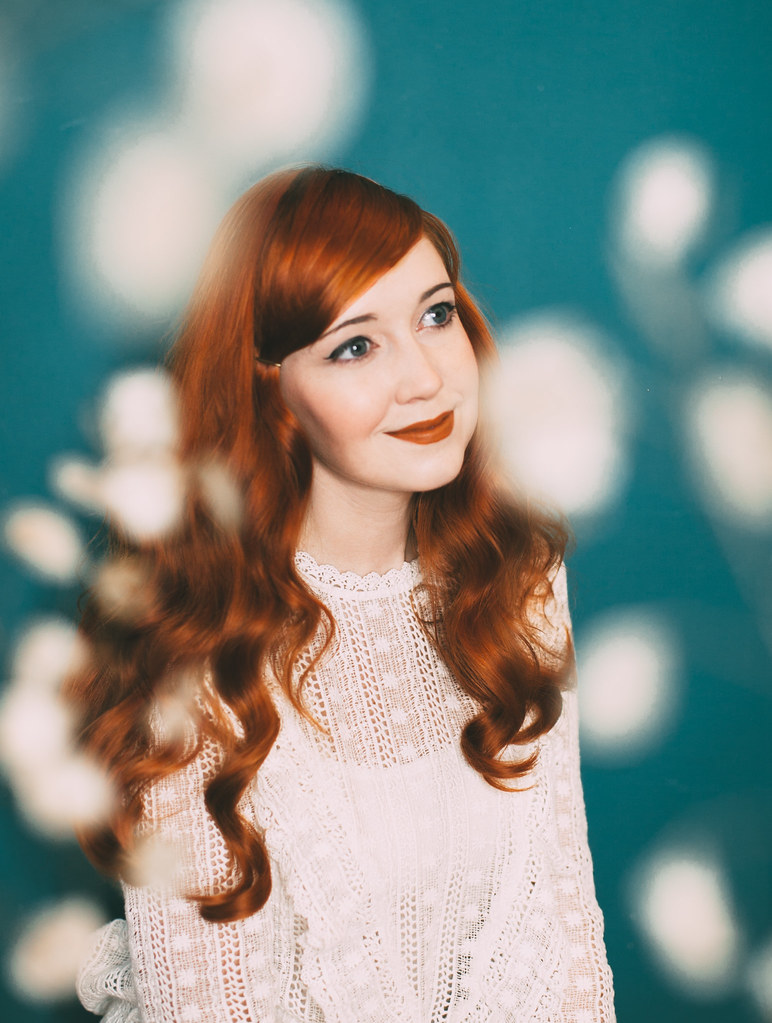
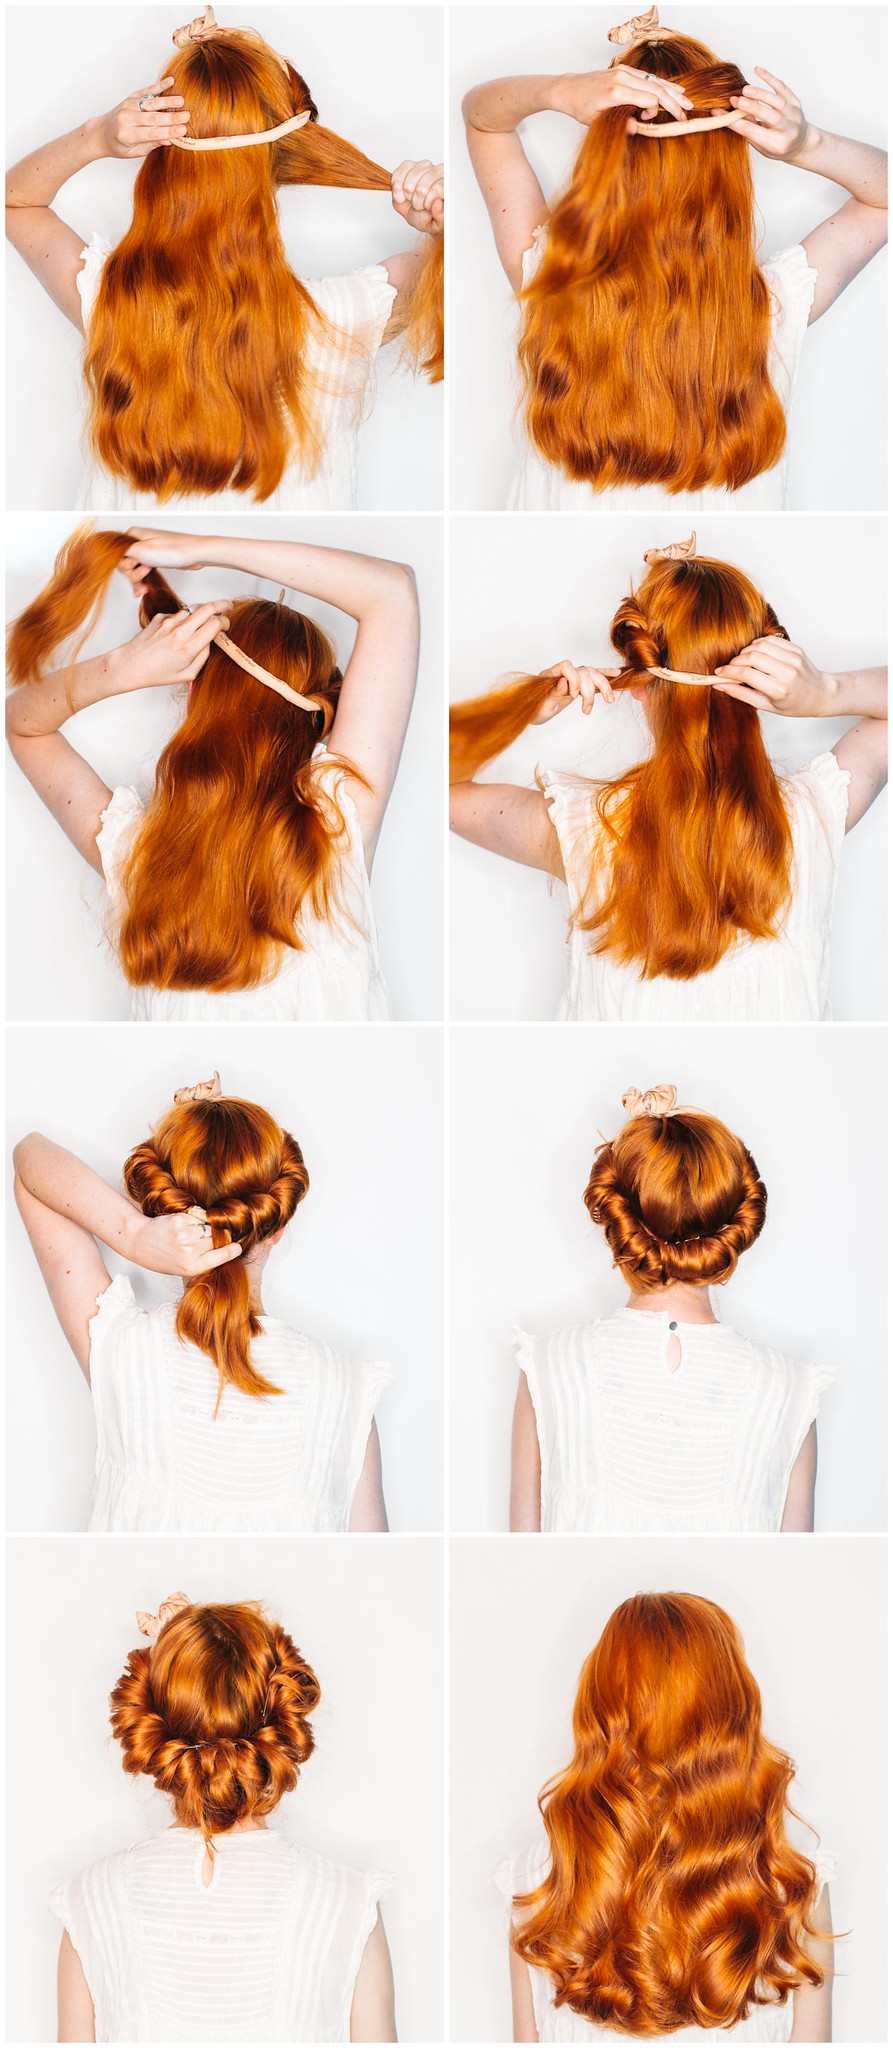
- Don’t use heat-styling tools. I don’t ever curl my hair with a curling iron (or straightener, or whatever) and I only blow dry my hair maybe once or twice a month in winter when I feel too cold to go to bed with wet hair! Heat-styling tools damage your hair quite a bit, so limiting your use or cutting them out entirely will do wonders for your hair health. For my curls I use an overnight wet-set technique that gives me just as much body and movement as if I had curled my hair with an iron. It’s really easy, only takes a few minutes at night and in the morning, and spares my hair from heat damage. This is my overnight curl technique (and I have a video of it on my IGTV if you prefer video tutorials).
- Use a tangle-teezer brush. When my hair was shorter I never spent much thought on my brush, but longer hair means more tangles and my brush became really important, once I started using a tangle-teezer I was hooked. It is so good at gently getting tangles out. Also when you brush your hair don’t start at the top of your head, but brush the ends out first and work your way upwards. Still brush in a downward motion, but rather than dragging your brush from the top of your head to the ends and gathering bigger knots along the way, if you start at the ends then move higher it’s much gentler on your hair (and scalp) and the knots won’t be as big.
- Try switching to silk pillowcases. I’m not sure if the quality of the silk matters (I have some rather cheap ones found on Amazon myself), but I had silk pillowcases recommended to me years ago for my hair and I love them. They’re supposed to help keep your hair from getting tangled and bonus, they’re also supposed to help prevent your skin from wrinkling. I also enjoy that silk is cooler than other fabrics, so if you’re always frustrated with your pillow feeling too warm at night do try out some silk pillowcases!
- I swear by sulphate-free shampoos. If you’ve ever dyed your hair an unnatural color (like pink or blue) you’re probably familiar with sulphate-free shampoo as this is an important shampoo to get to help make dyes last. But did you ever think why that is? Sulphates are added to shampoos to make them foam, but they’re pretty harsh on your hair; I mean if they’re stripping dye out of hair follicles, what else are they stripping away? To keep my color vibrant, but also to help my hair stay healthier I stick to sulphate-free shampoos. Right now I’m using Tresemme’s sulphate free shampoo and conditioner (*this post isn't sponsored by Tresemme, but I was given this product for free in a previous collaboration).

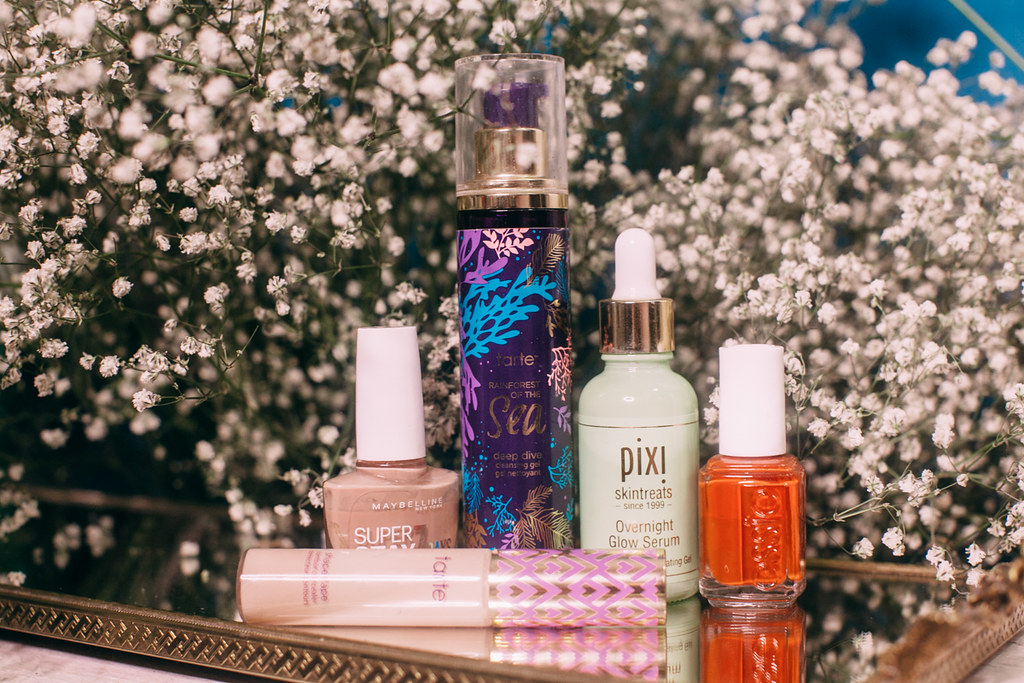 I don’t do many beauty posts because I honestly don’t change up my beauty routine much at all. The core of my nightly routine is the same Clinique 3-Step system I’ve been using since I was a teenager! So while I can talk about clothes, shoes, and books until I get blue in the face and never run out of material—beauty posts eventually start to be a bit repetitive. I also don’t like to talk about things I’m trying until I’ve really had a chance to experiment with them and know they work for me. It’s why you also almost never see paid beauty posts on my blog because the brands that approach me are unfamiliar to me and they aren’t usually open to a trial period of a few months before a post! Still got my fingers crossed a few of my favorite beauty brands will approach me one day because that would be a dream…But I digress from the point, which is: here’s a beauty post with a few of my tied and tested favorites from the past year!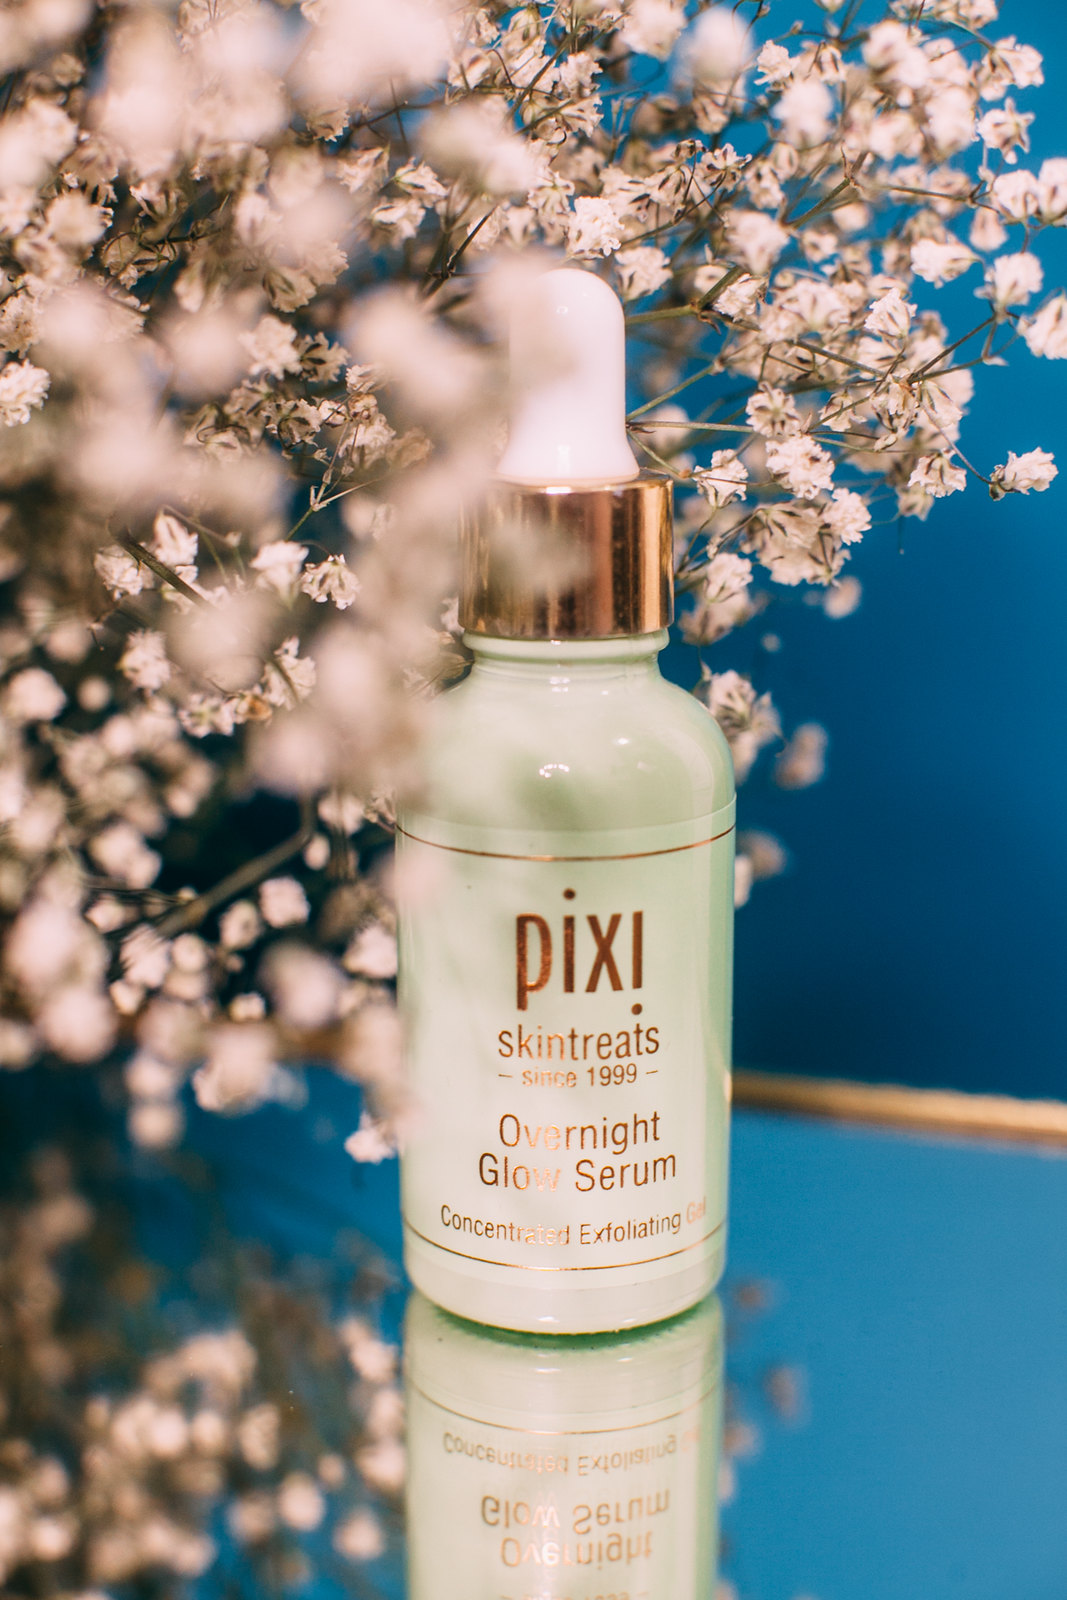
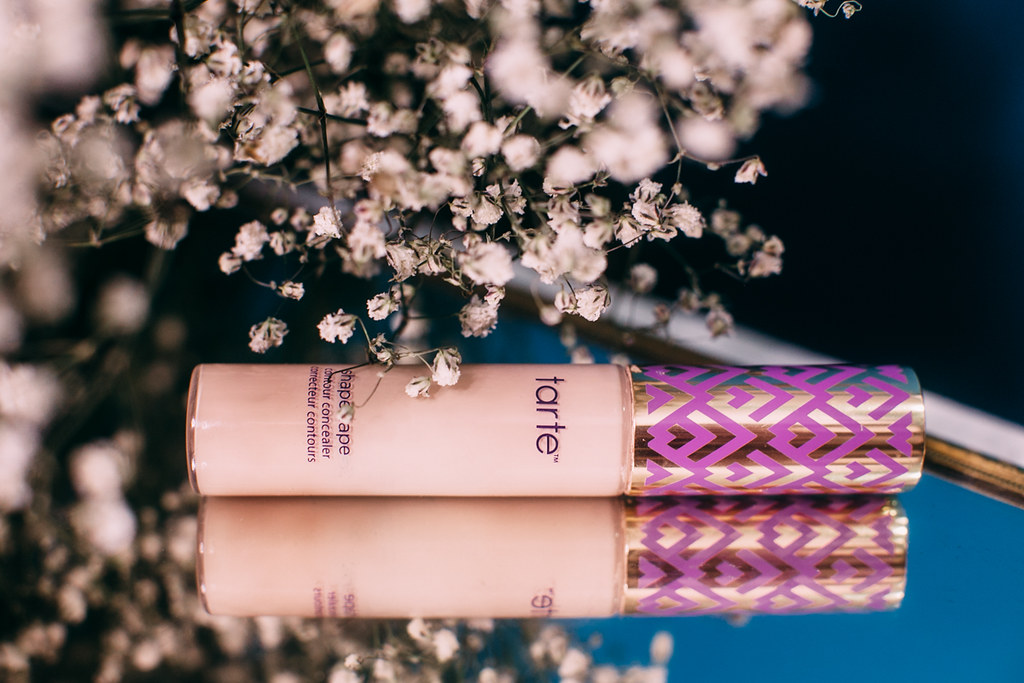
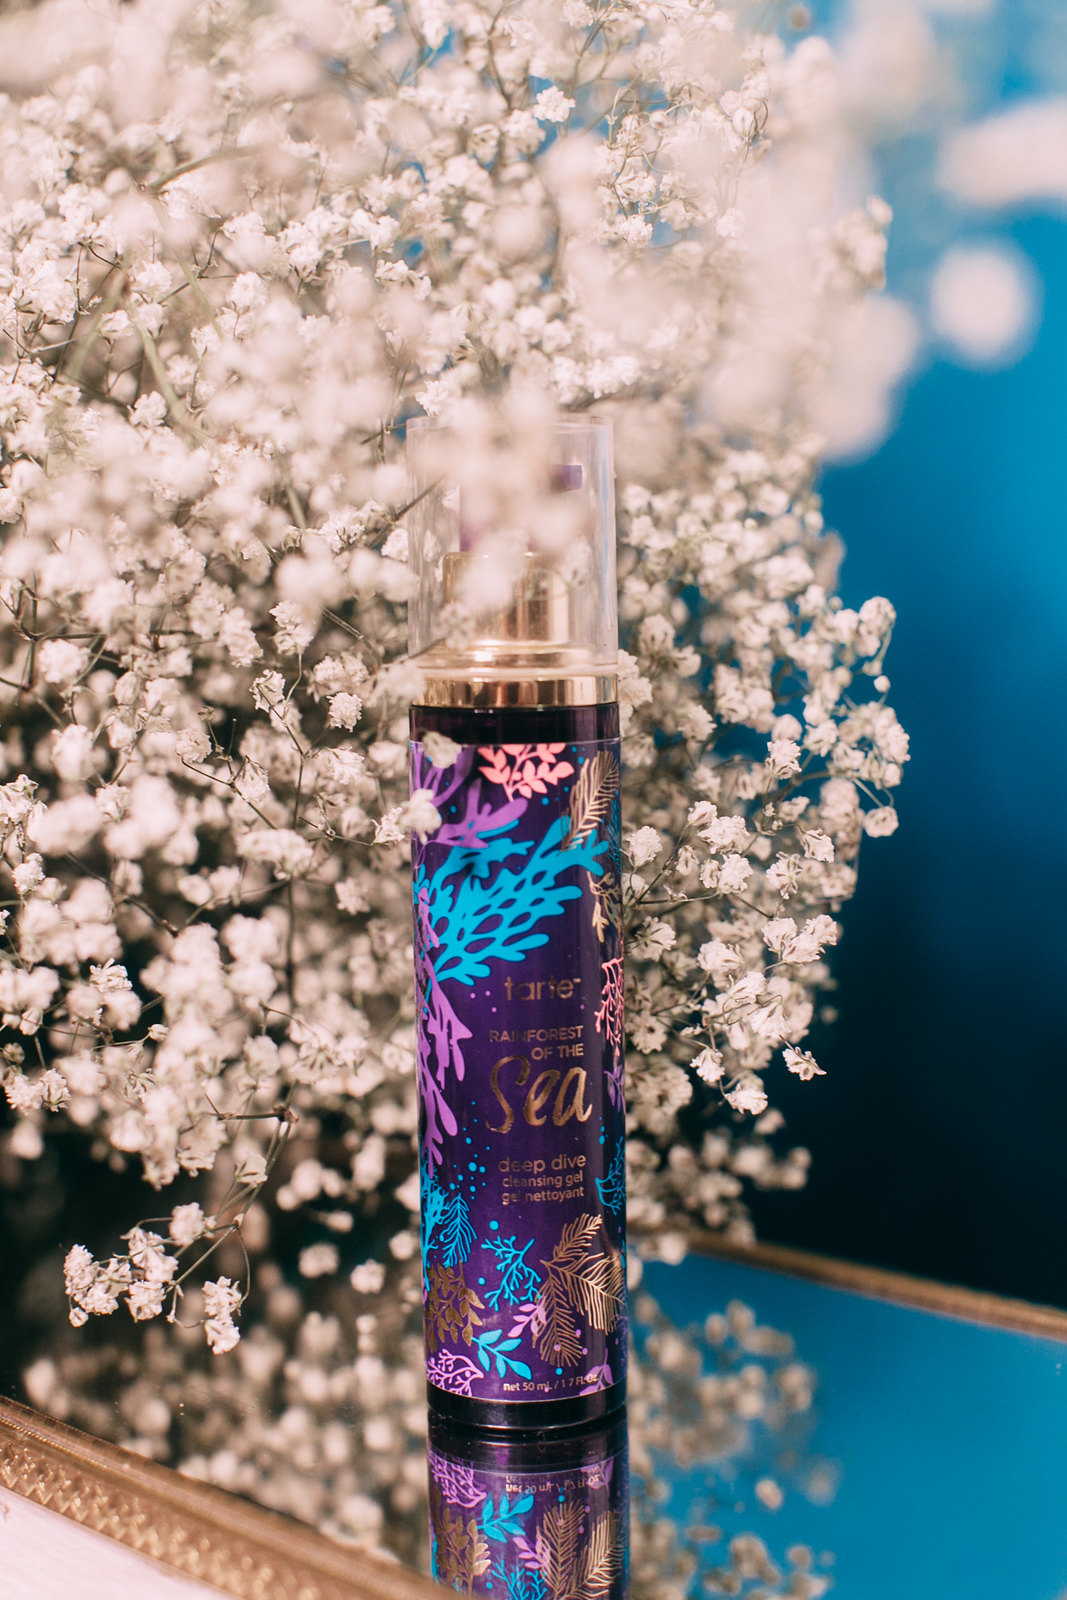 Tarte Rainforest of the Sea cleansing gel: After falling in love with Tarte’s shape tape, I started to try a few more products from that brand and now half of my makeup bag is Tarte products! I have fairly sensitive skin, so when I find a brand that my skin agrees with I tend to really lean into it--now I have some very necessary mermaid makeup brushes and this cleansing gel. The makeup brushes don’t get a lot of use, but
 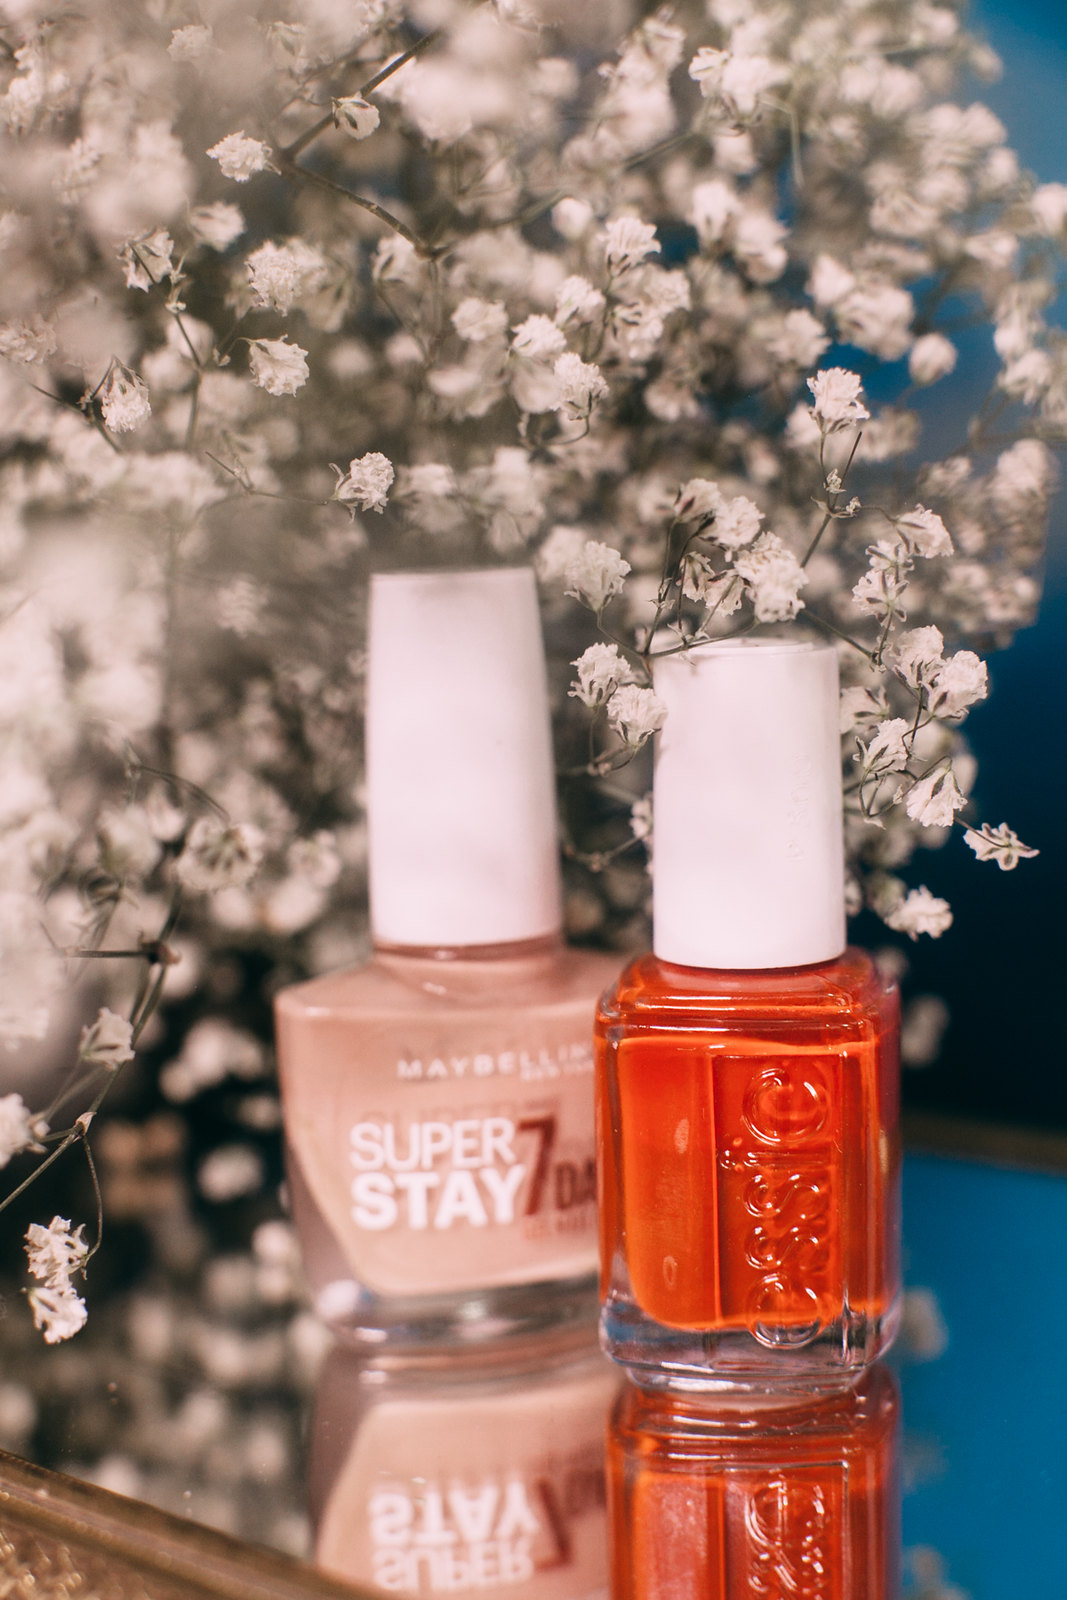 My two favorite nail polishes: I think I only wore three nail polish colors for the whole of 2018—this neutral shade, this burnt orange color, and red around Christmas. Post-Christmas I’m already back to the burnt orange color (
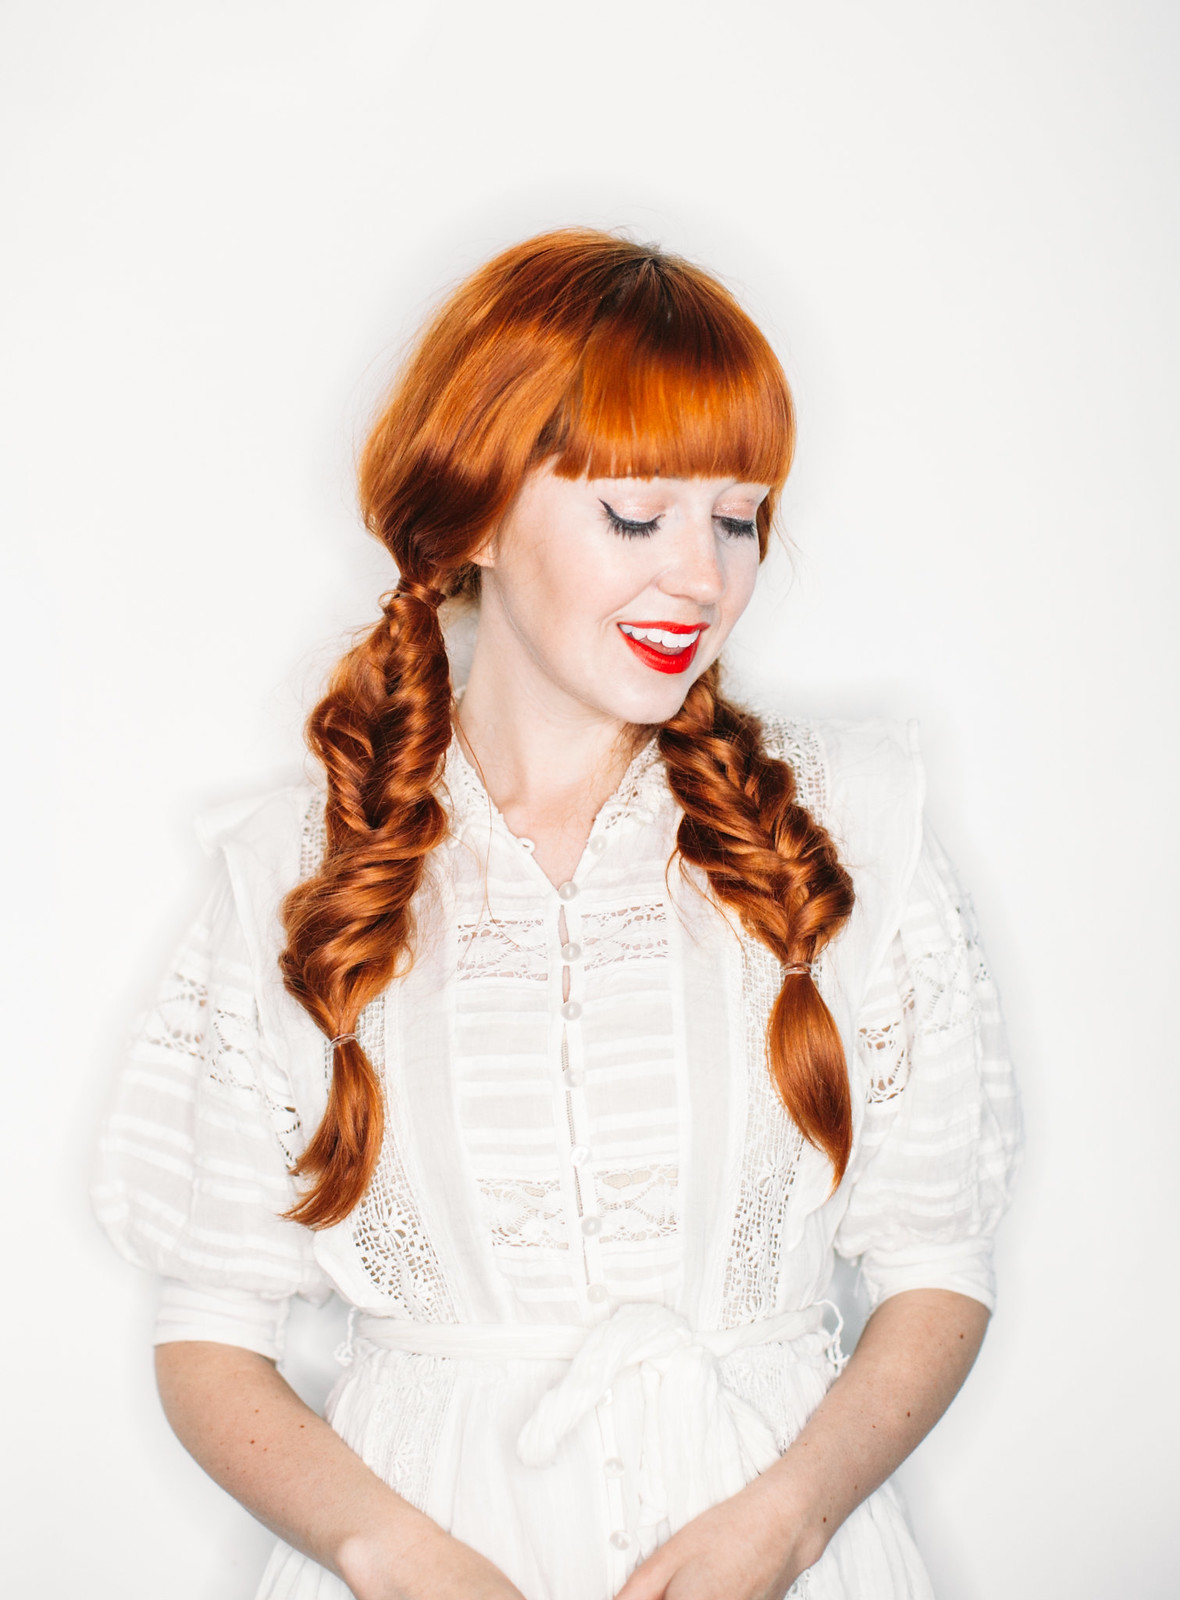
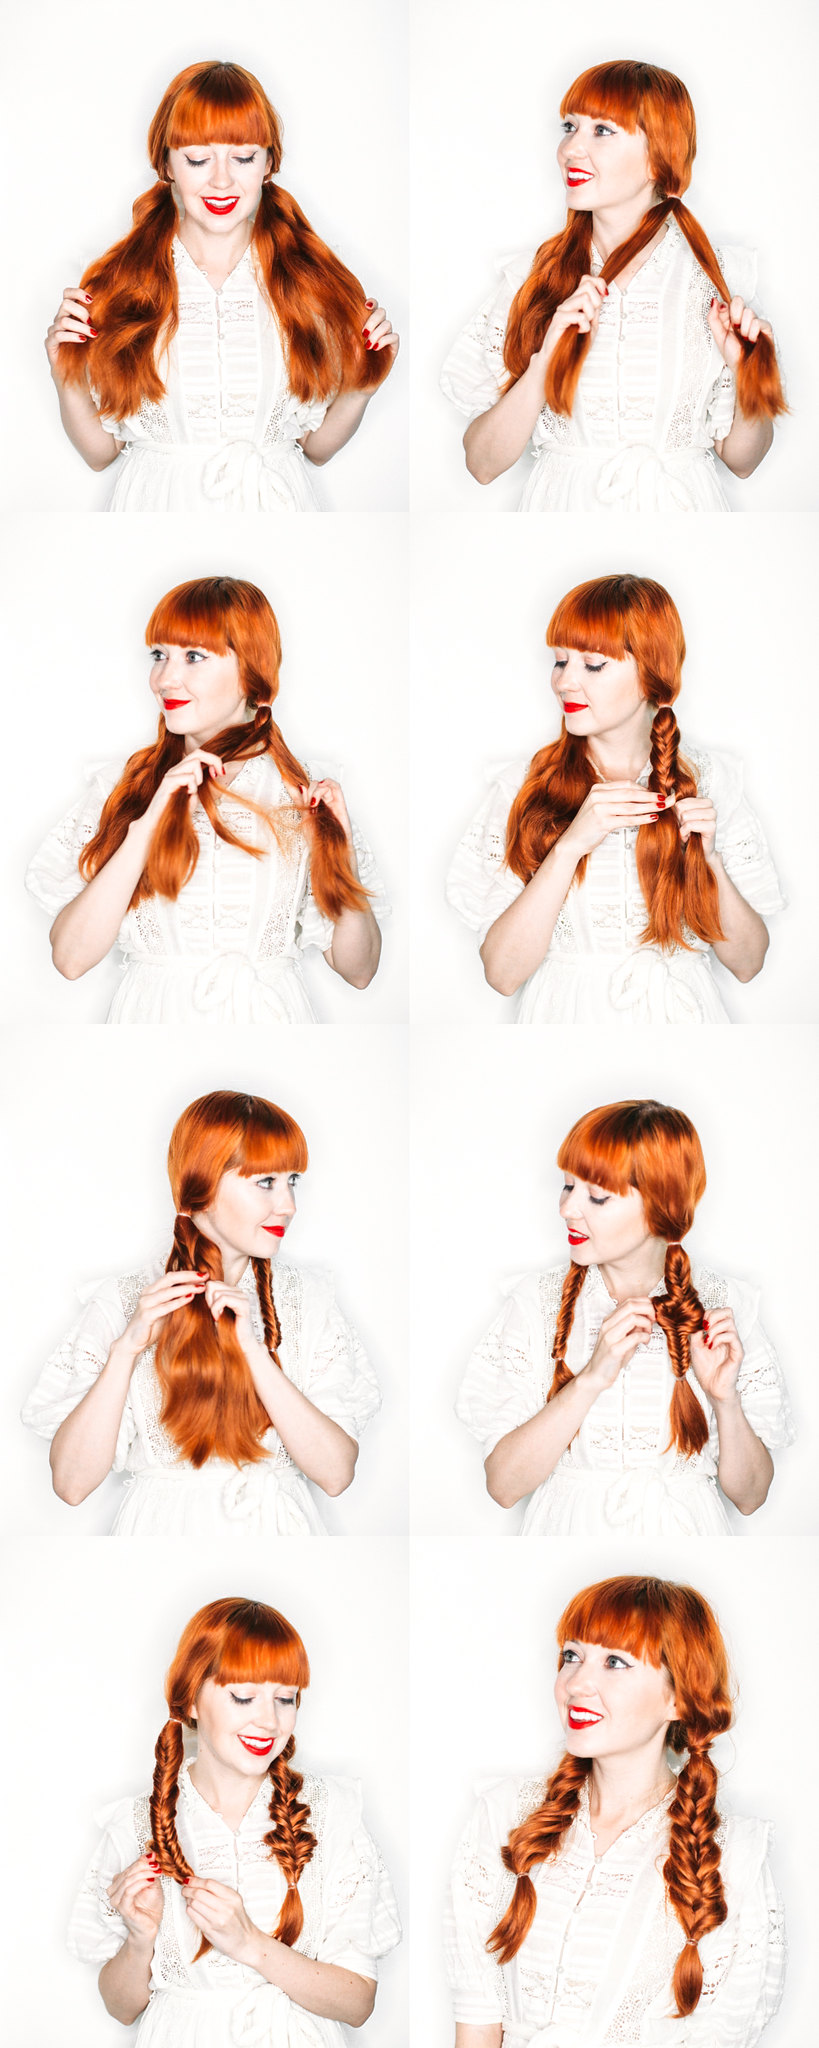
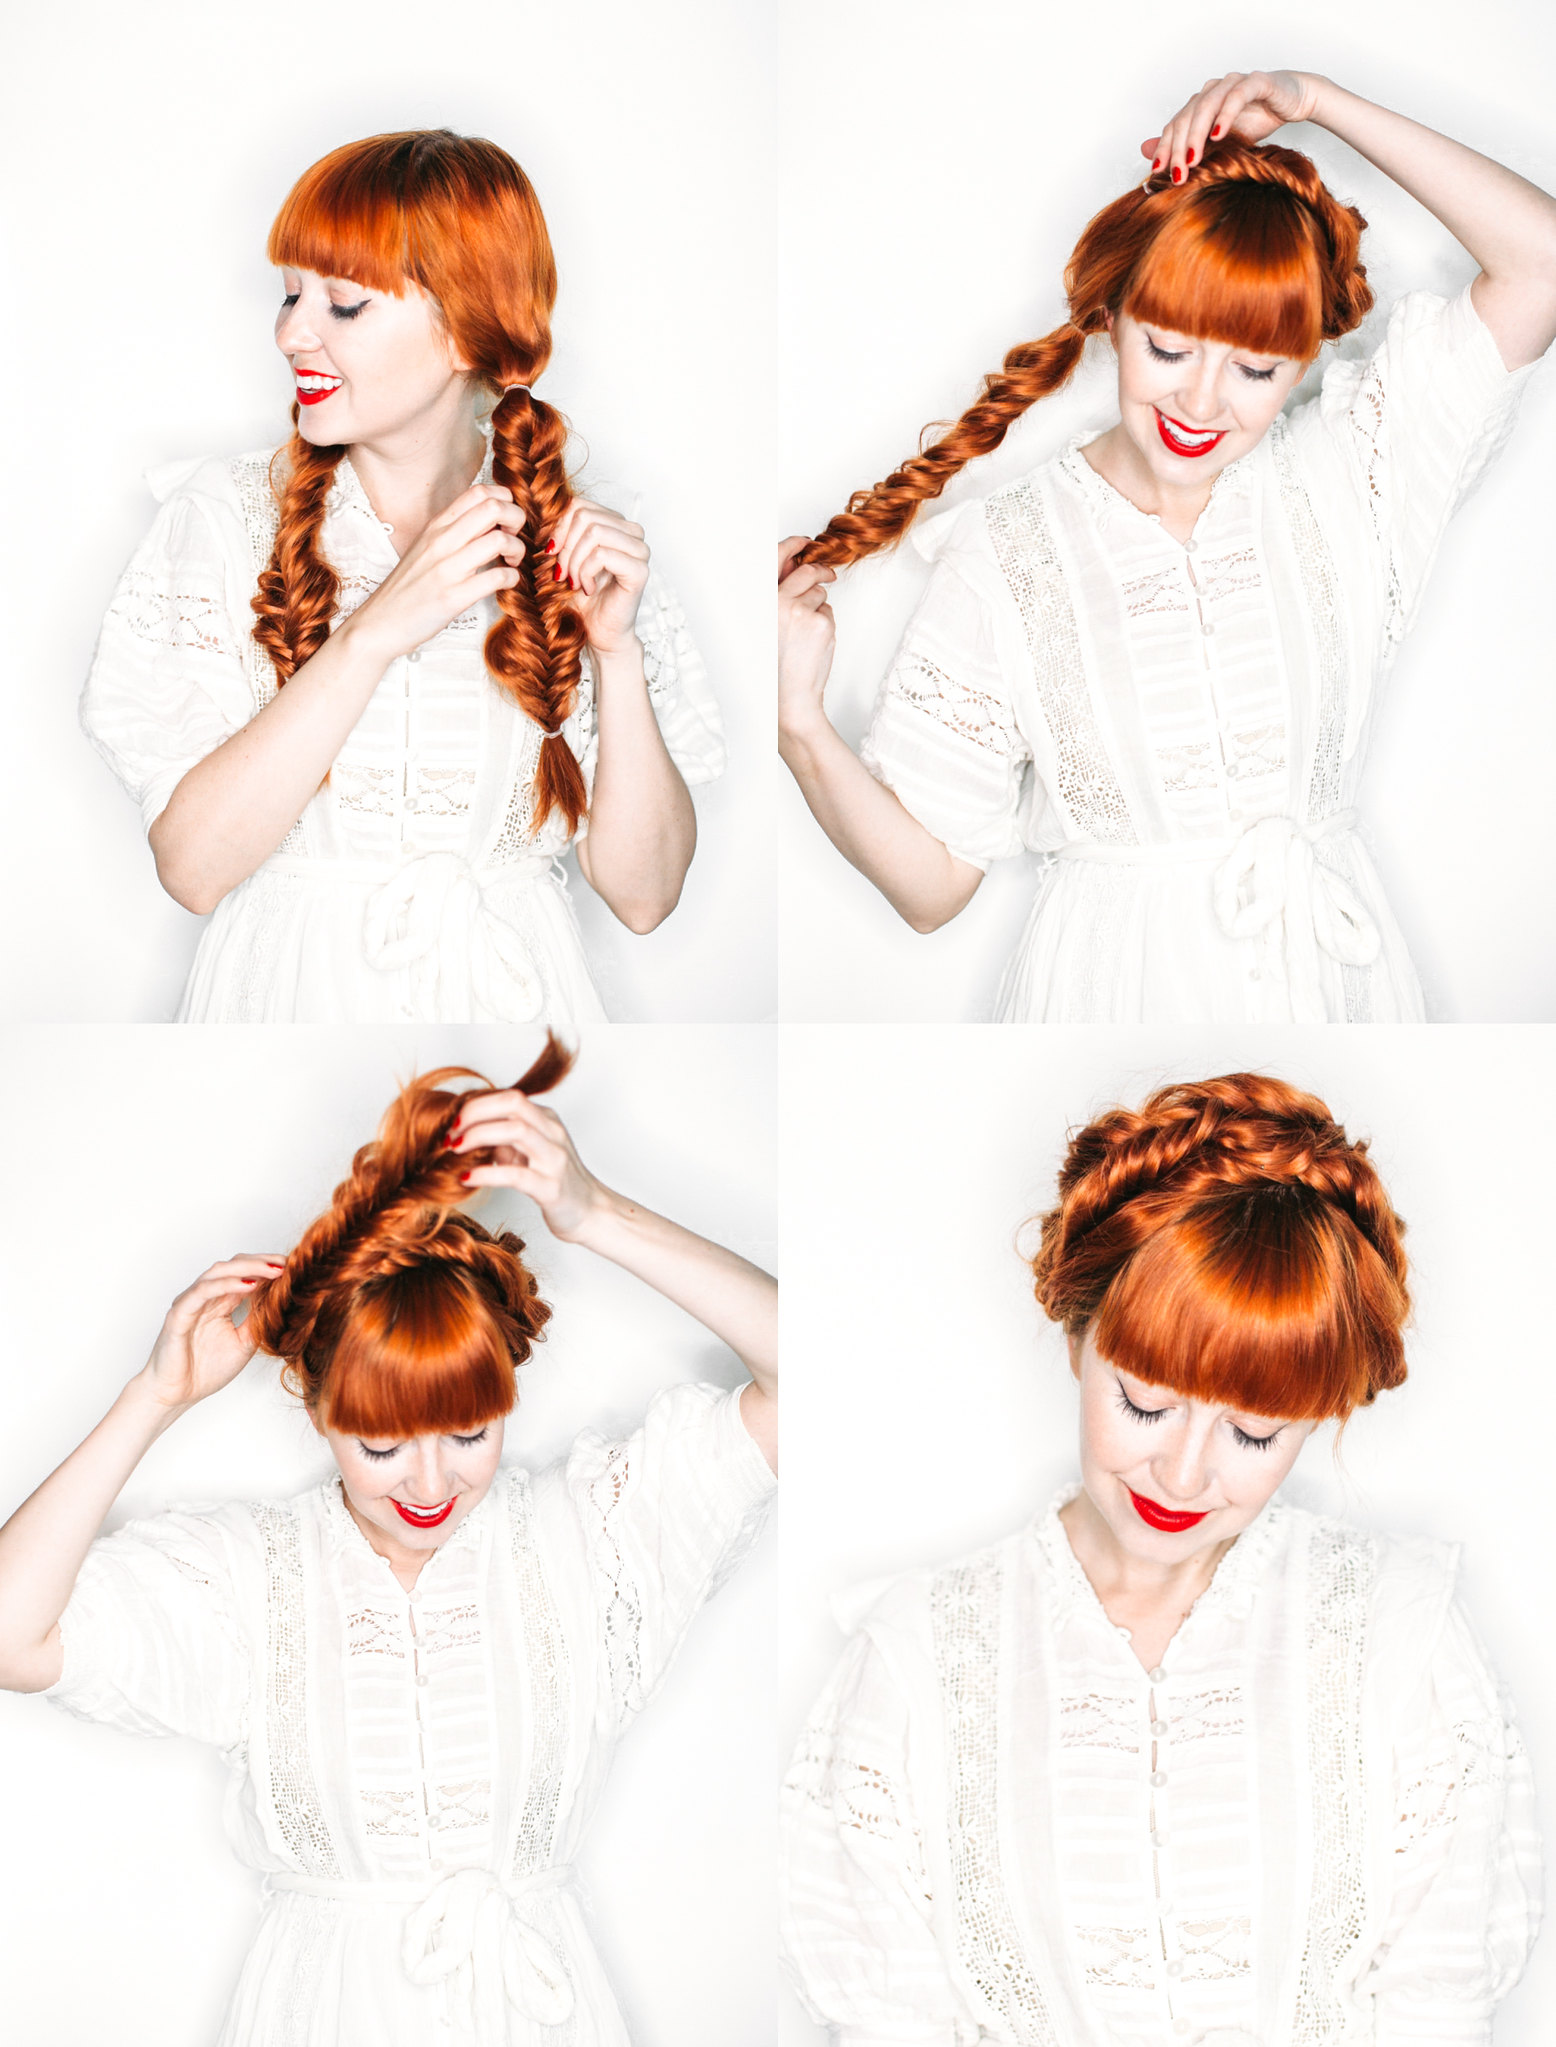

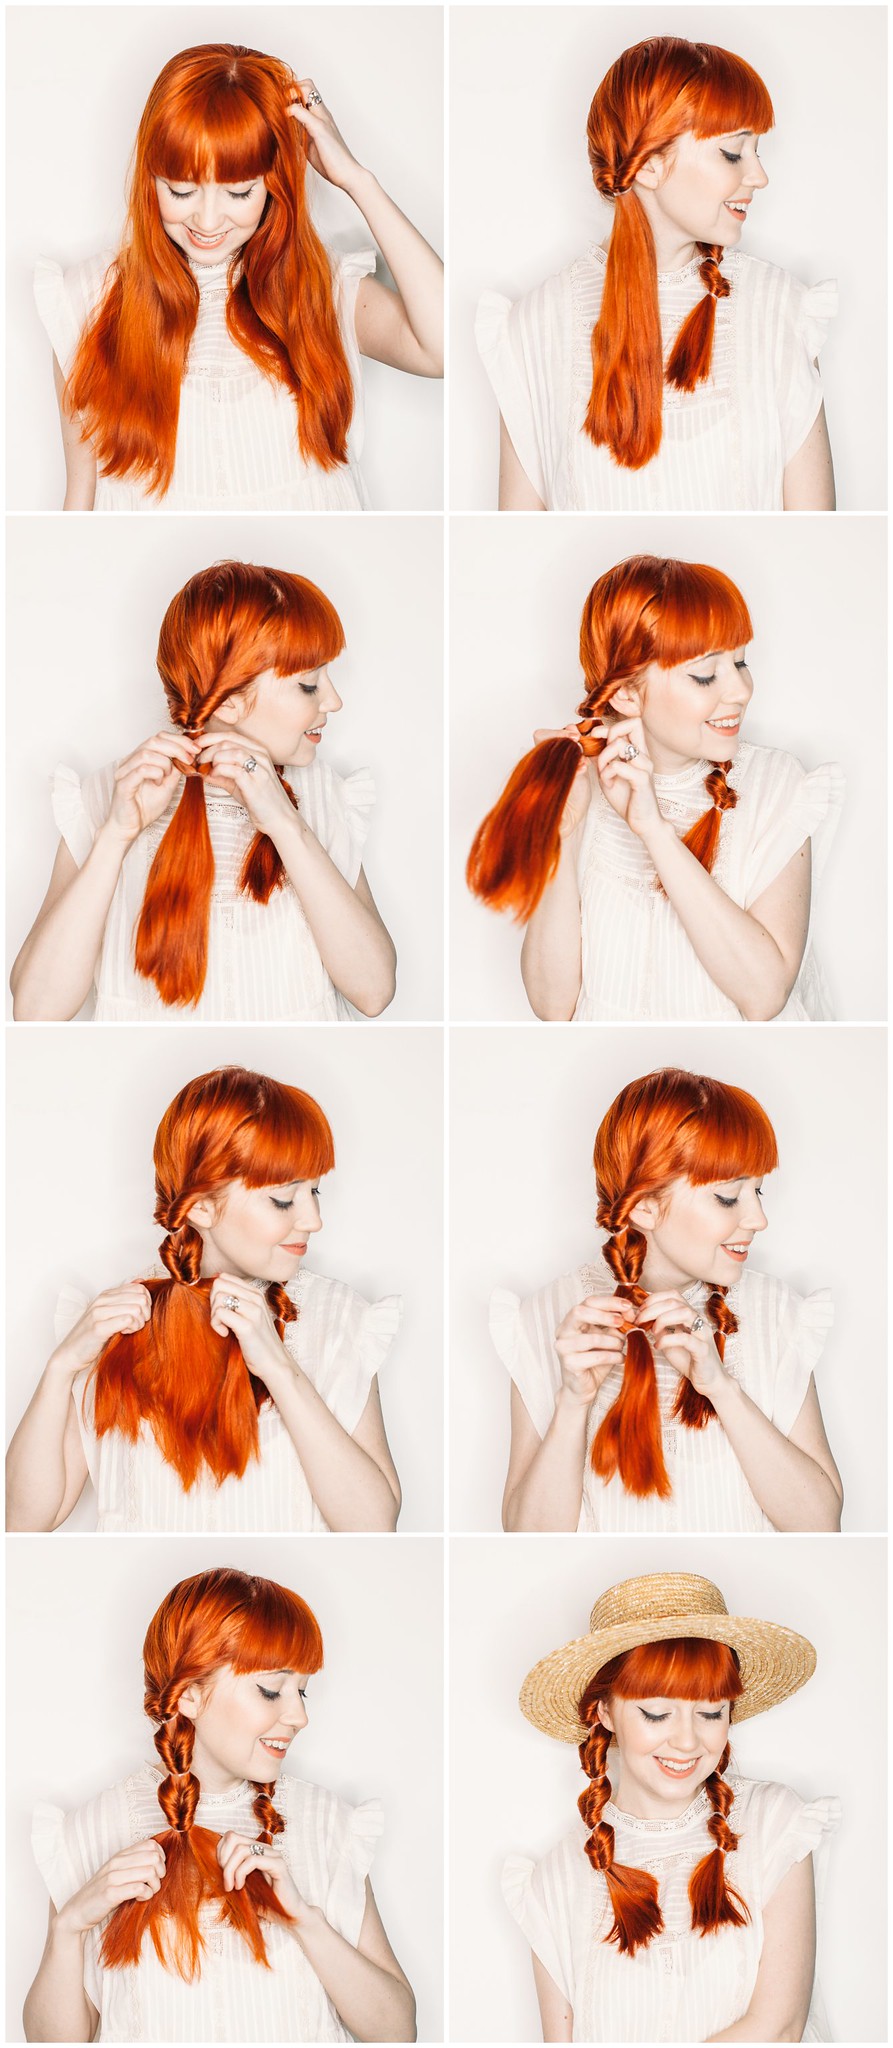 Step one: divide your hair into two even sections and tie off with elastics.
 Step one: start with brushed hair and place a looped headband on top of your hair (I like wired headbands because they hold their shape nicely).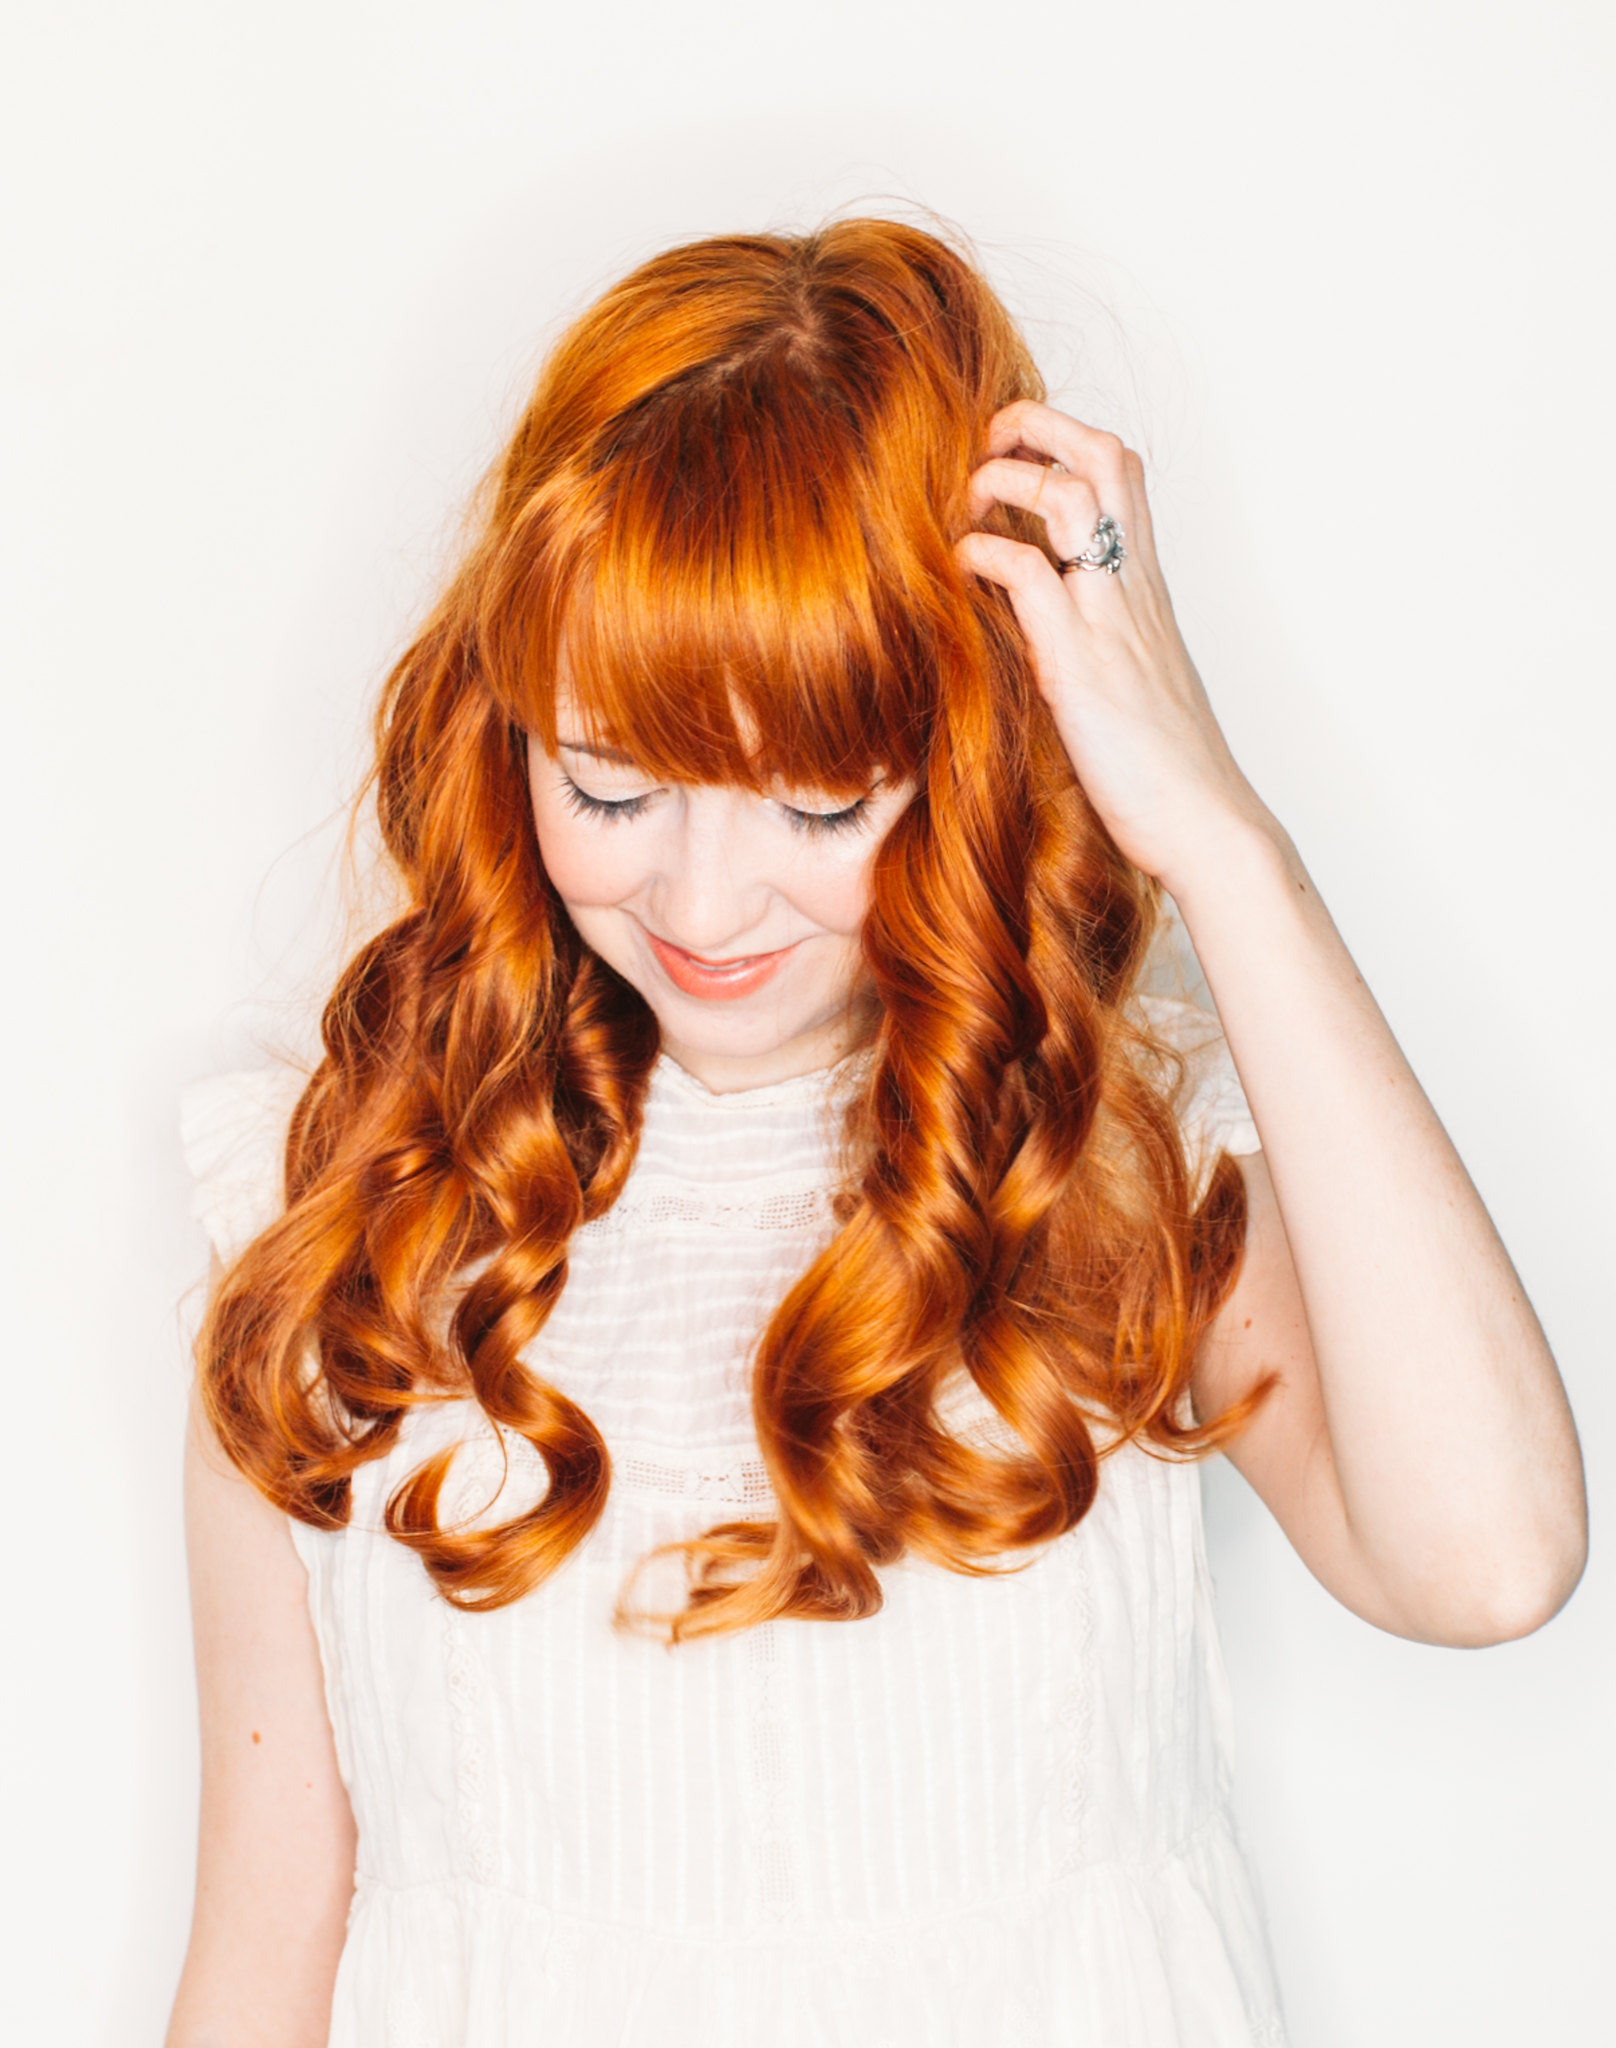
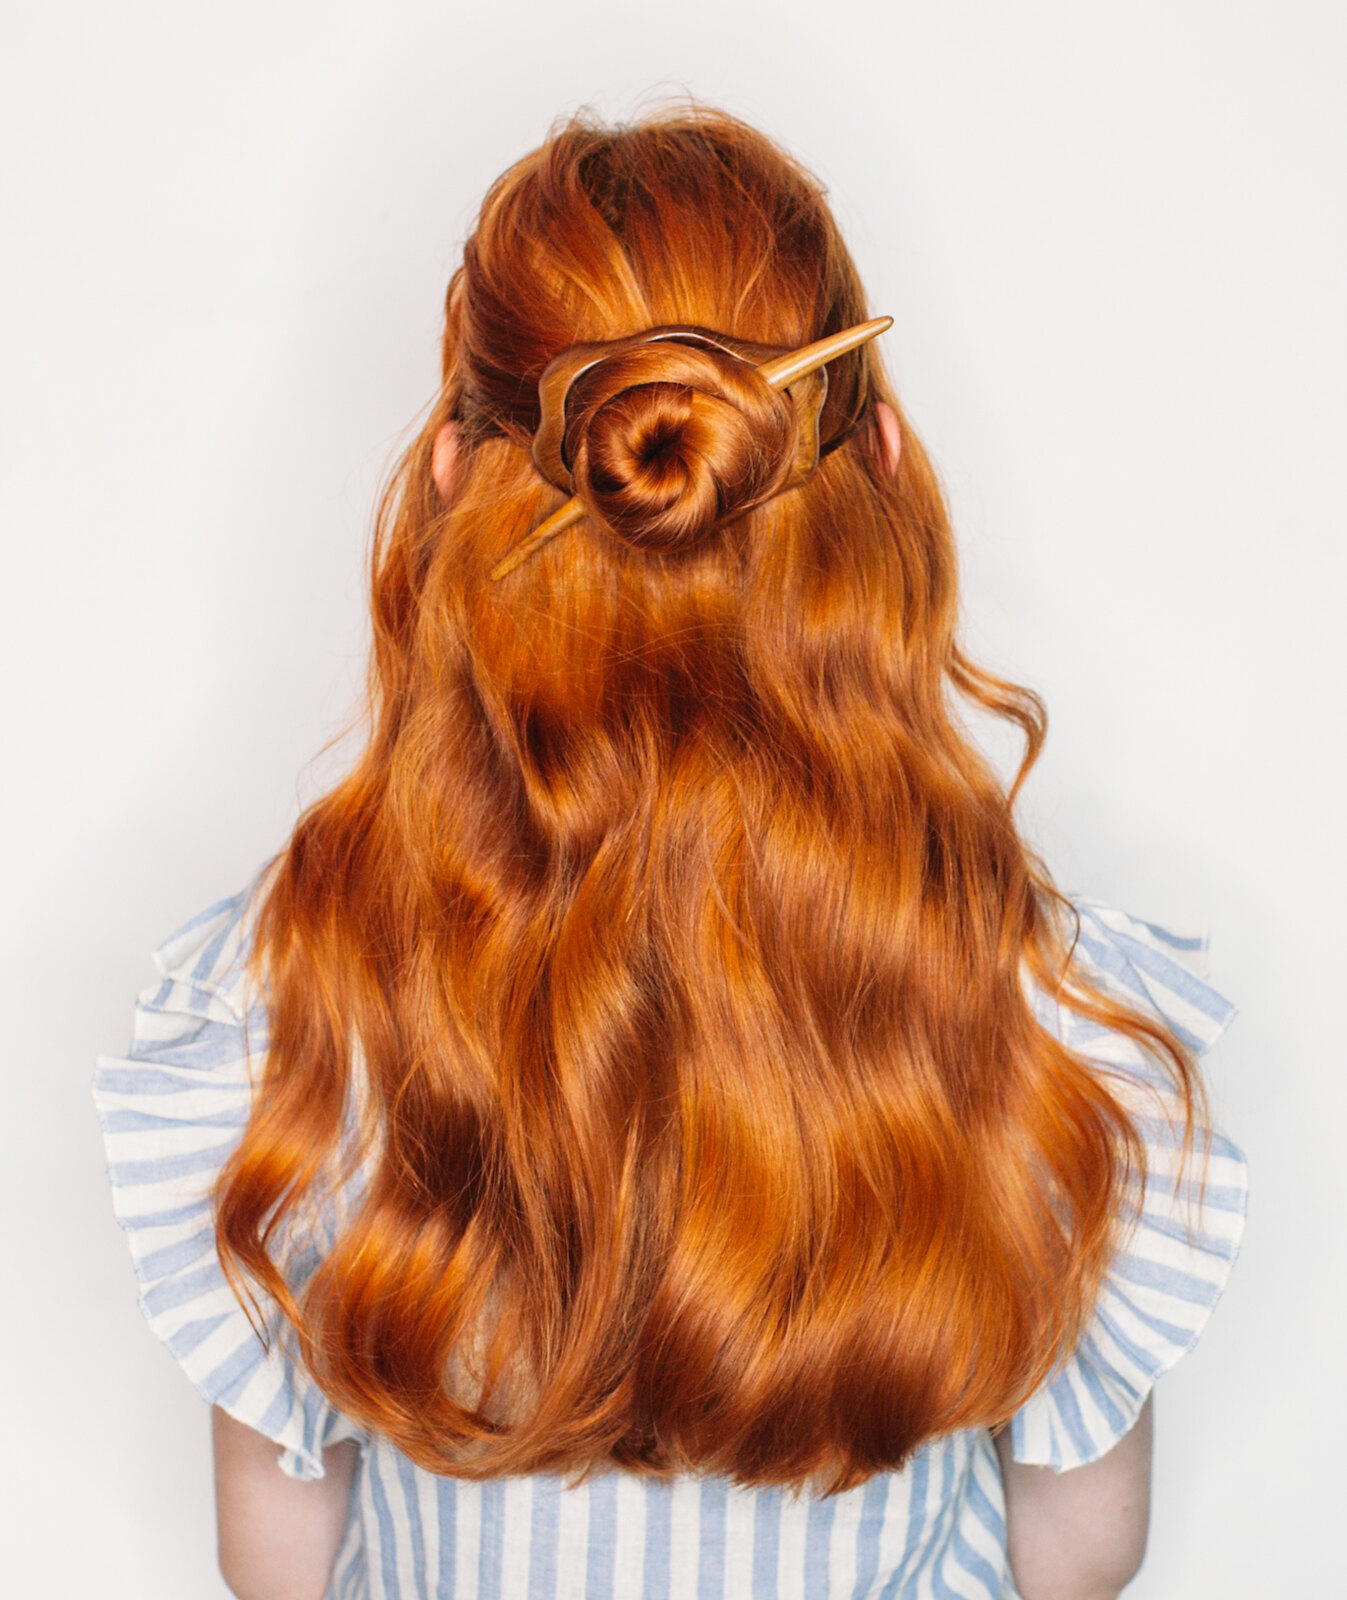
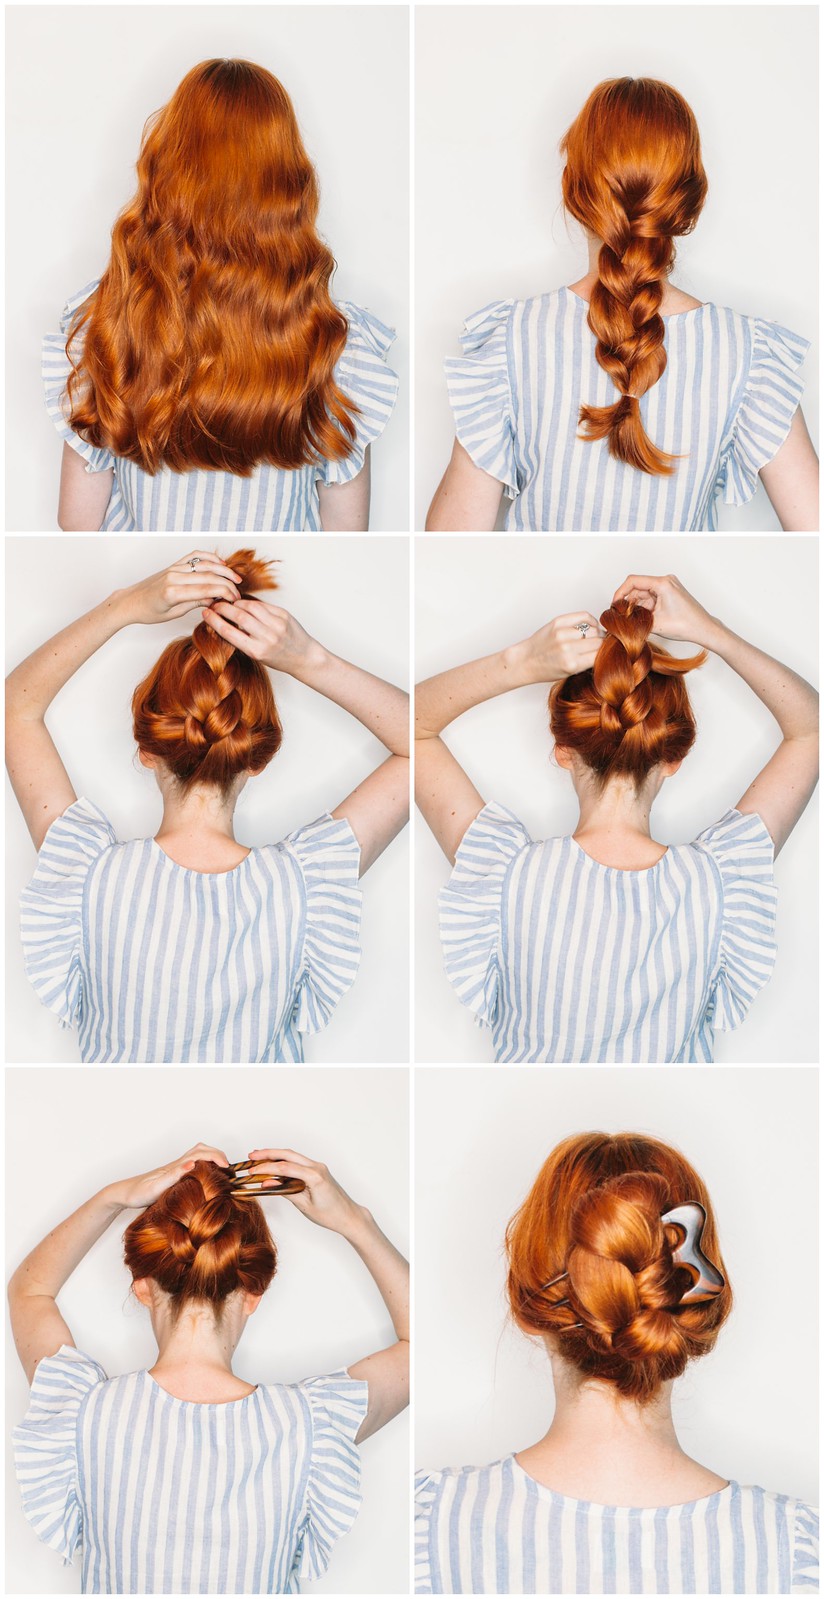
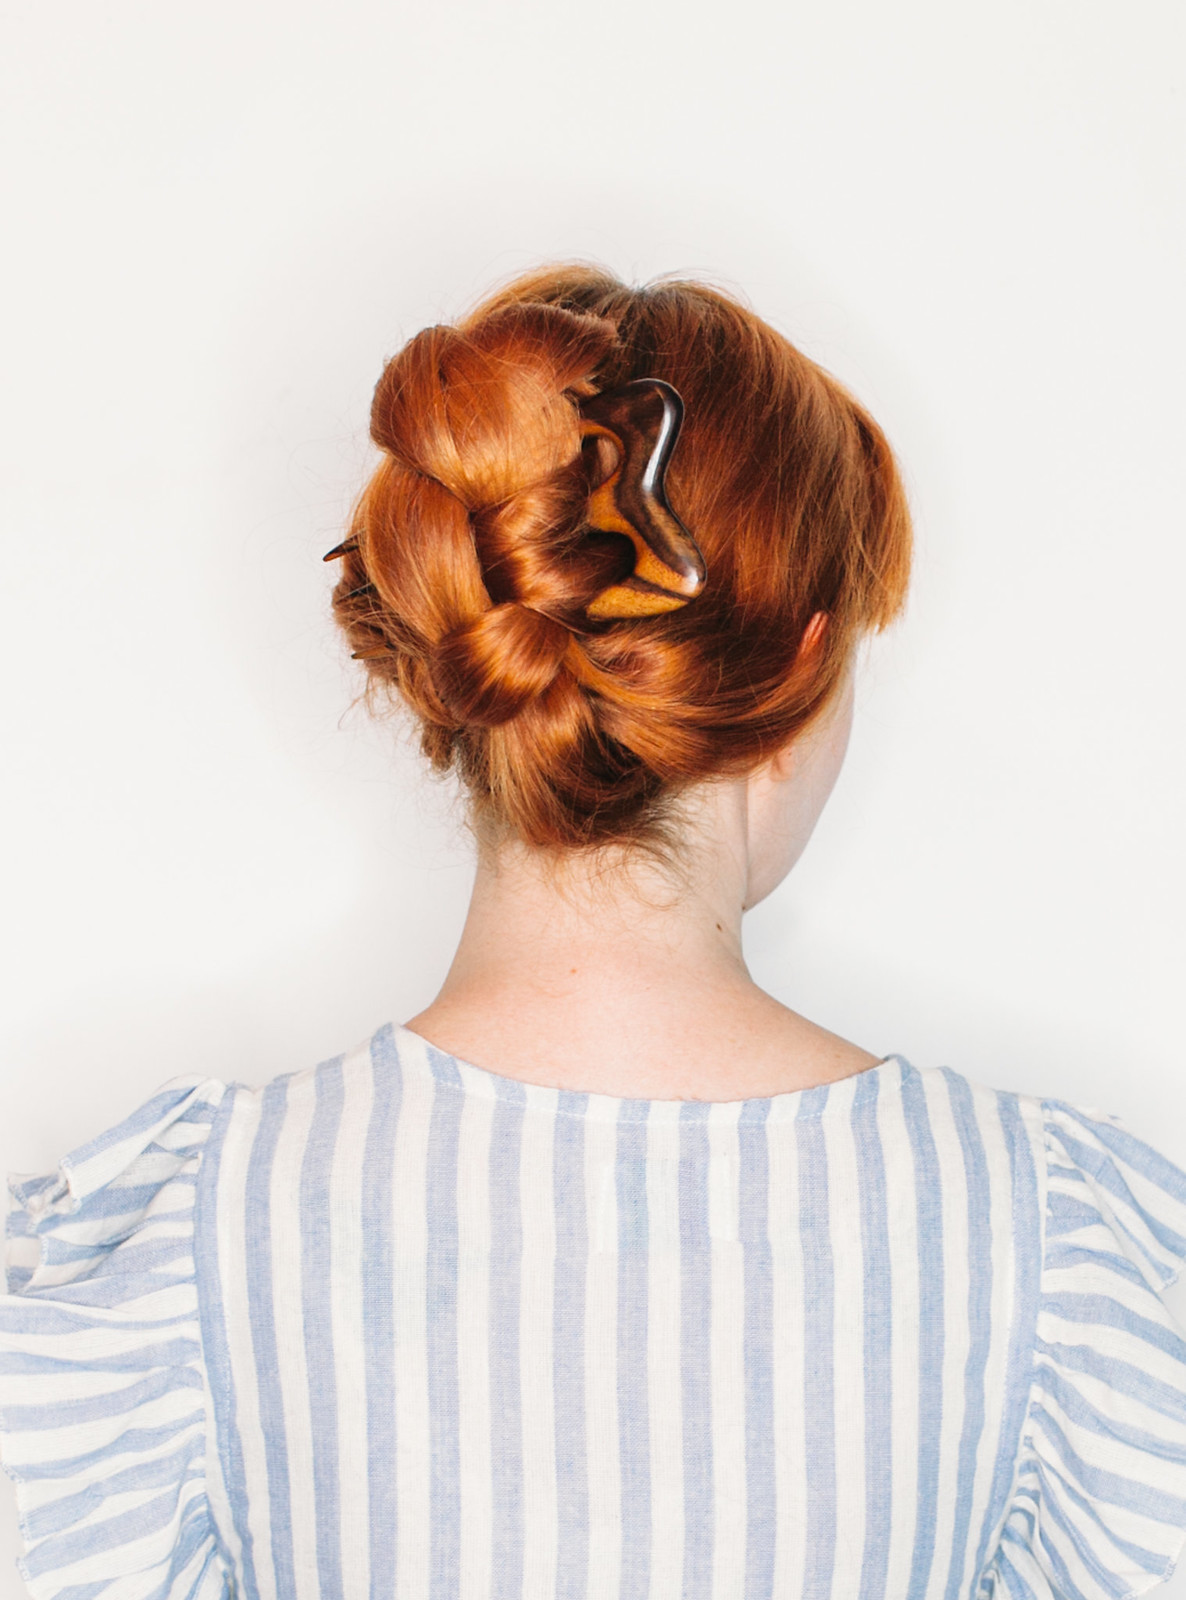
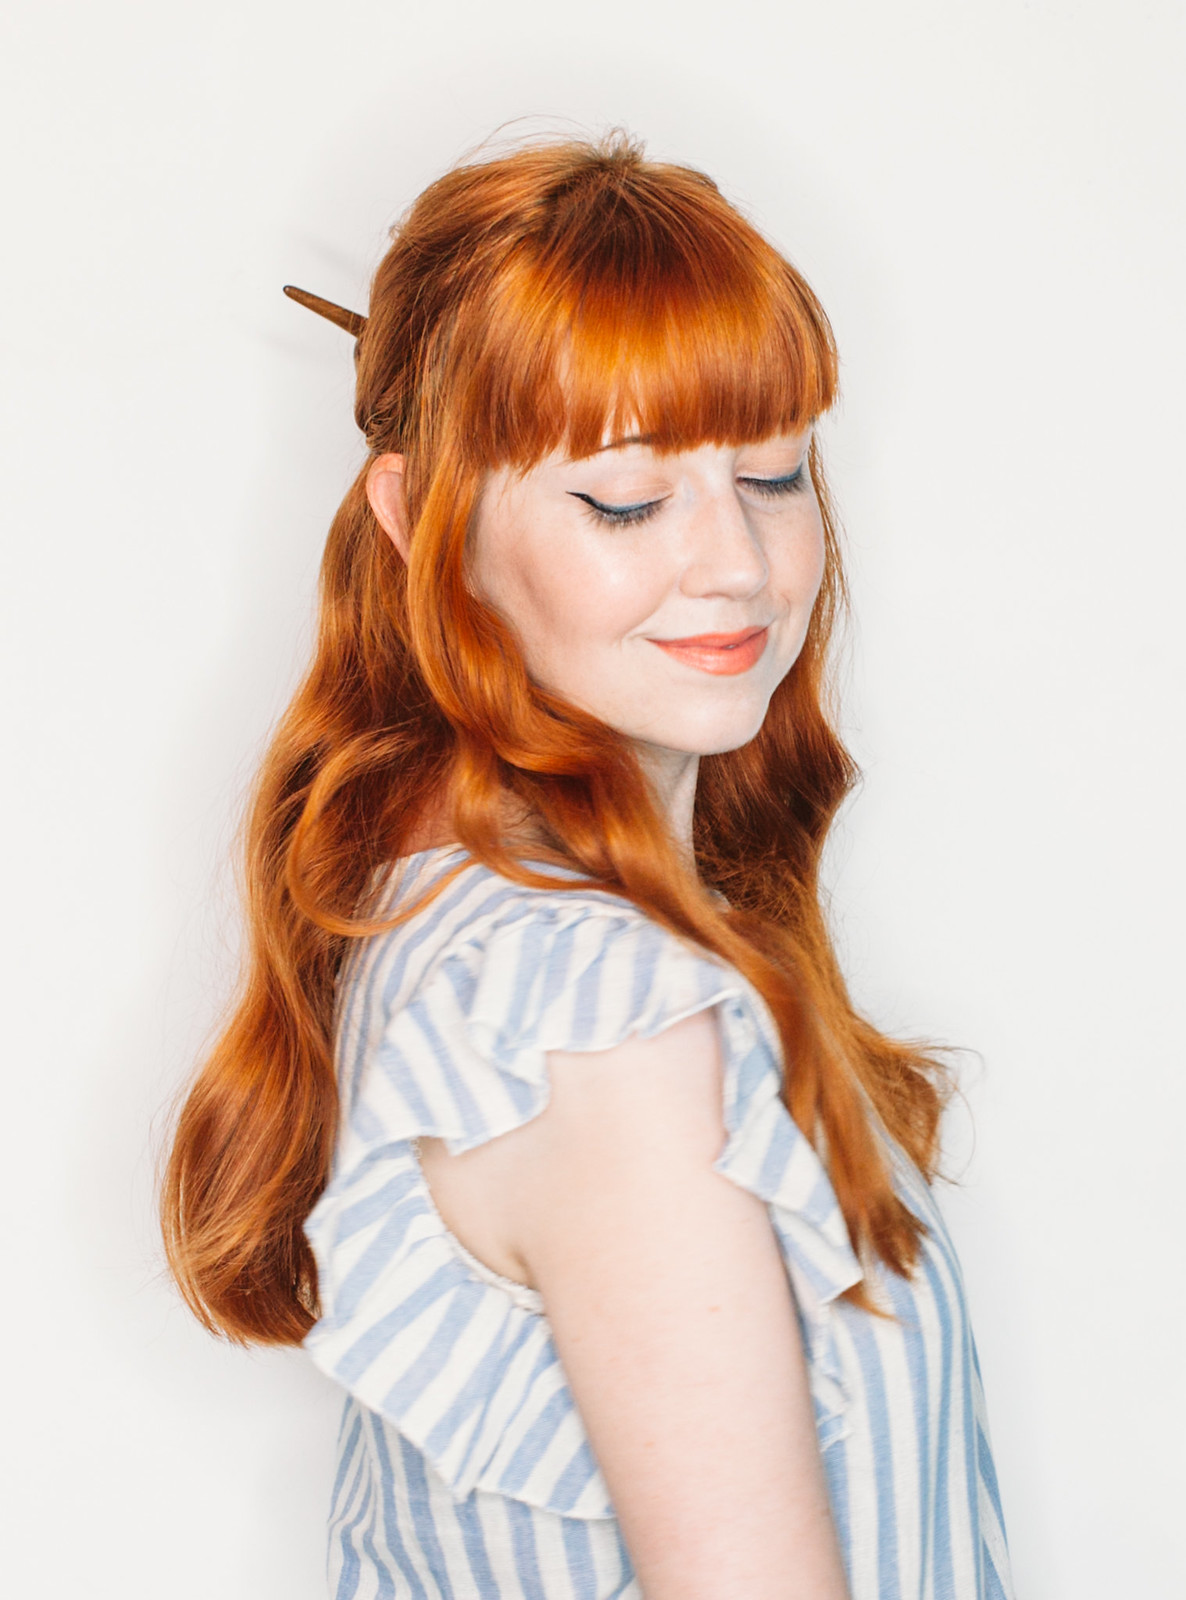
 Half up dos are always one of my most requested hair tutorial styles to do, so I'm always trying to think of new styles. This style is very simple and uses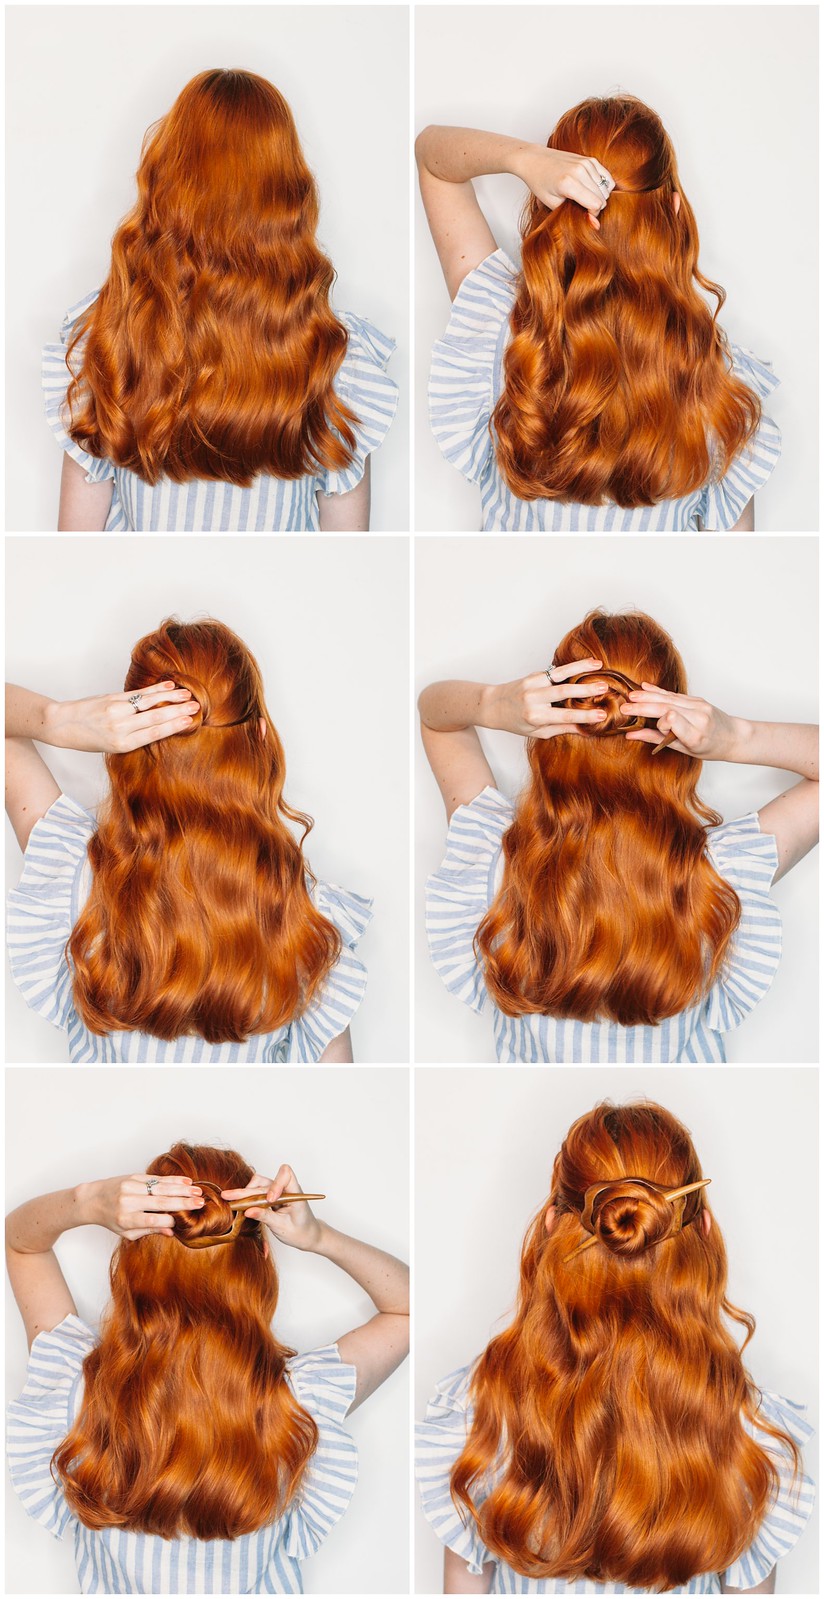
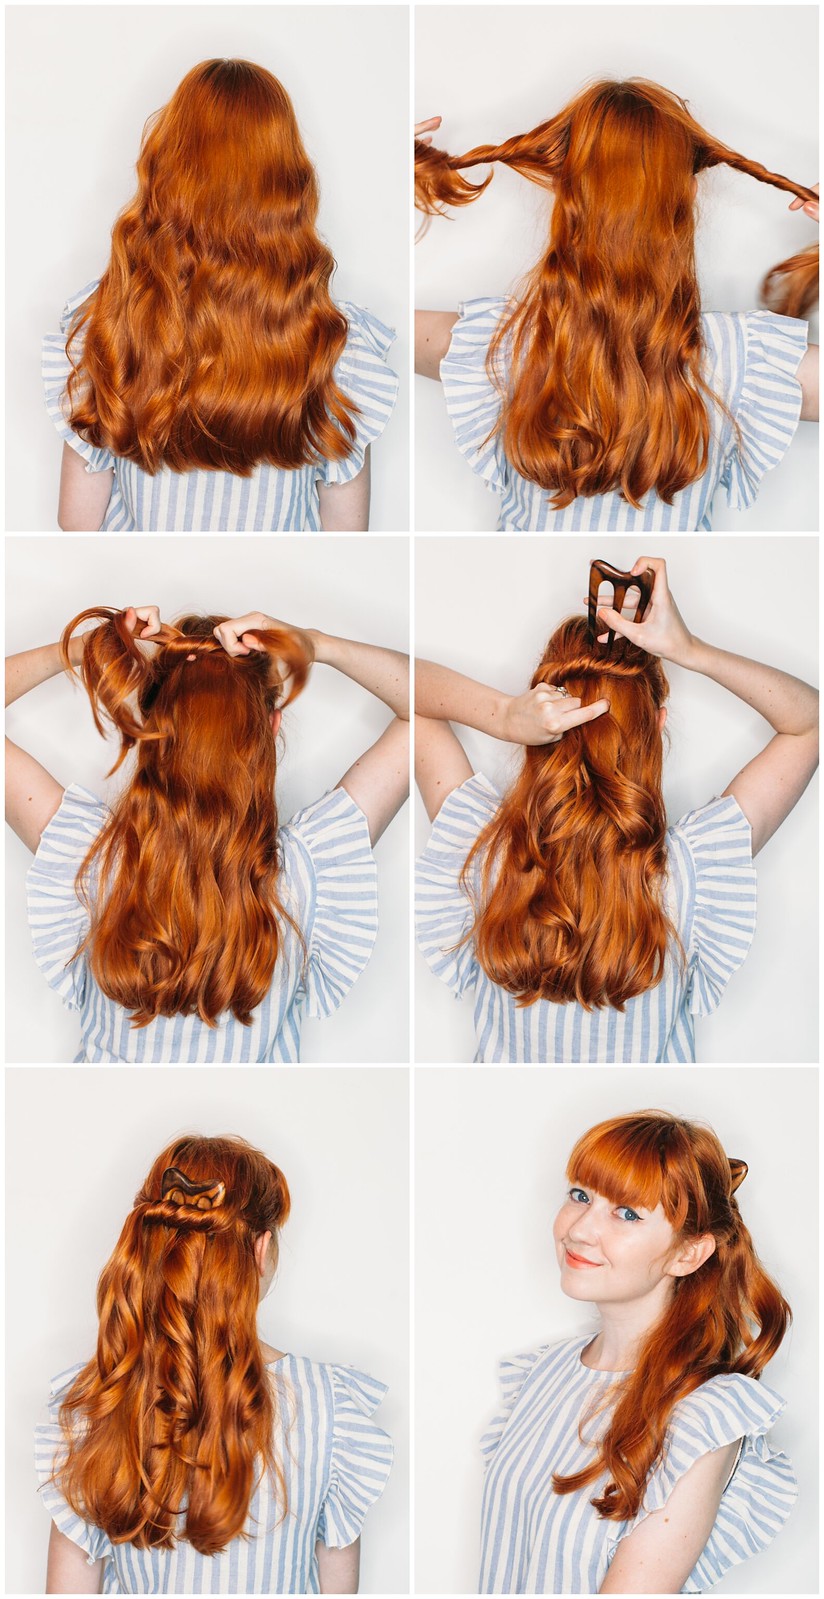
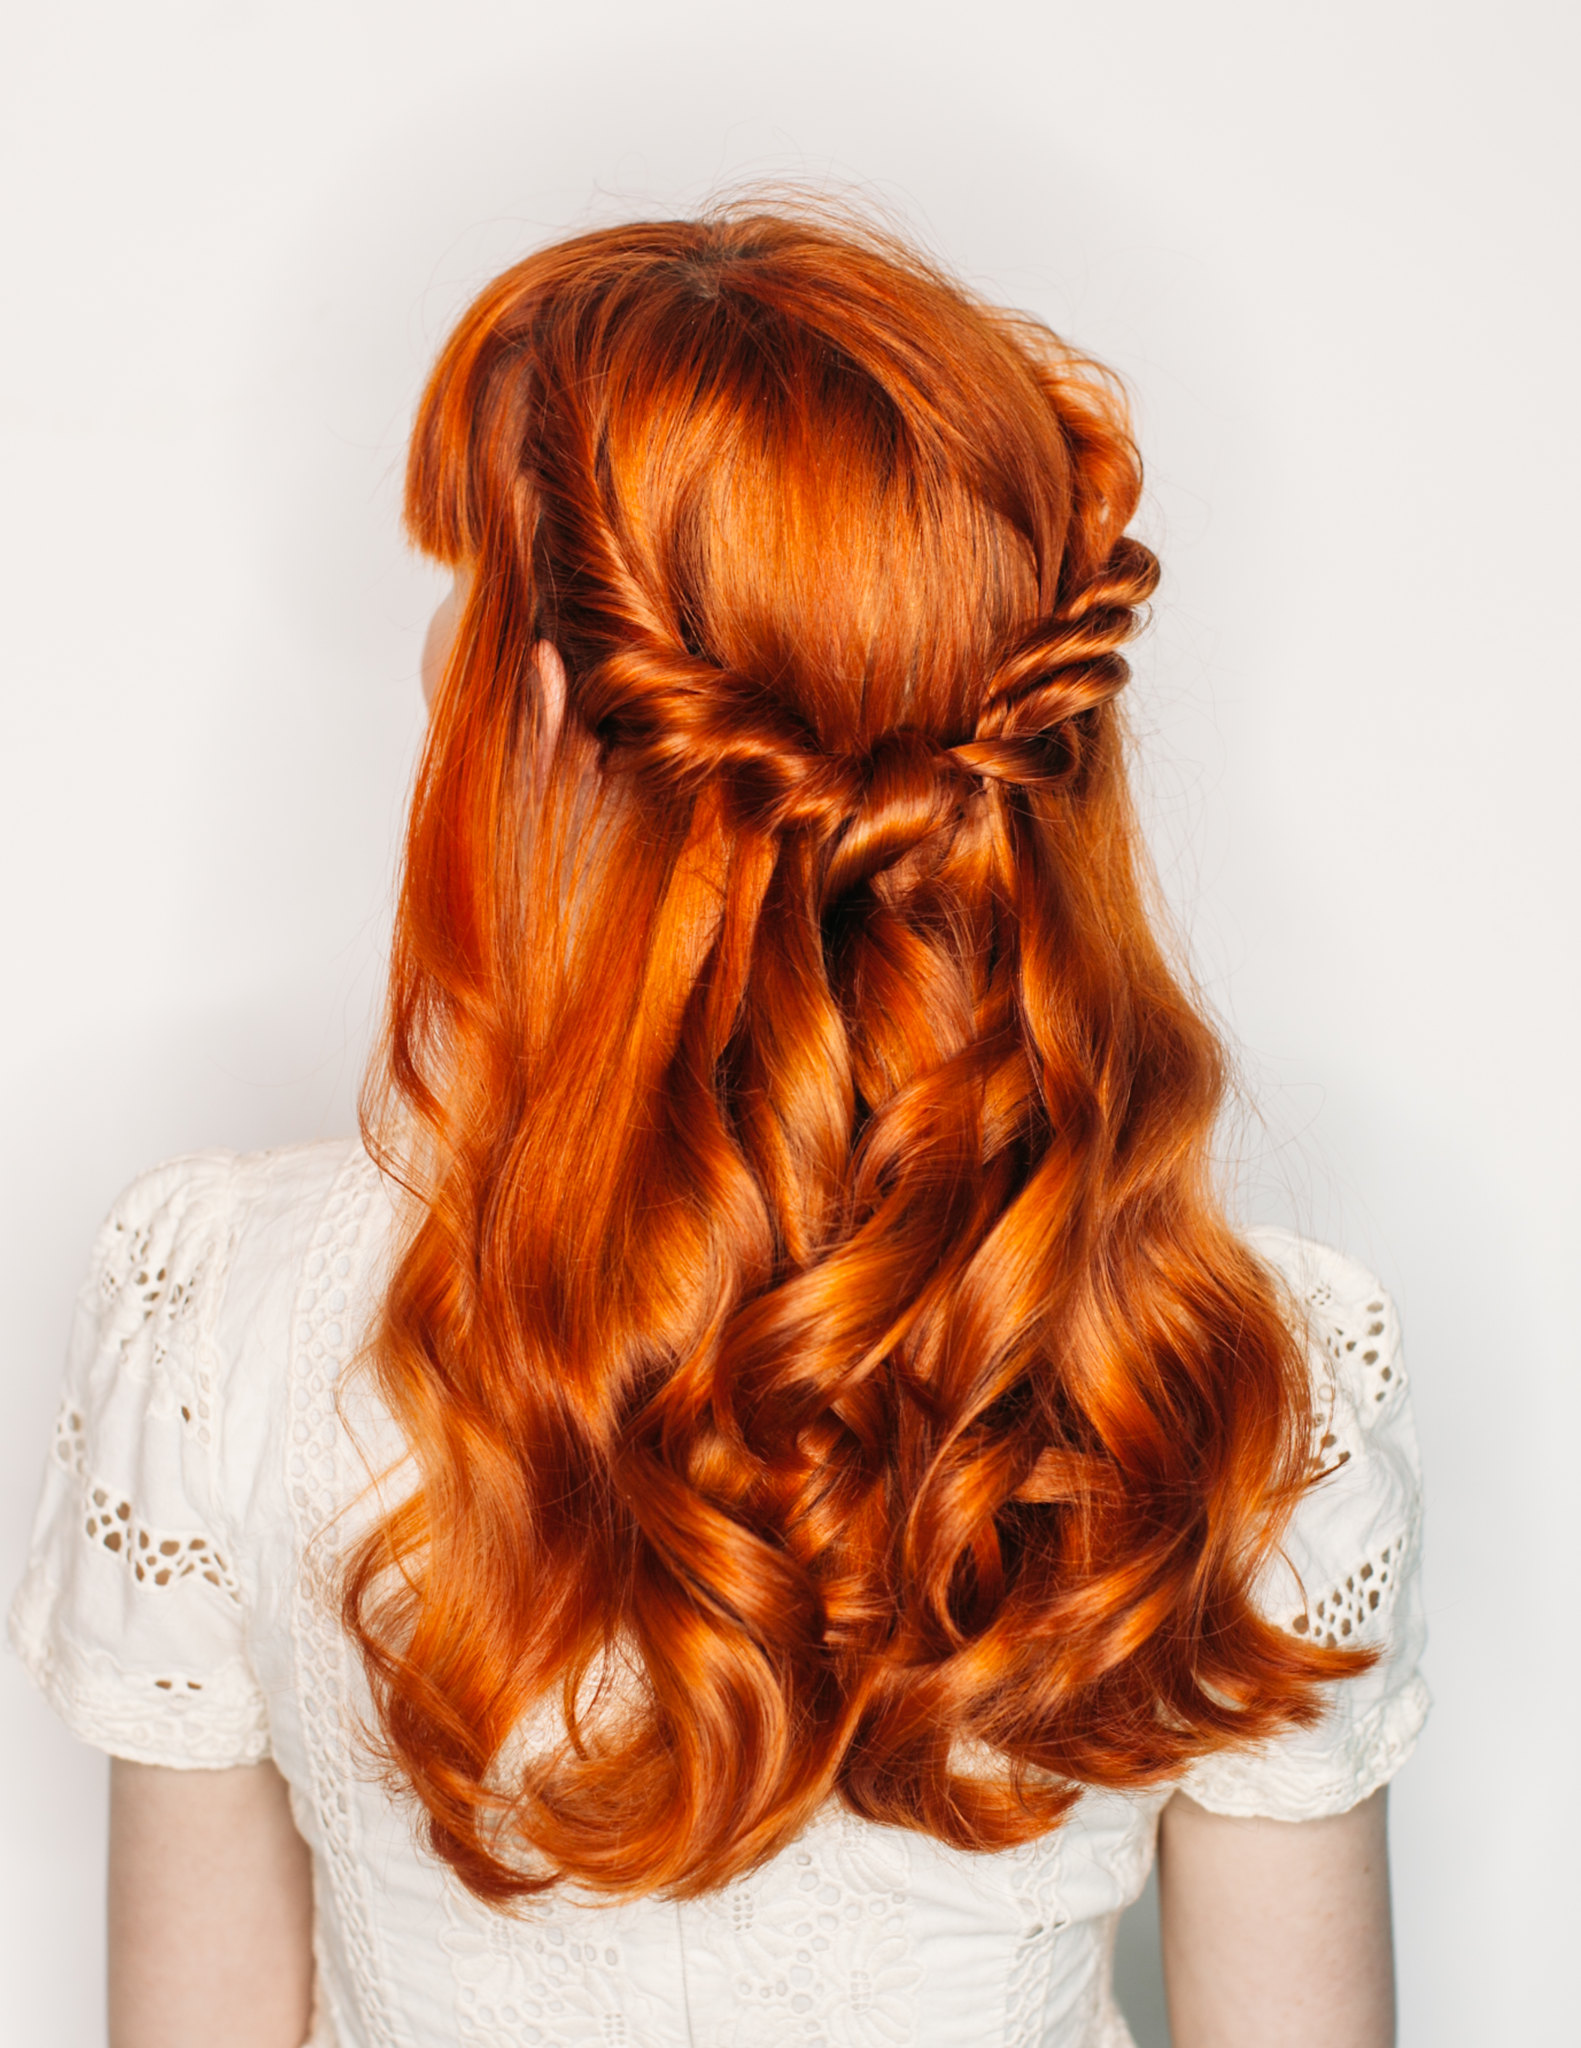
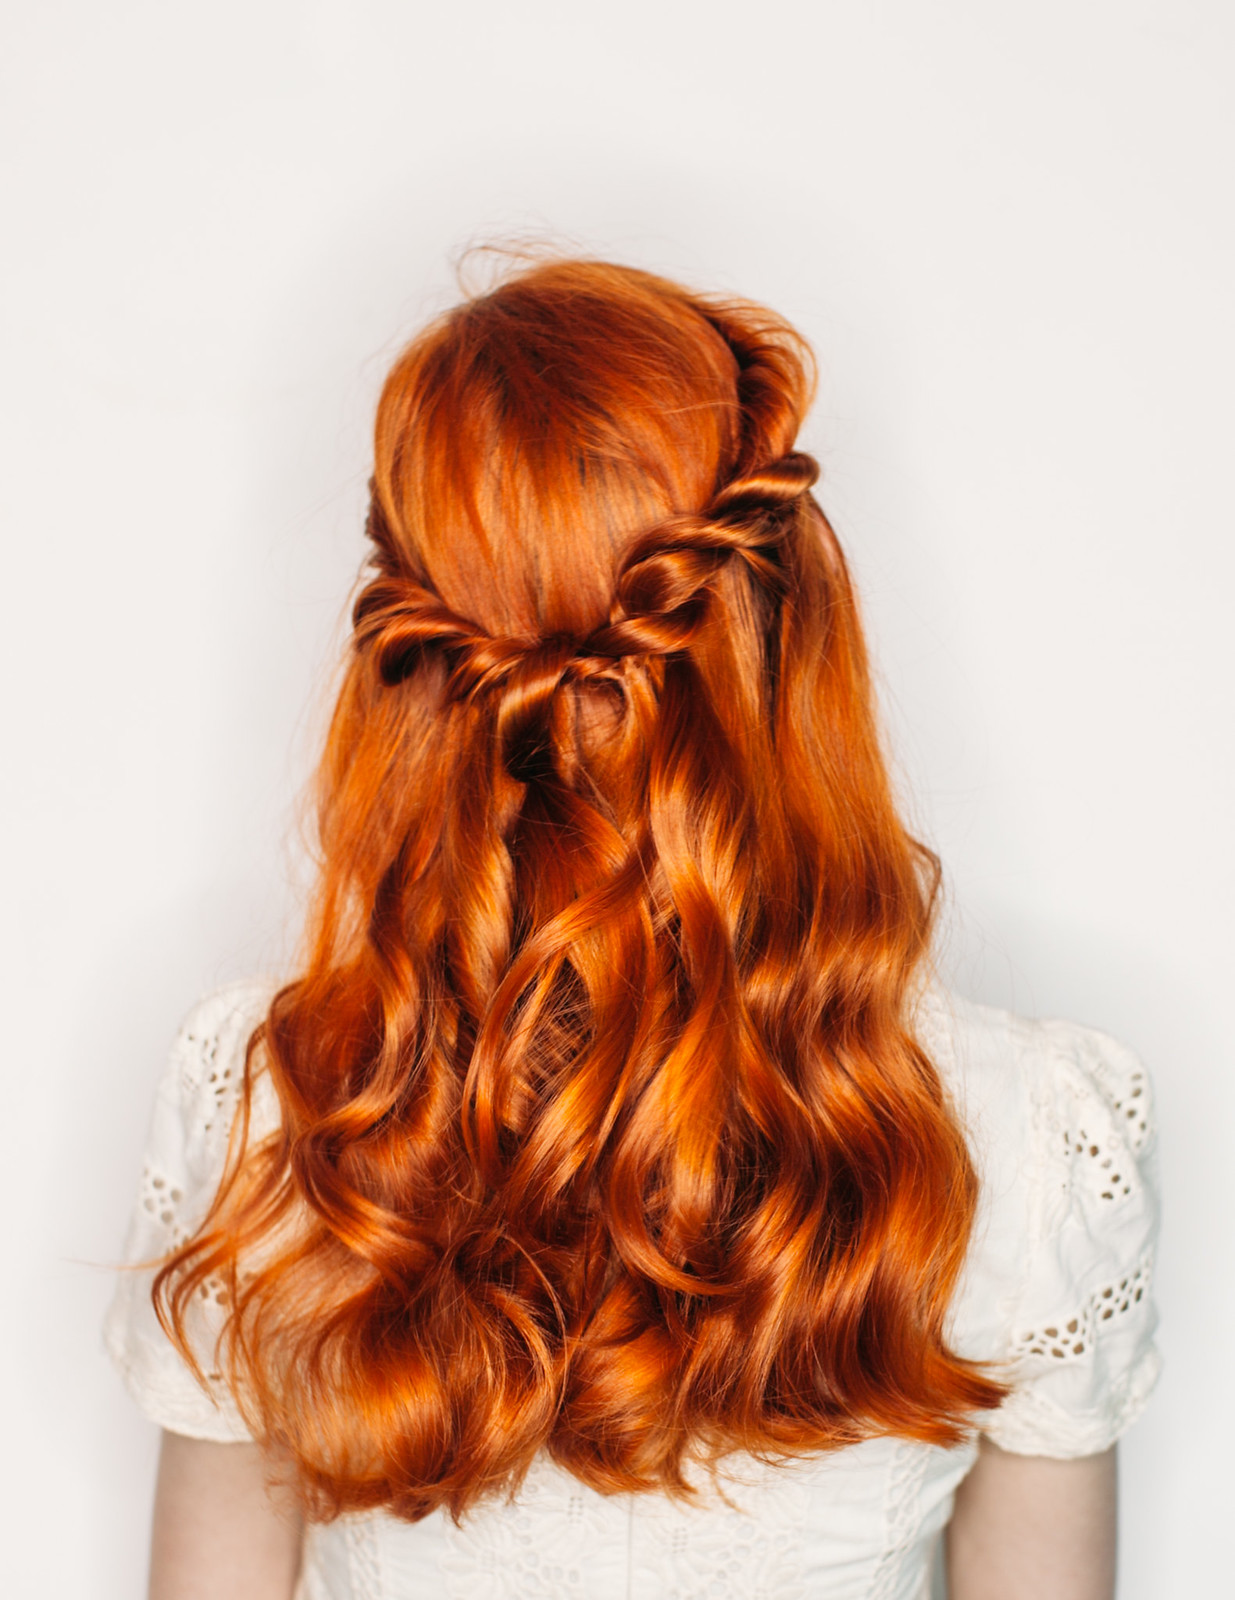 When I asked what type of hair tutorials people would like to see, half up/half down dos were the most requested. This twisted style is my favorite half up do and like so many of my favorite styles it's very easy! (Side note: can someone please come up with a better name for half up/half down dos? It's such a mouthful even if you just say "half up do"--why aren't there any better names for this?!) I never like to take a lot of time getting ready in the morning, so all of my favorite styles can be achieved in no time at all.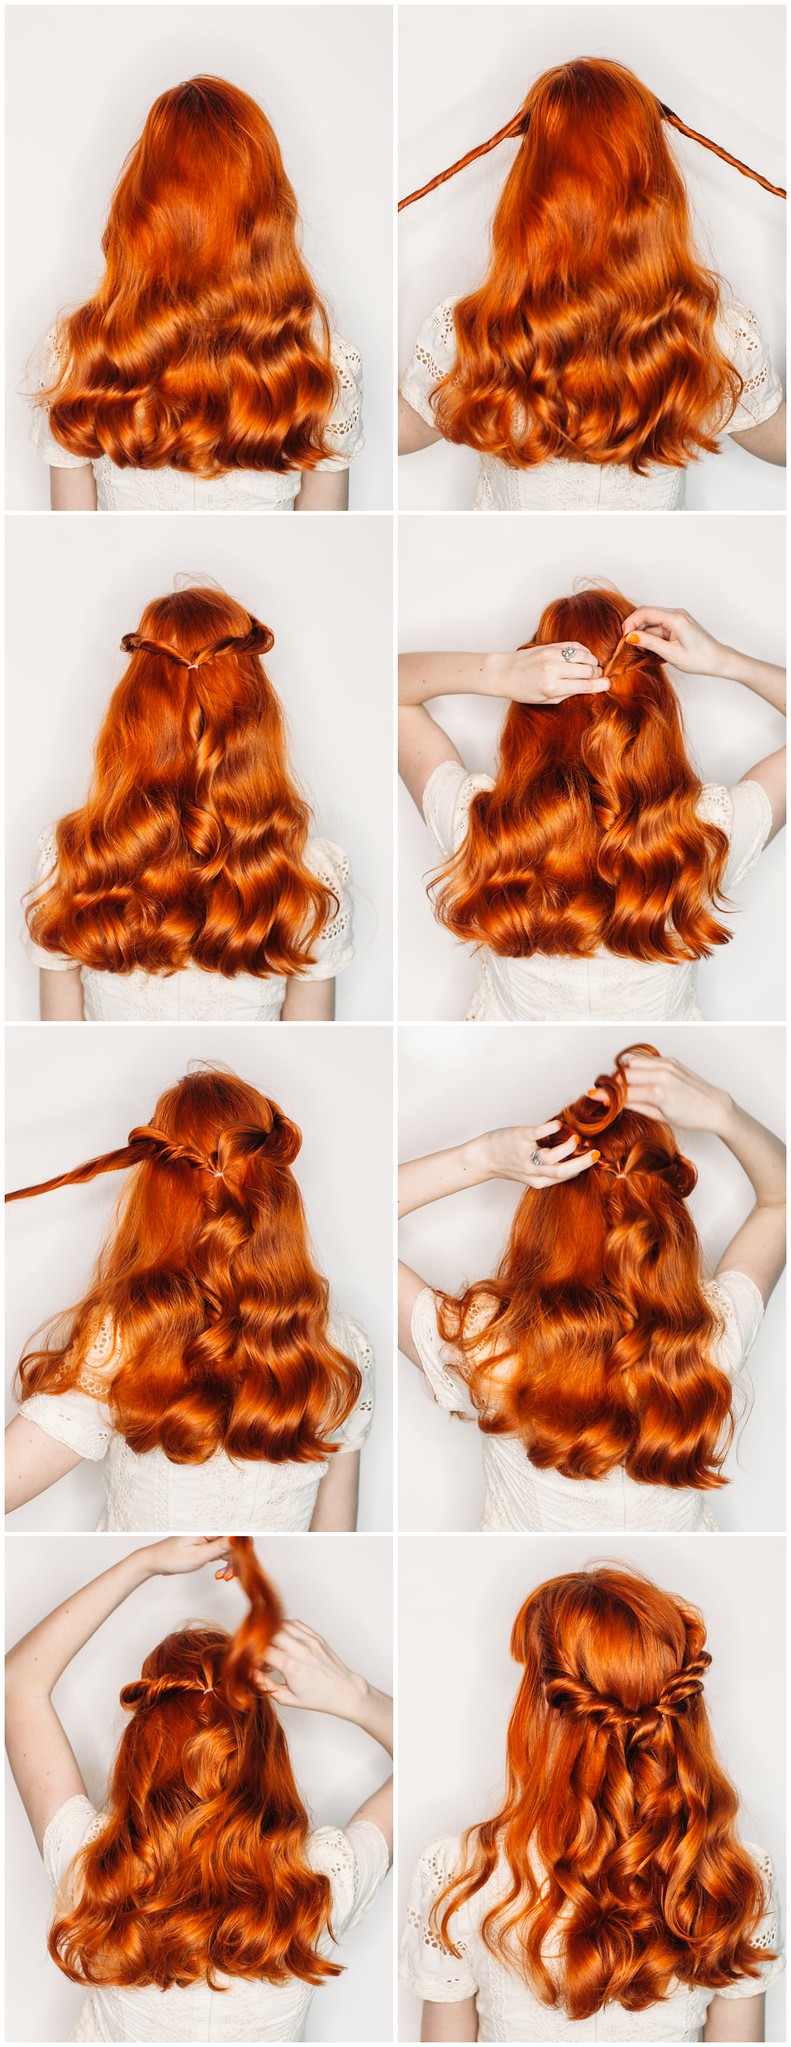
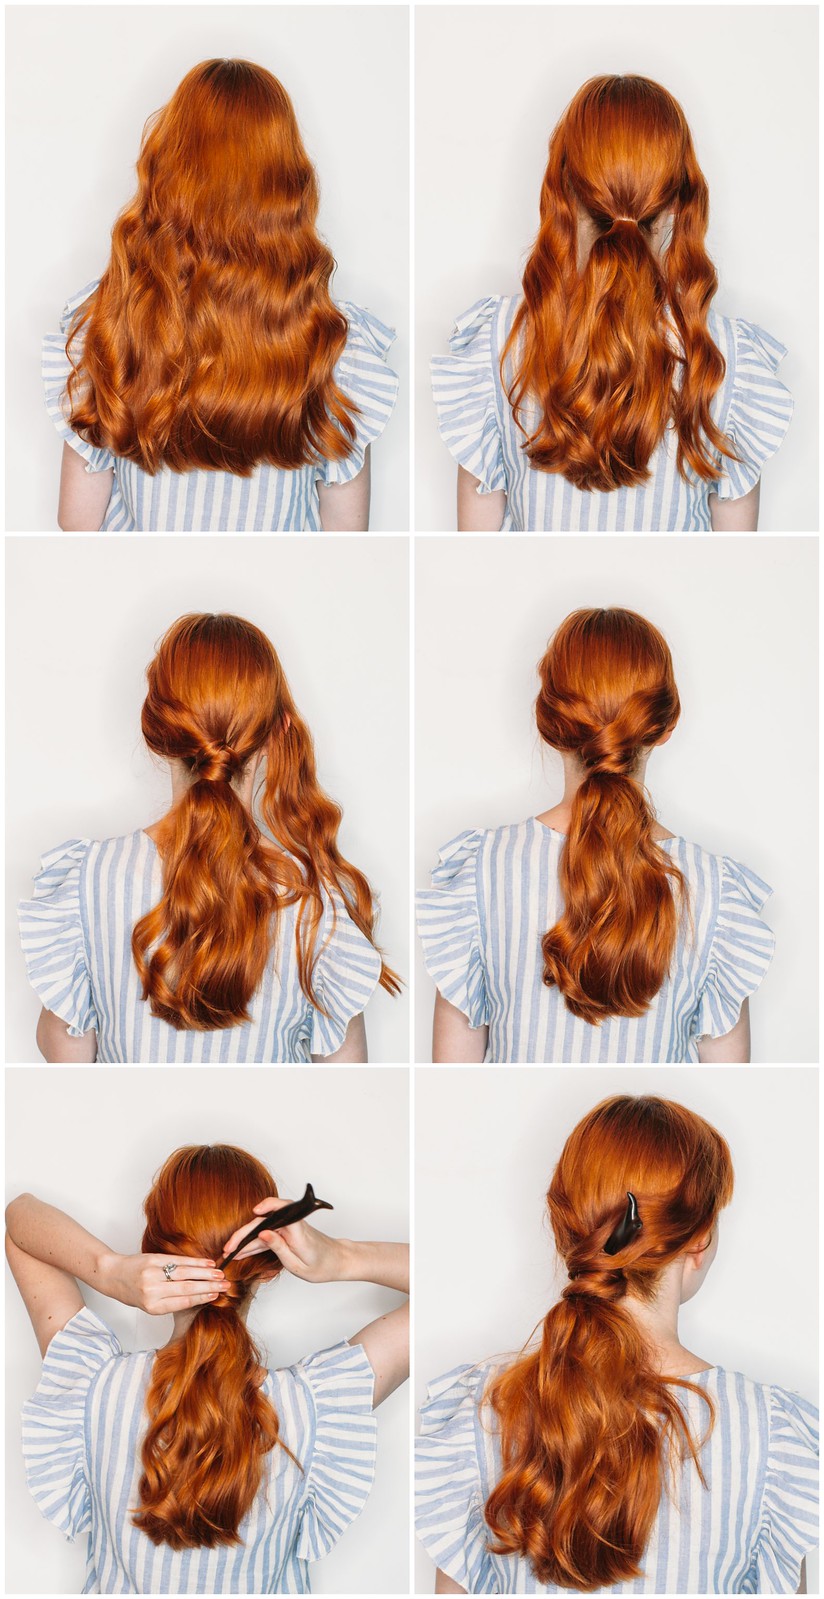
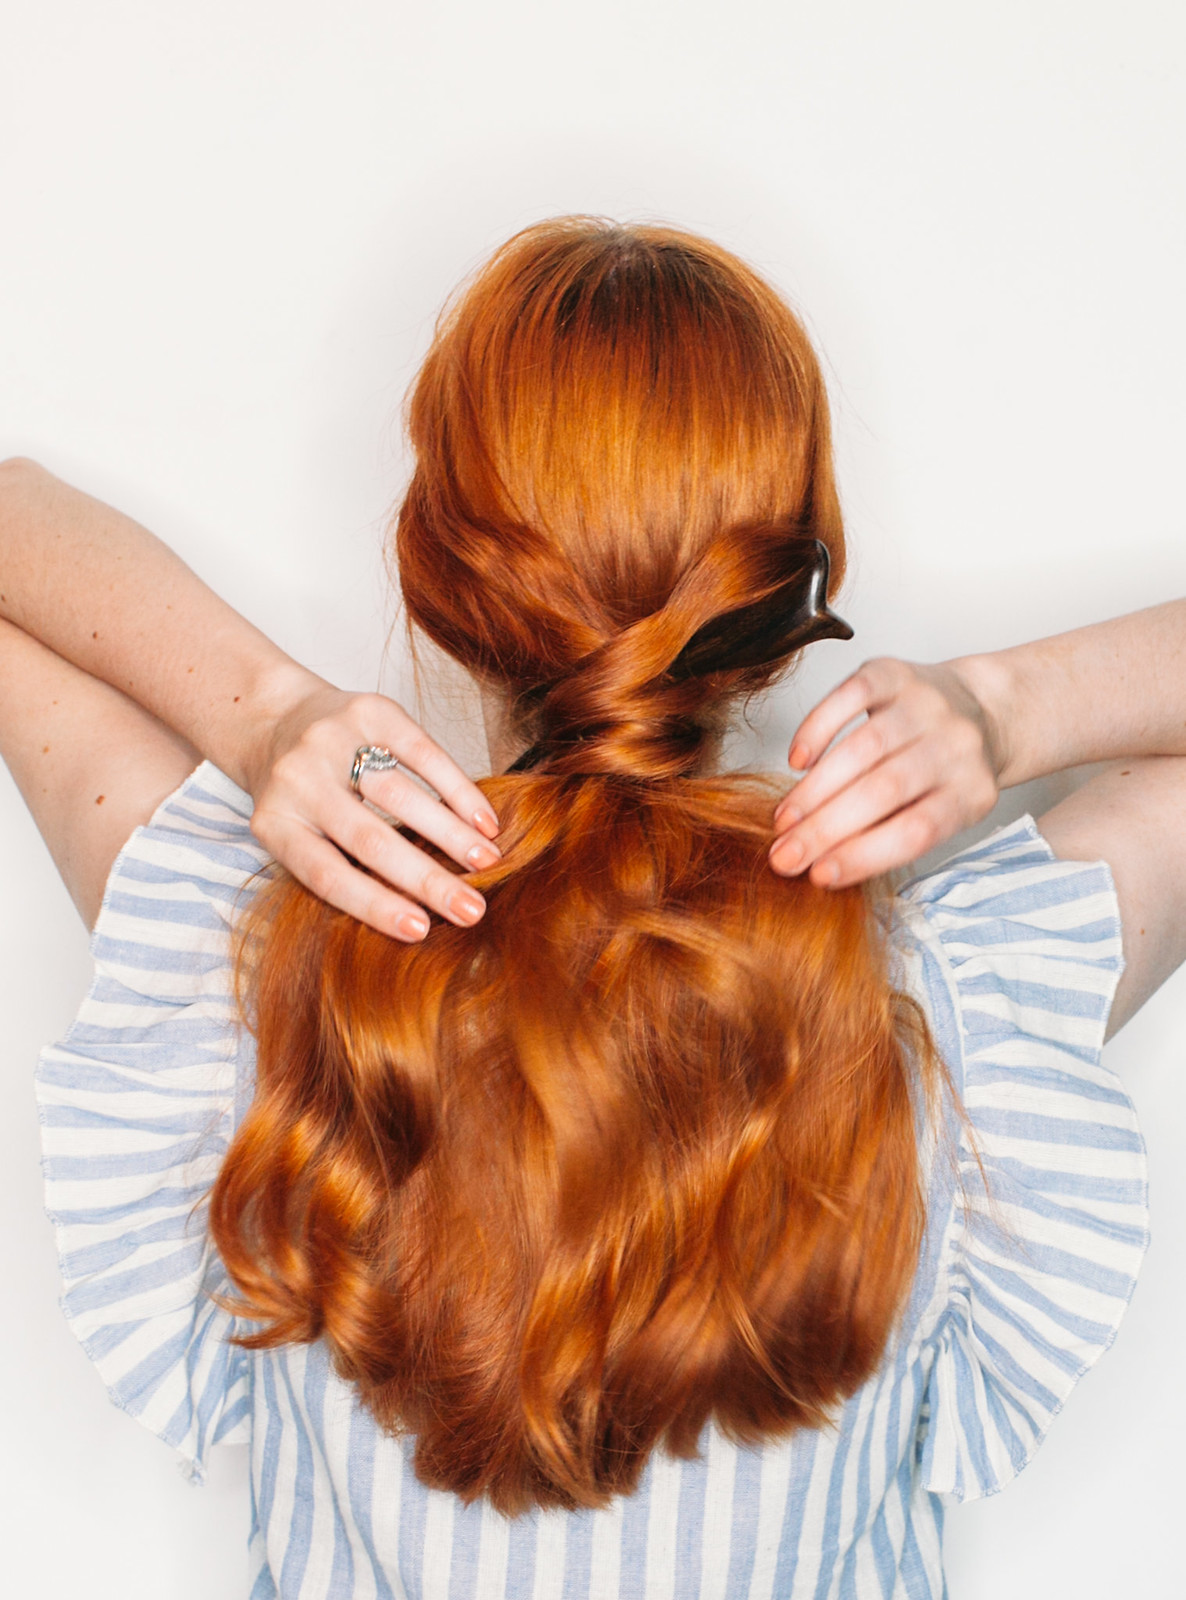
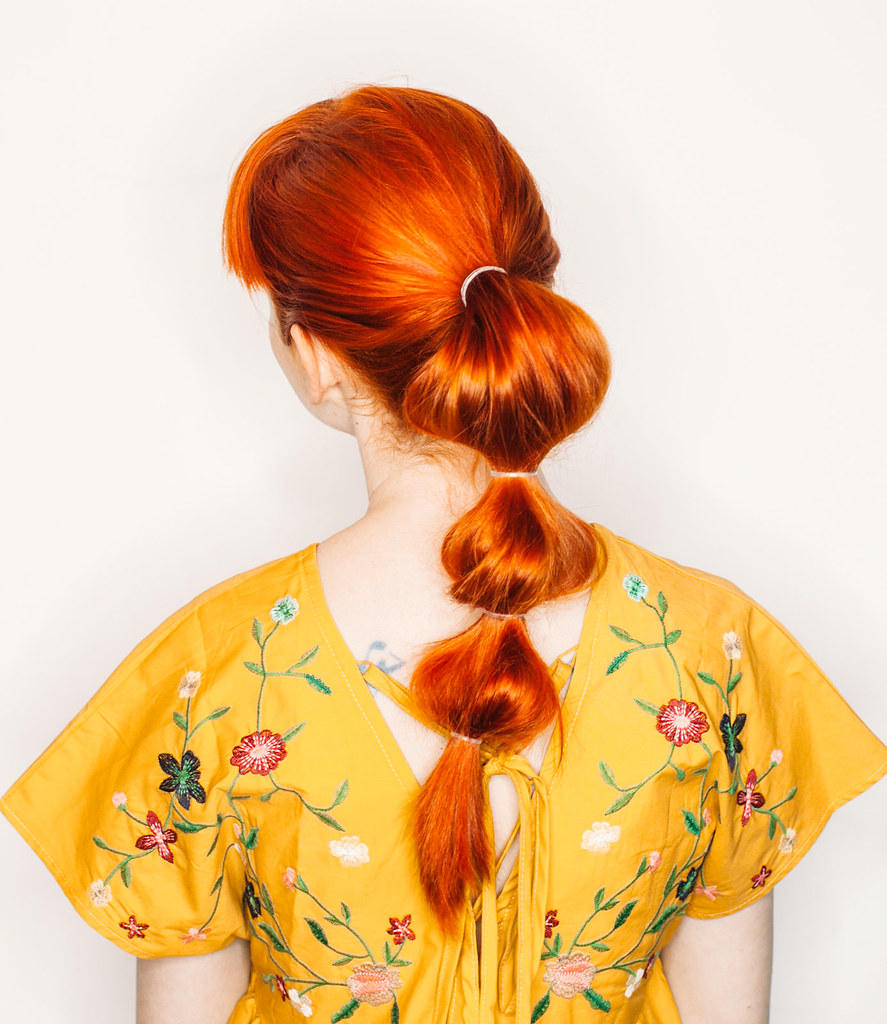
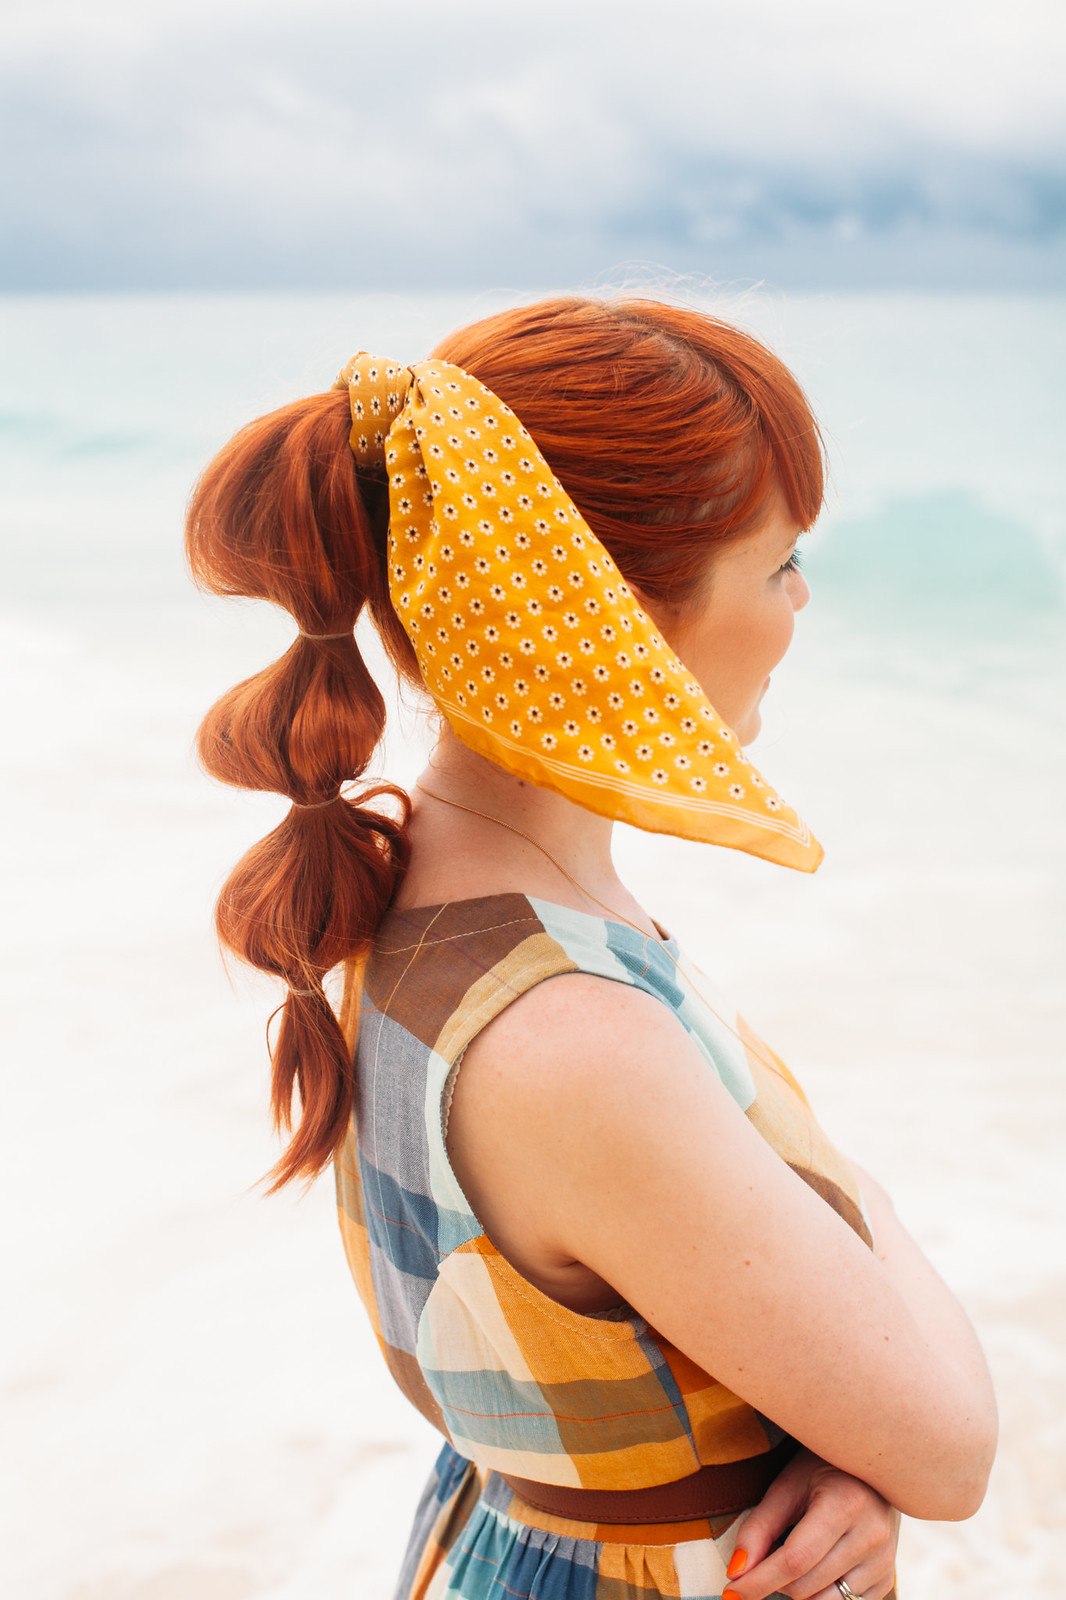 If there's one hairstyle that dominates summer it has to be the classic ponytail. It's so easy and perfect in hot weather conditions. I'm quite partial for just putting a bow on my ponytails and calling it a day, but if you want to be more adventurous than that, today's style is still terrifically easy while also being quite fresh and trendy this season. It's the perfect style to try out on your next holiday or whenever you want to mix things up a bit.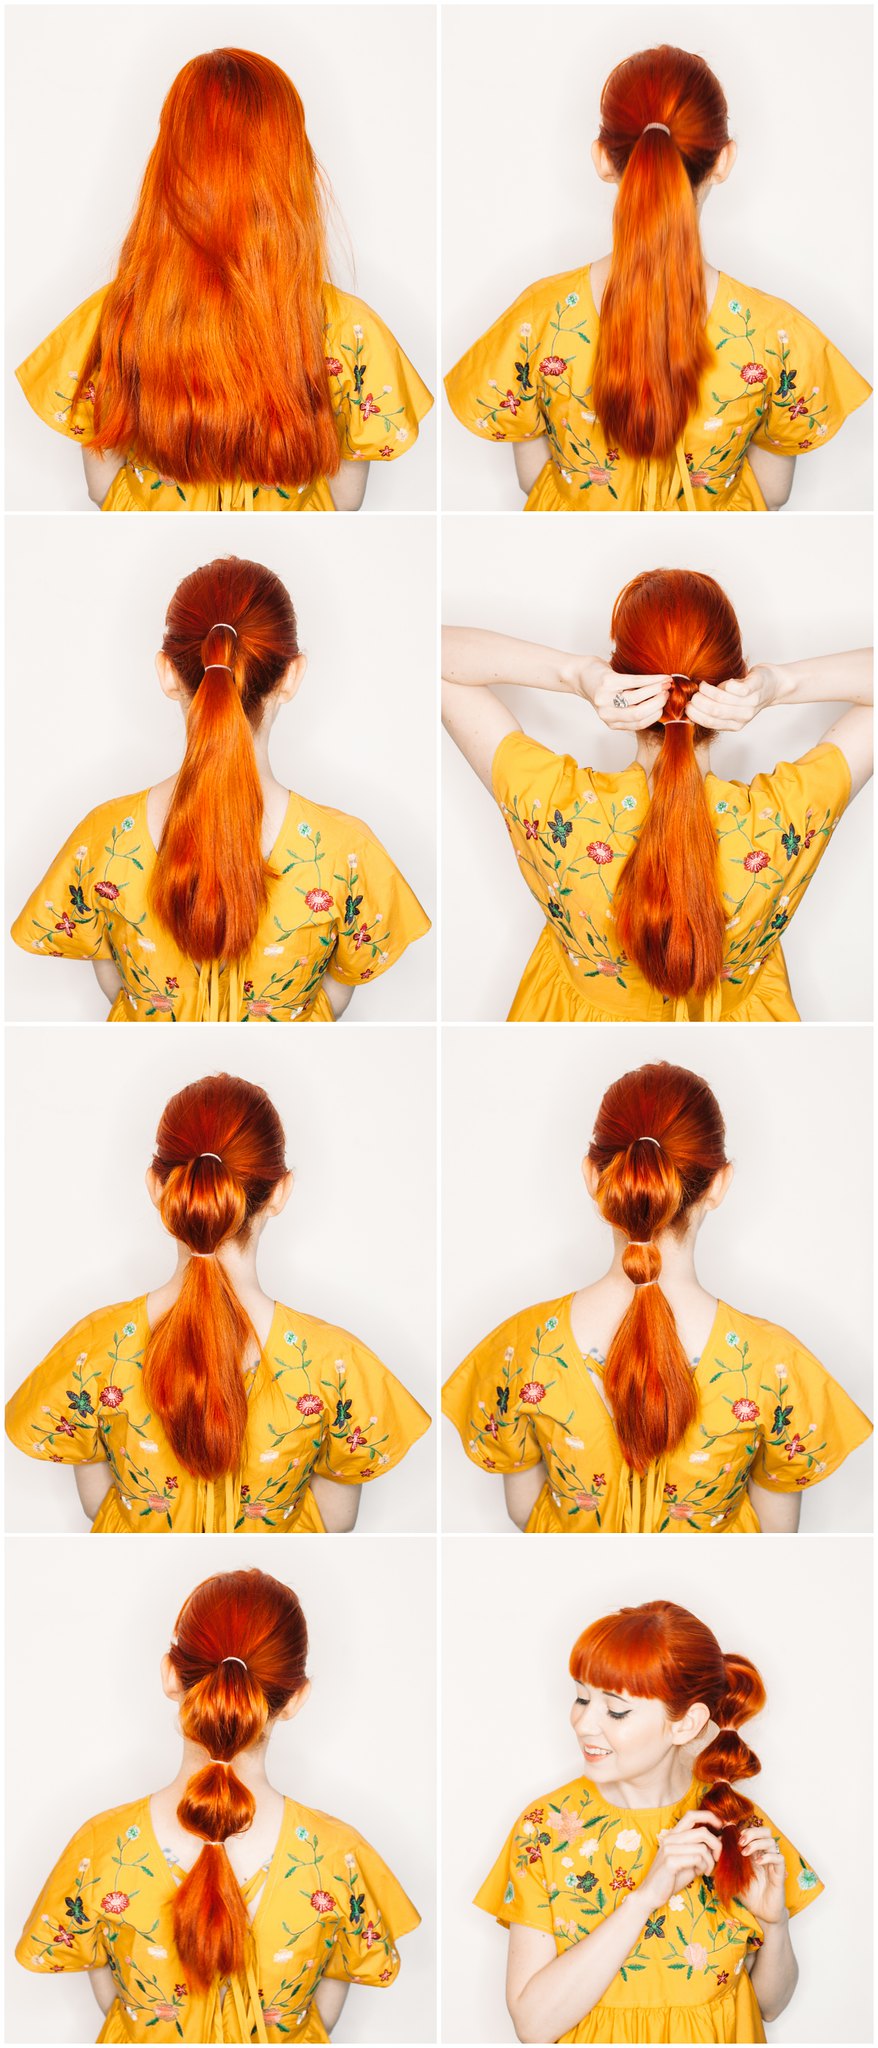
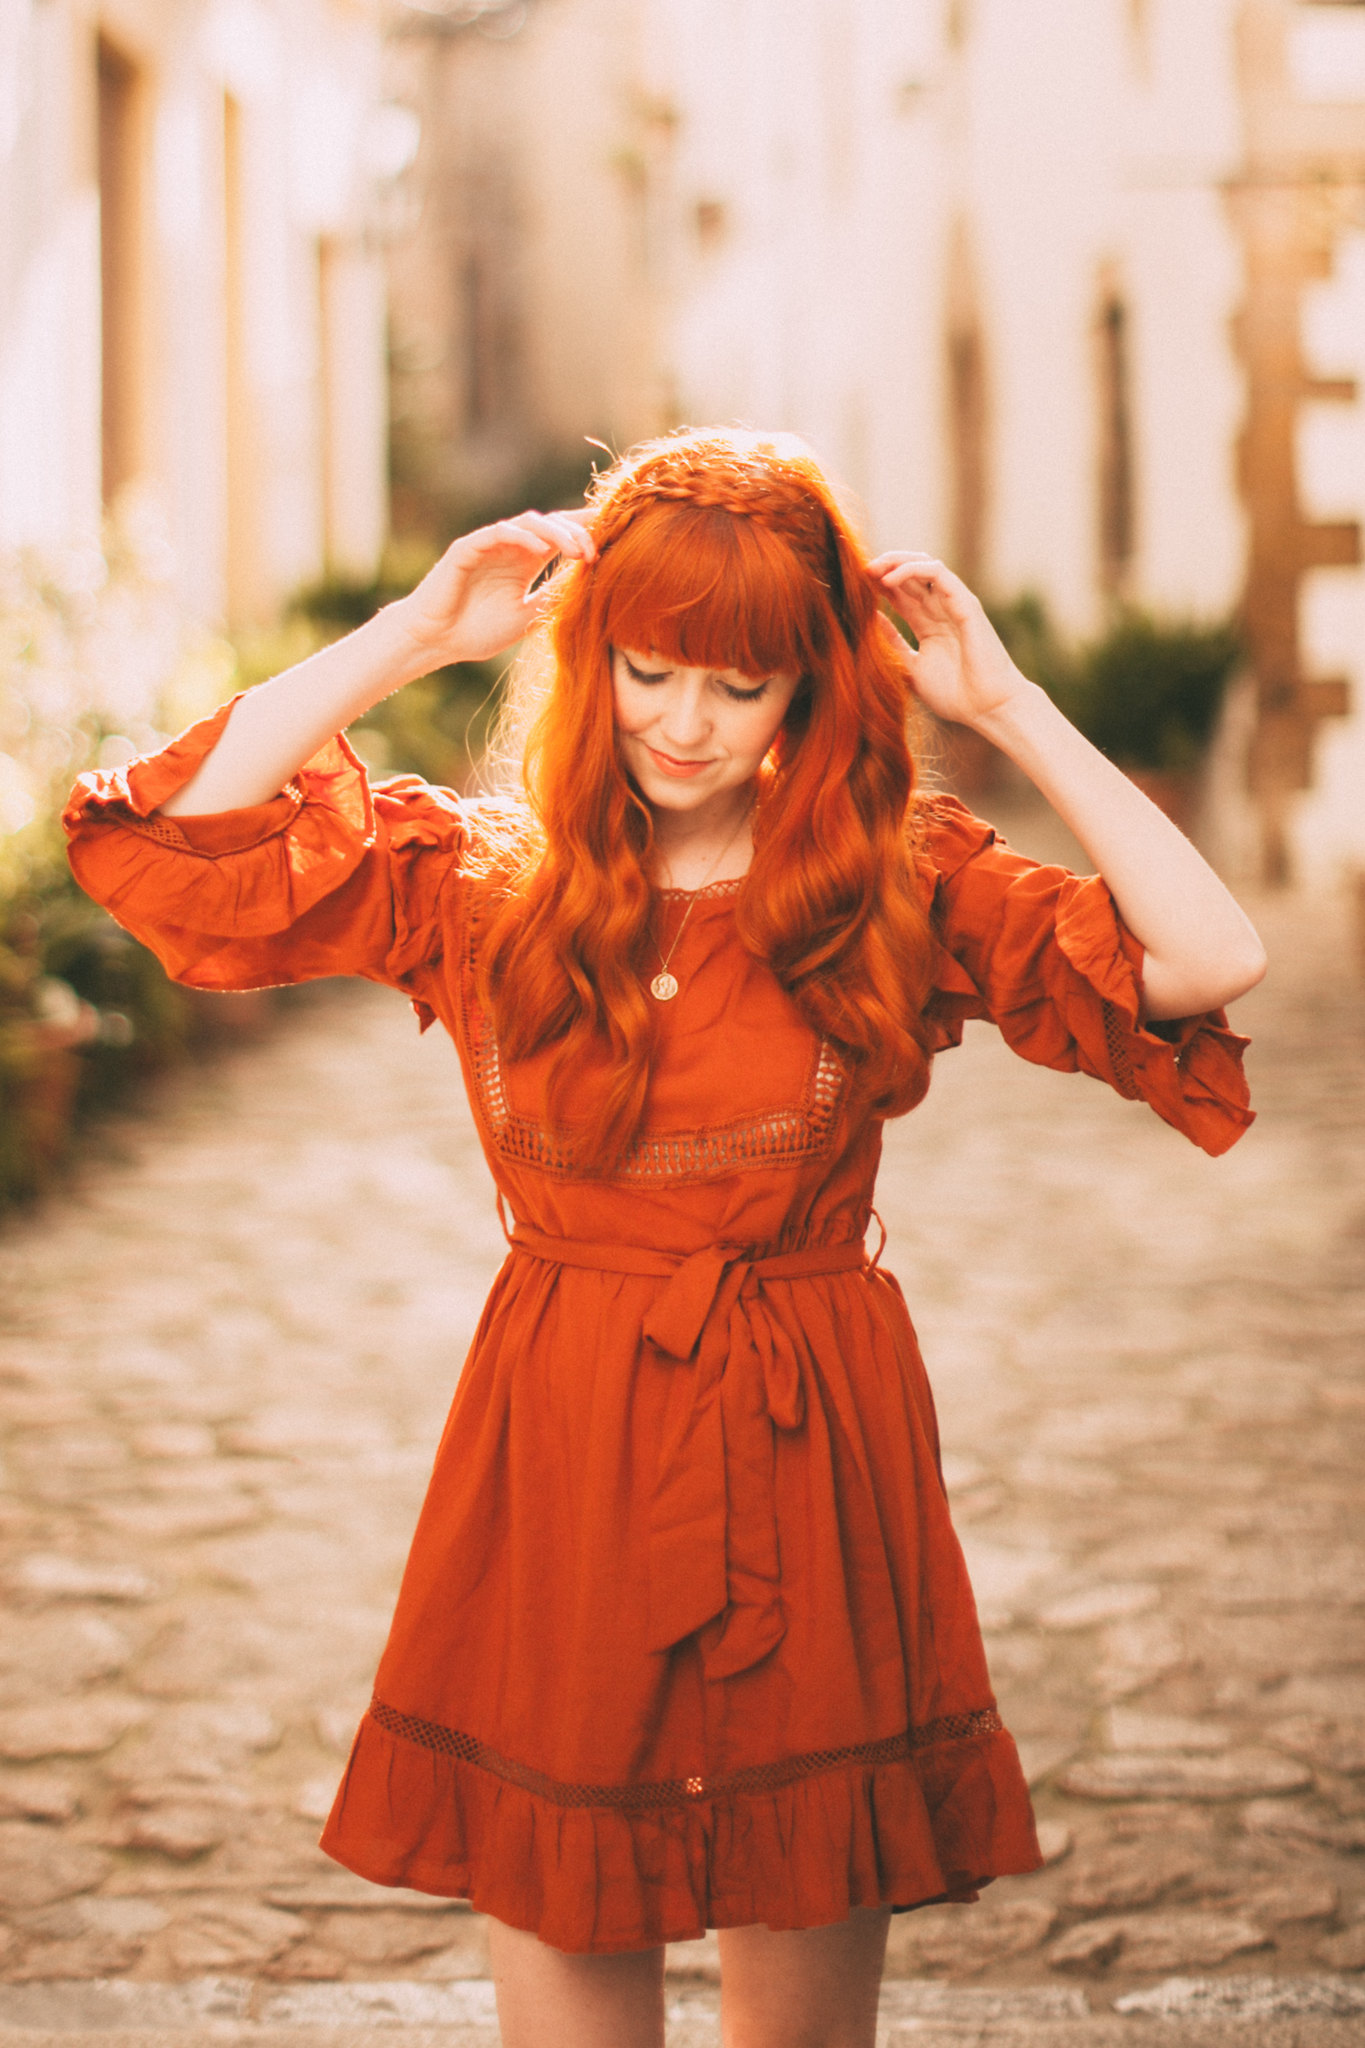
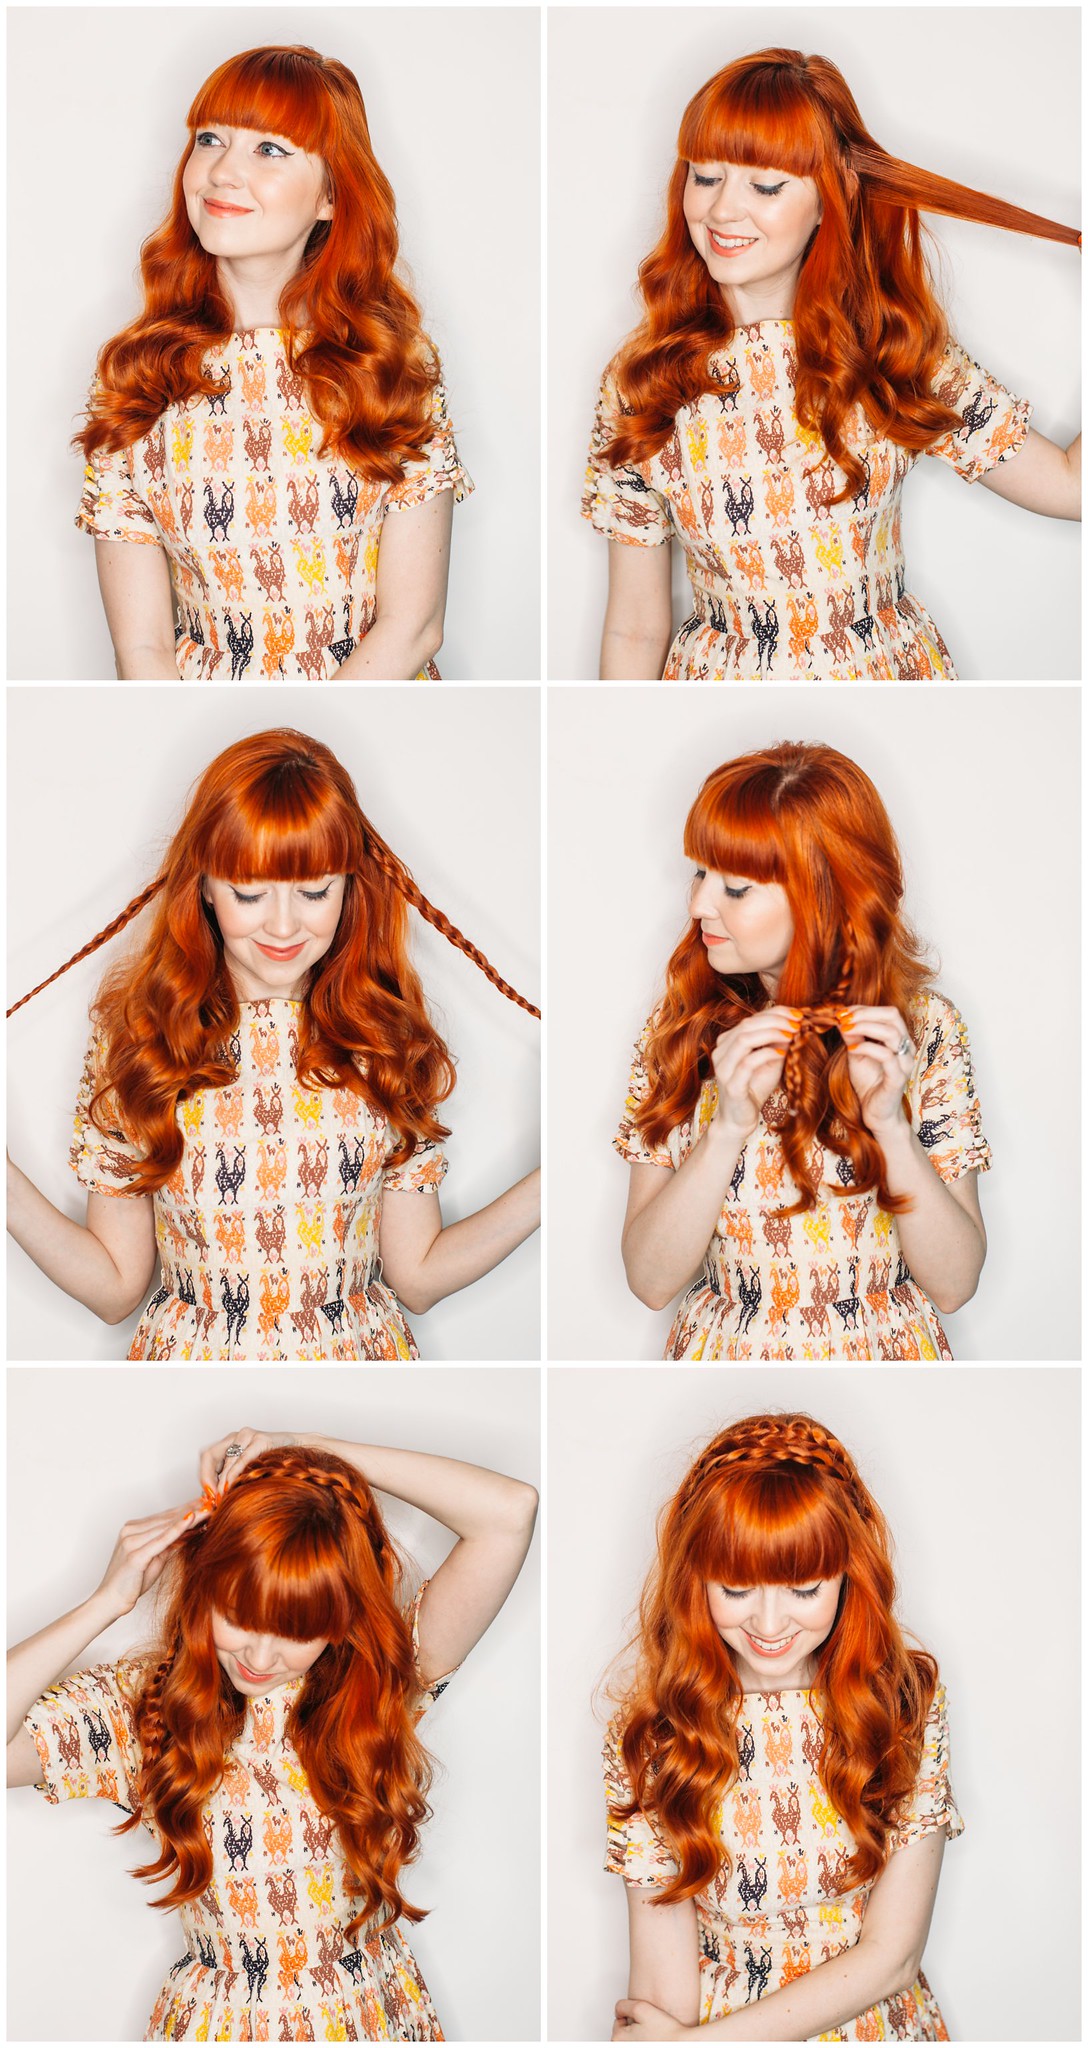
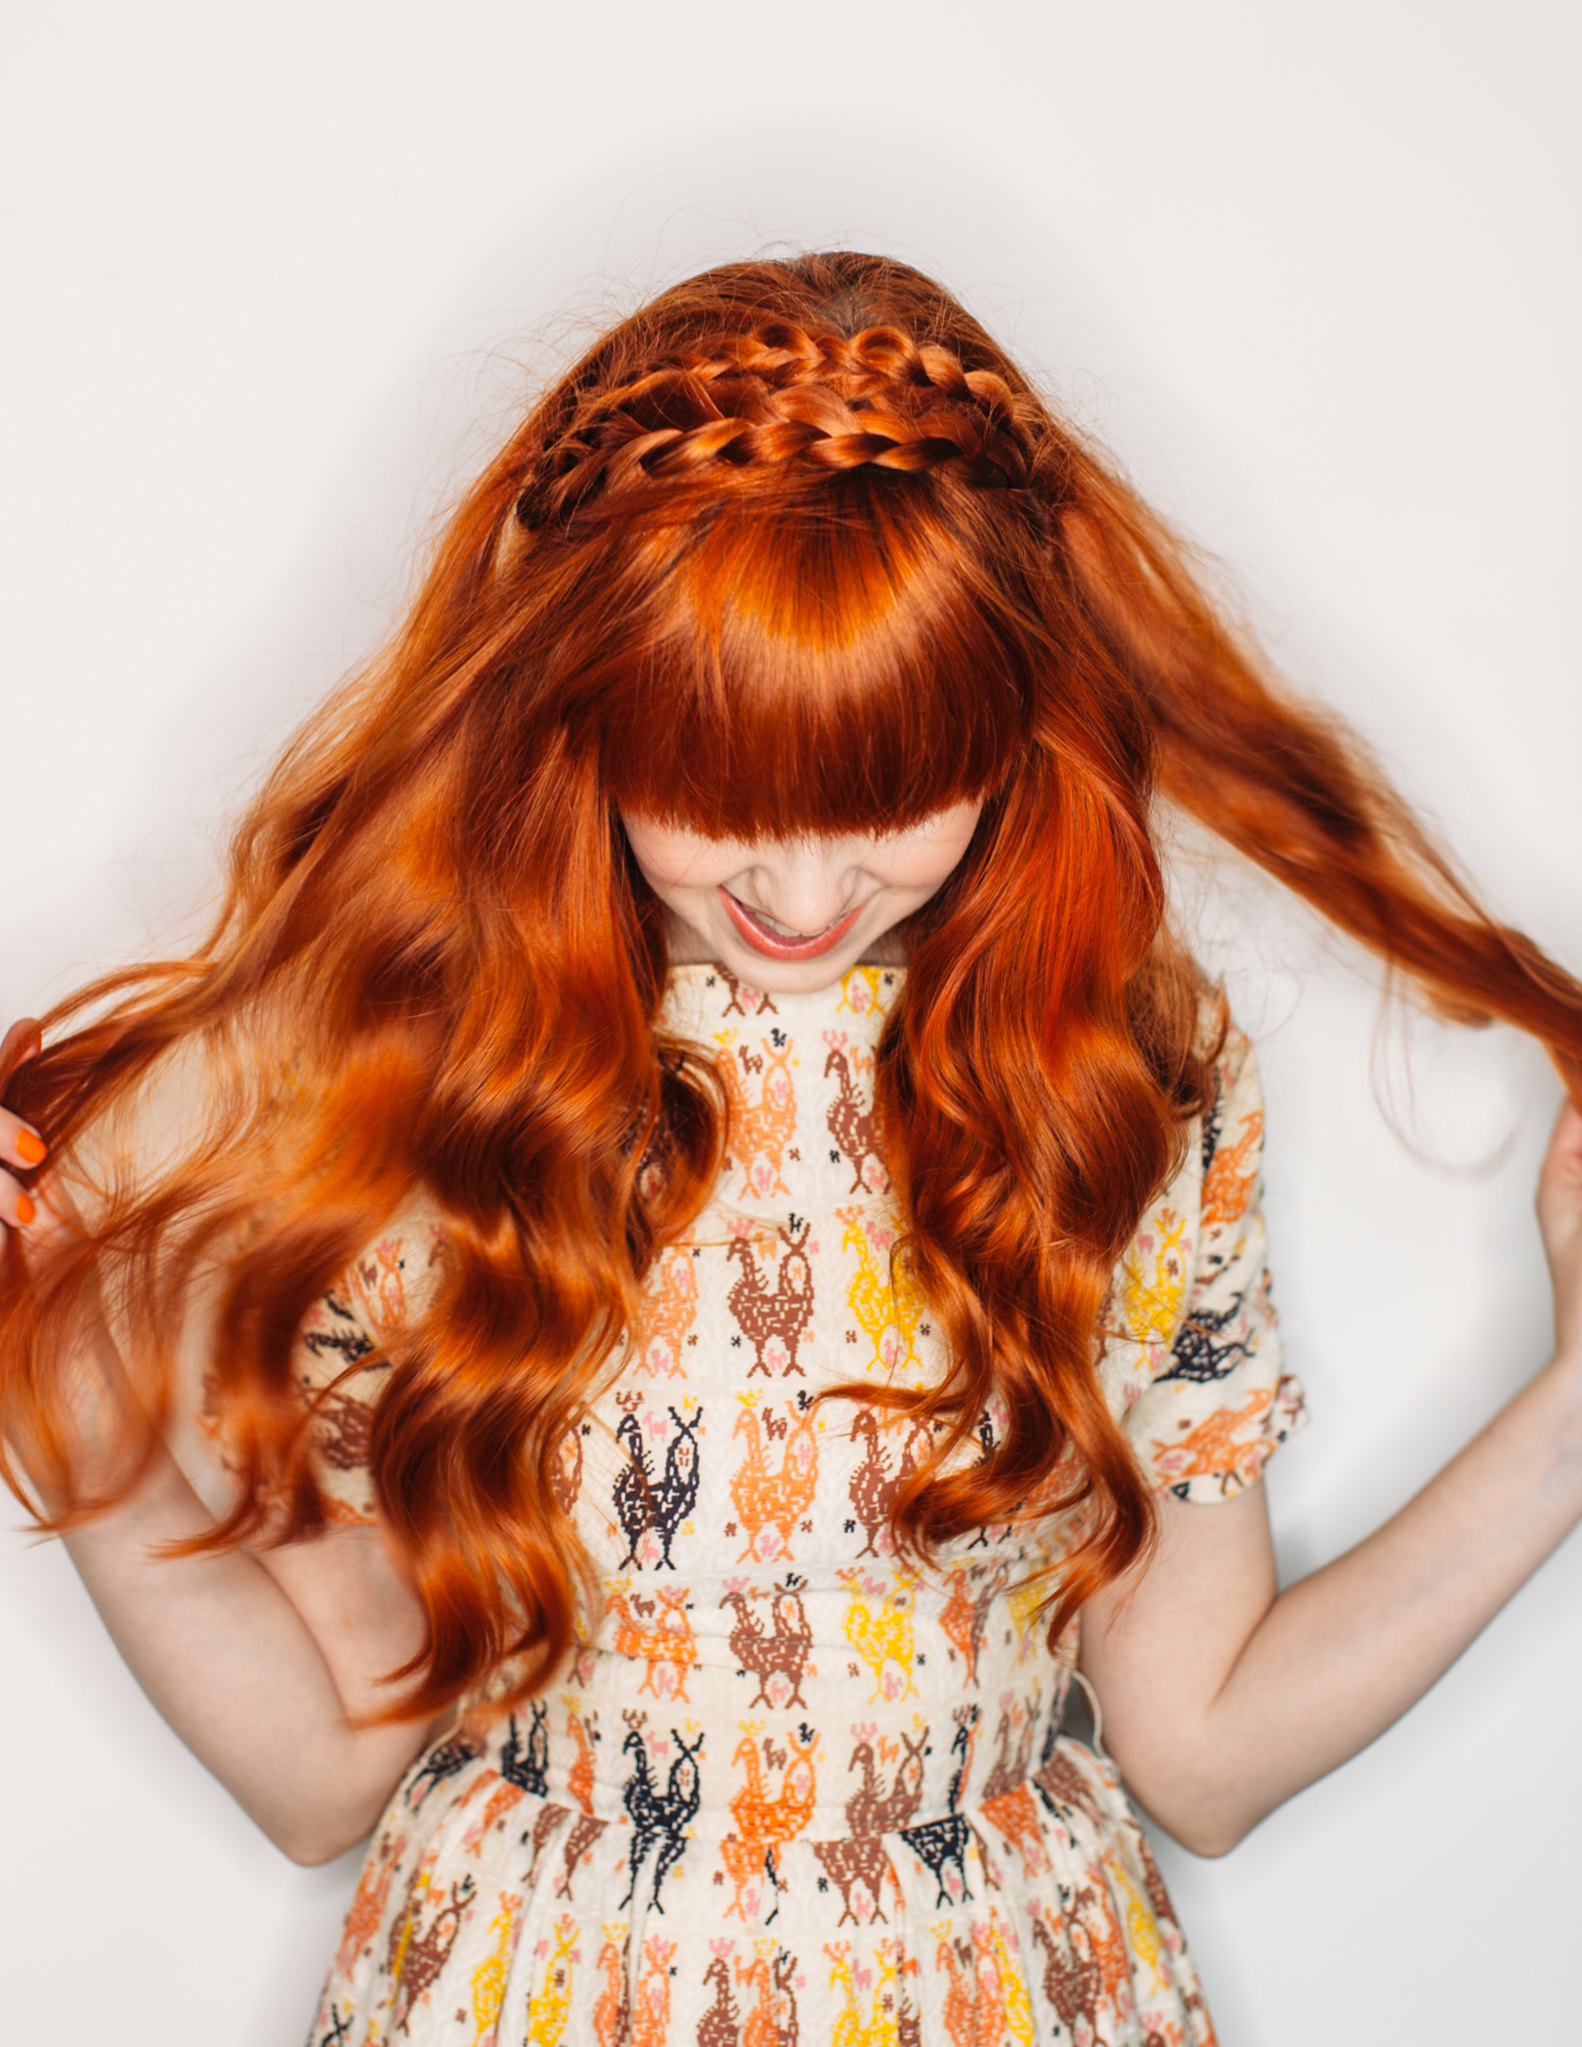
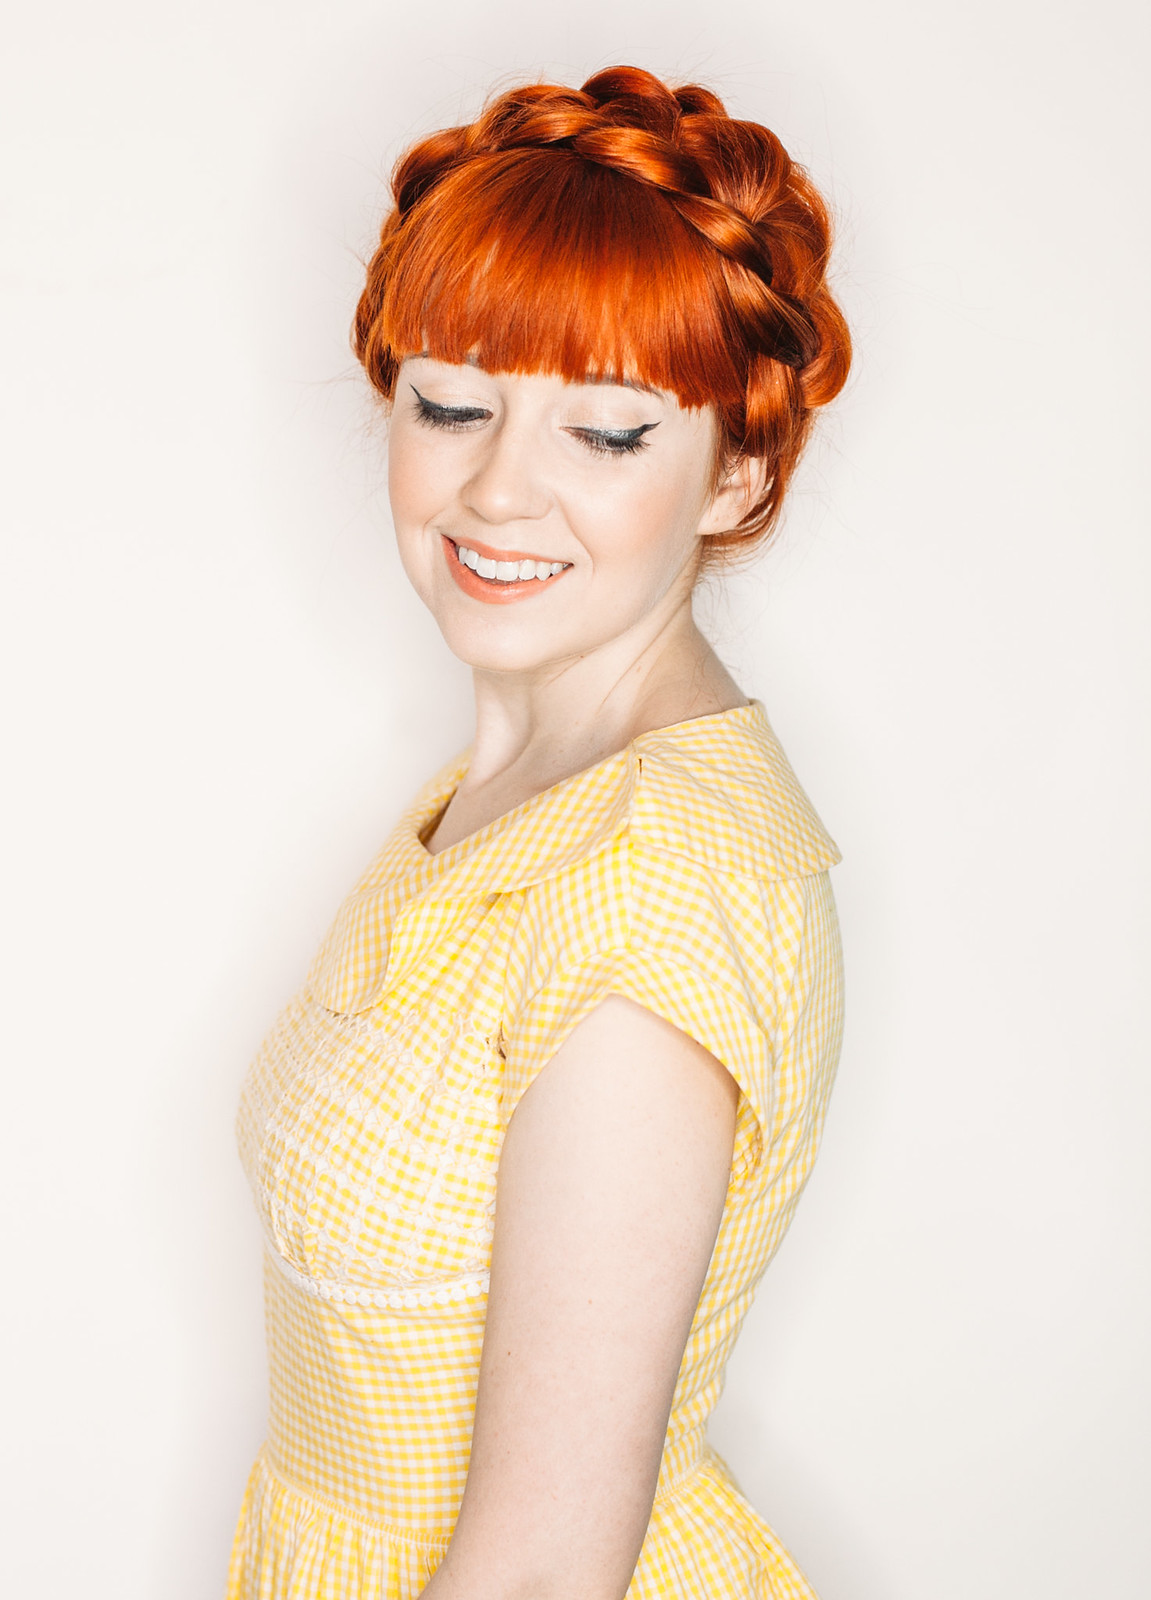
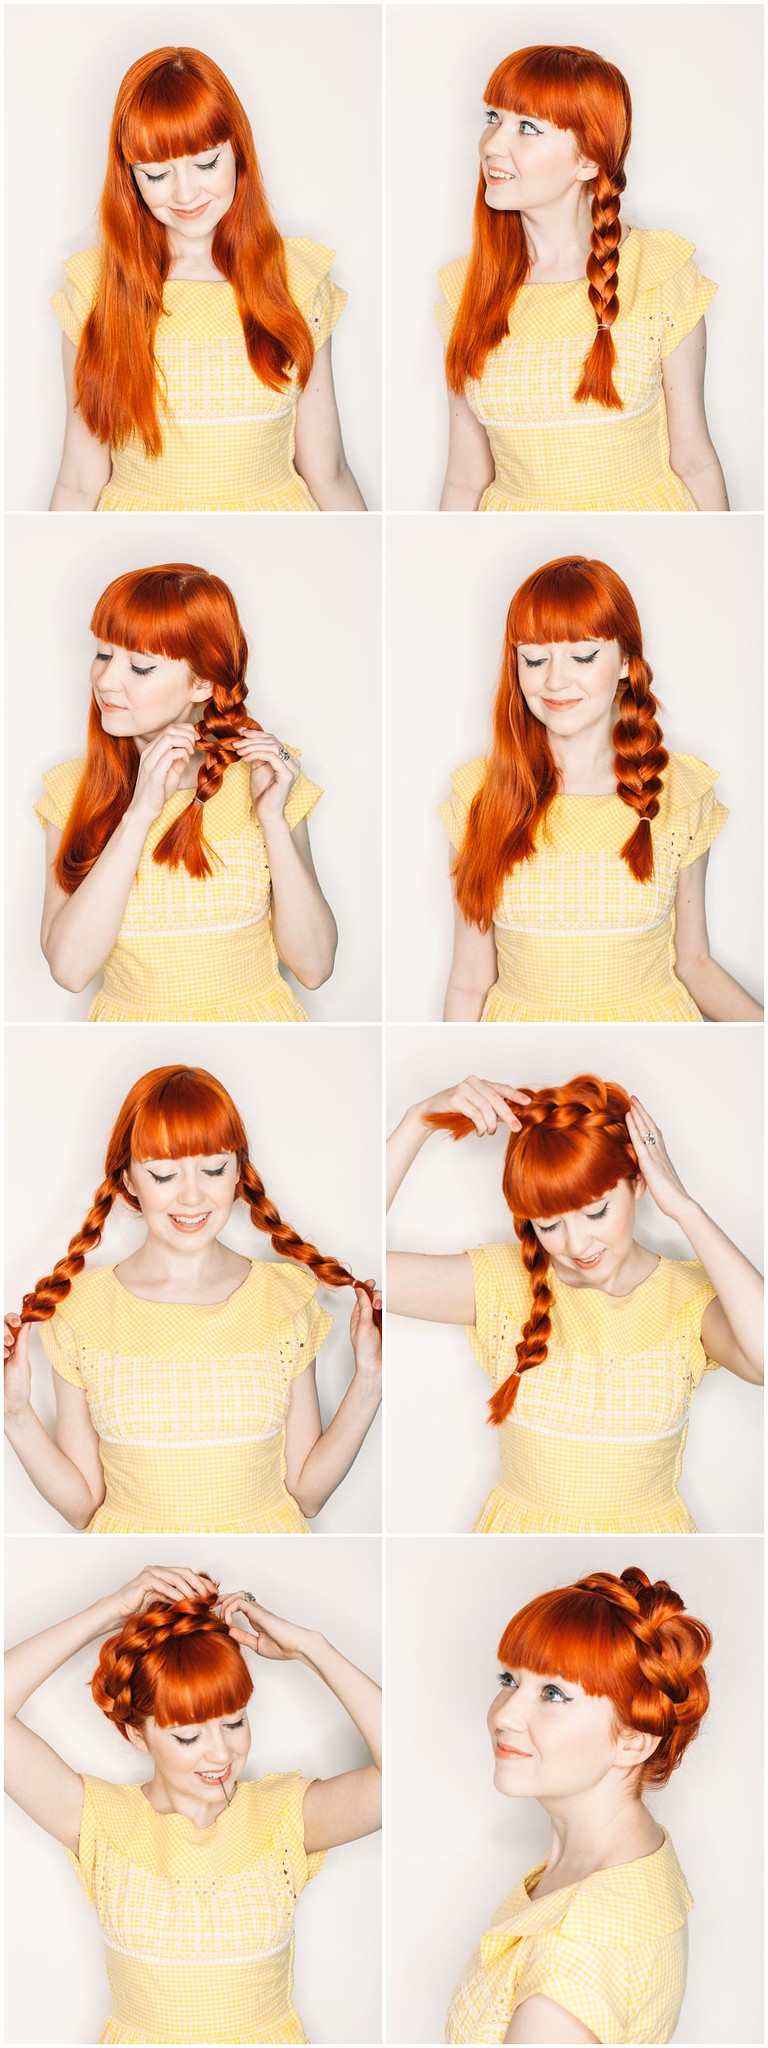
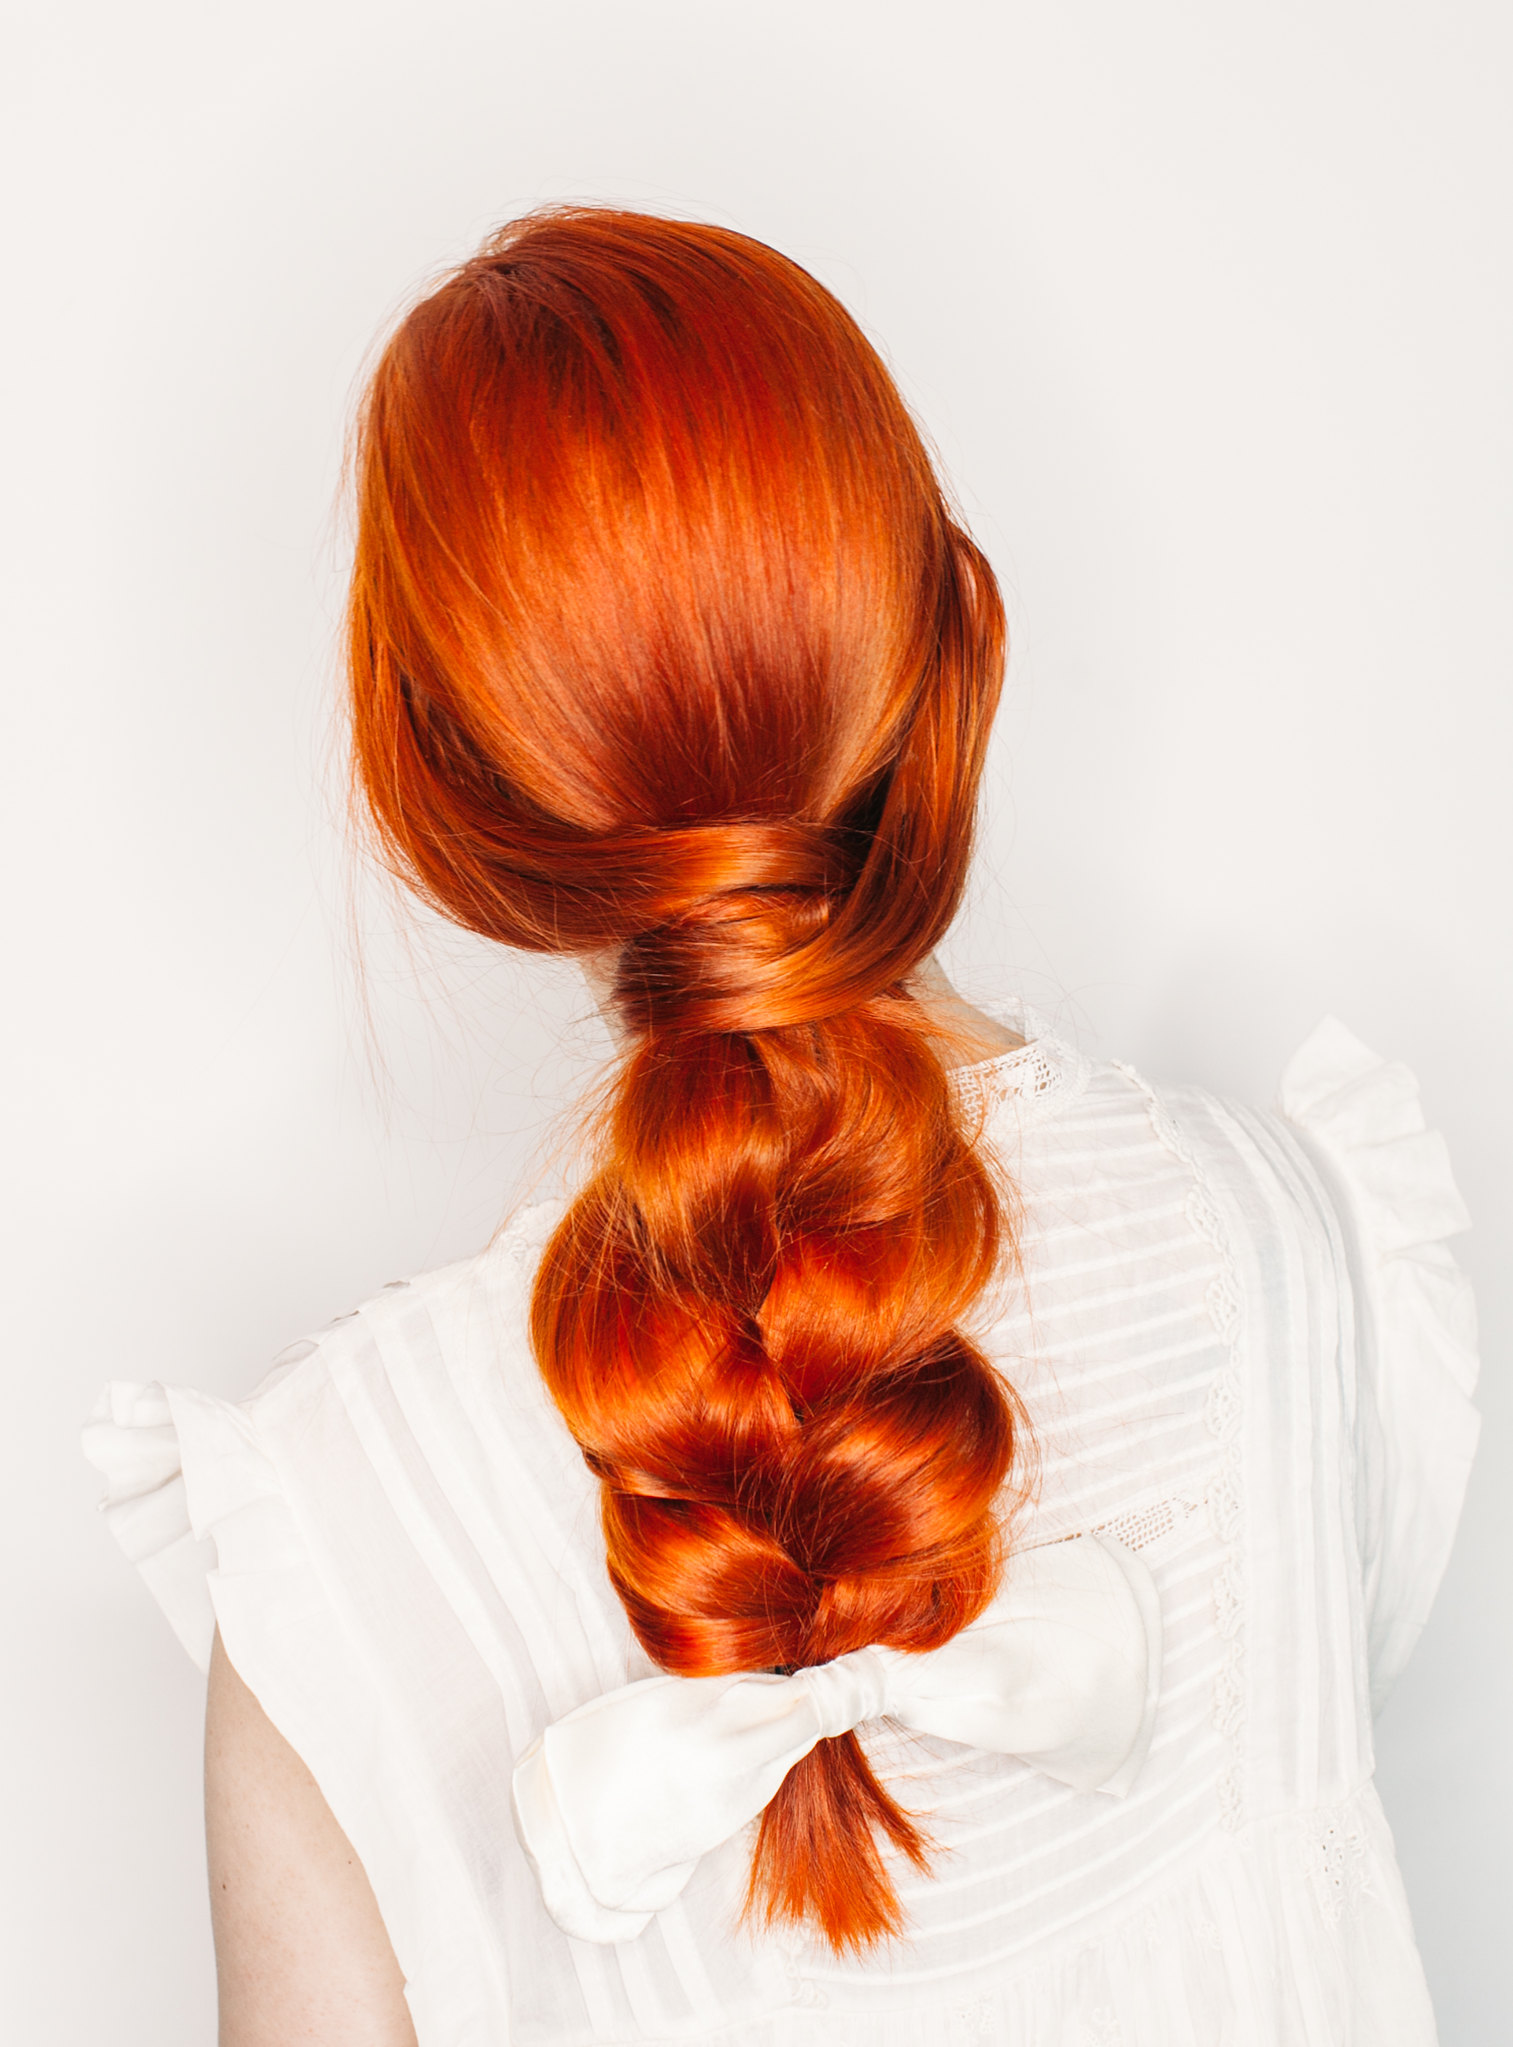 It's been awhile since I did a hair tutorial, but as my hair is getting longer and we're heading towards warmer months (fingers crossed anyway!) I'm getting excited to play with my hair more and try out some new styles. Today's style isn't new for me, but rather a favorite and I'm not really sure what to call this braid other than one of my favorite styles--it's soft and romantic and like so many of my styles--super easy!
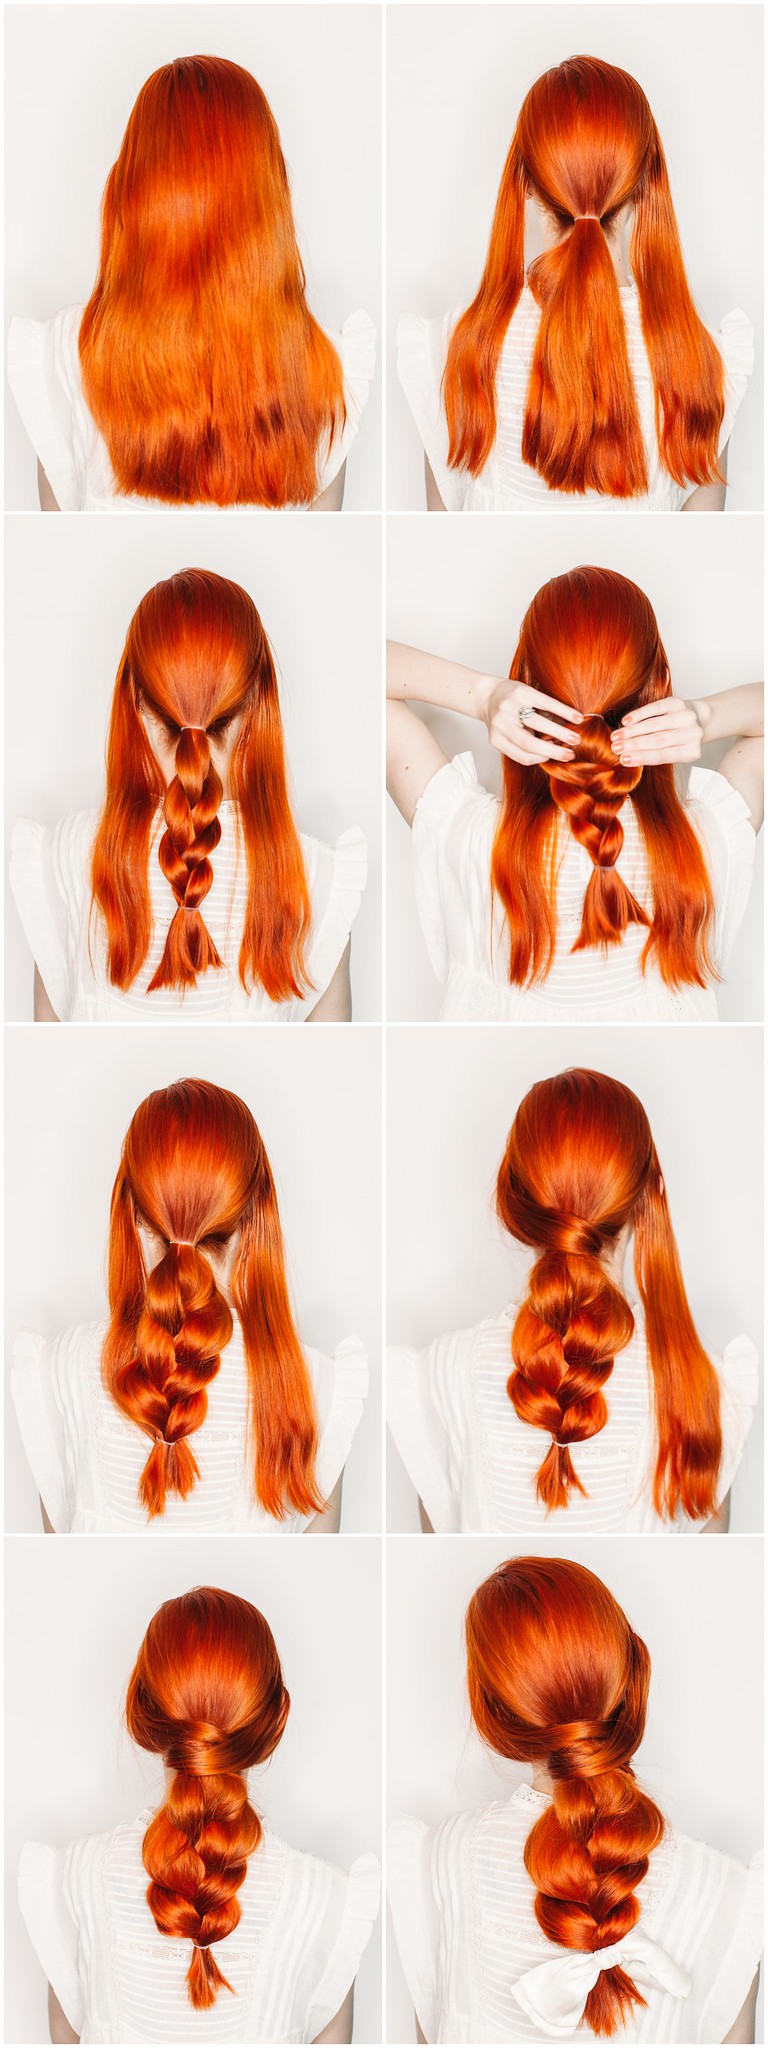 Step one: keep a small section of hair free on either side of your head and tie the rest of your hair back into a simple low ponytail.
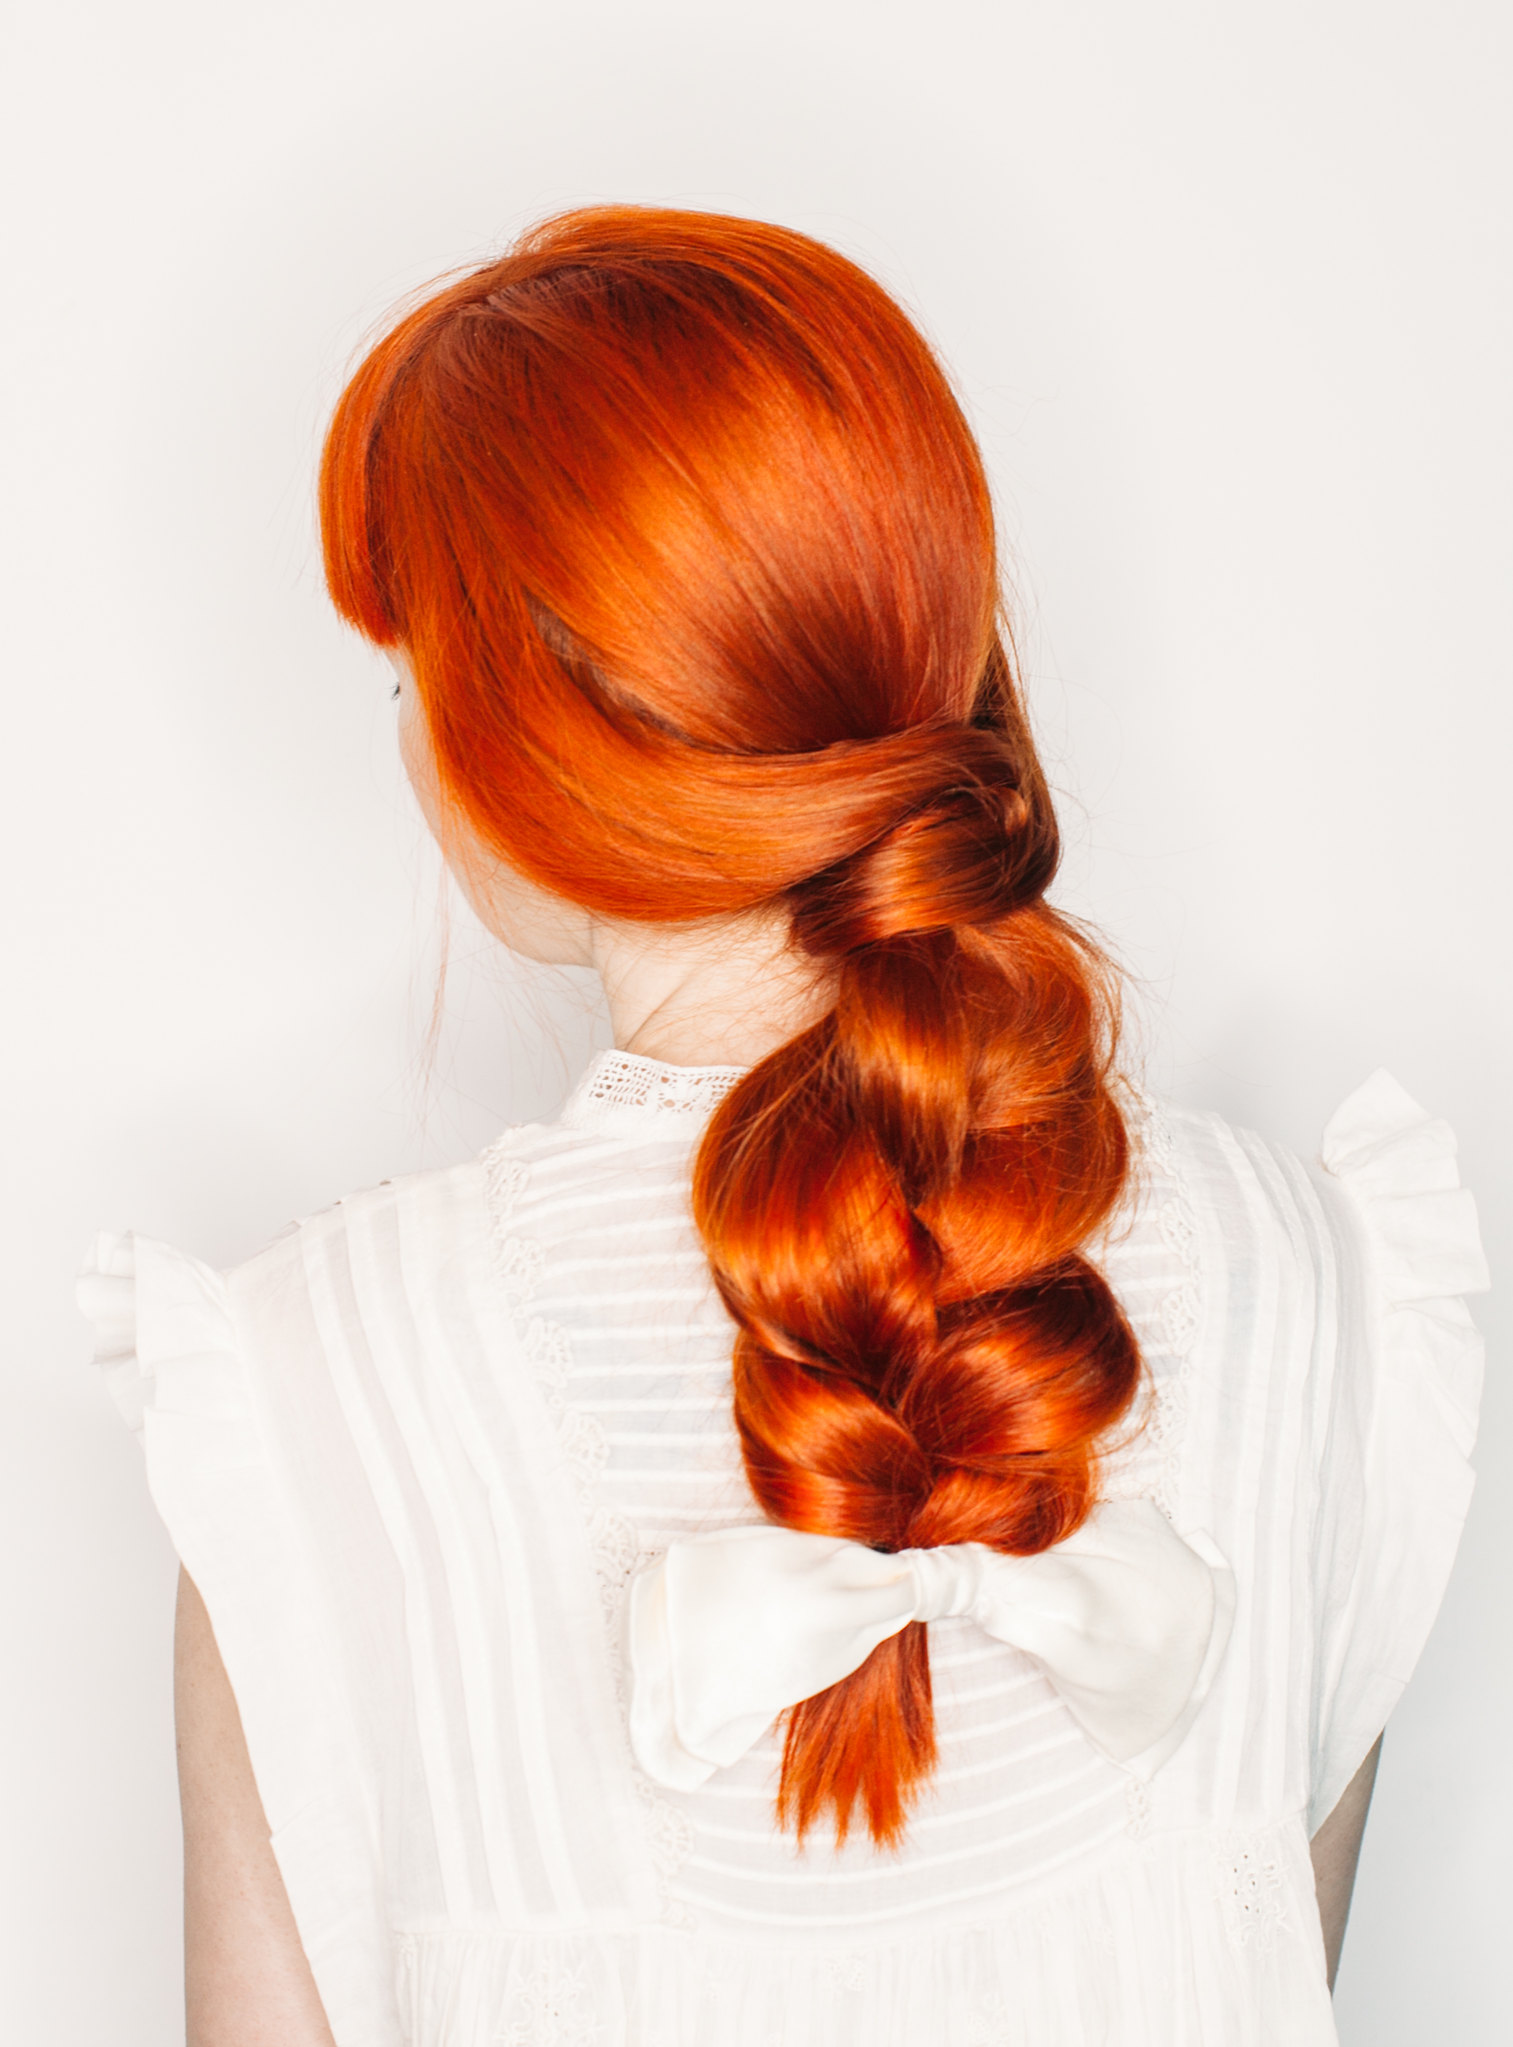 That's it! Add a silky bow and your braid is soft, sophisticated perfection! The extra bits of hair at the top just add a very loose and soft look to the braid and make it a bit more chic than when the elastic is visible. I love this braid because it's so simple, but feels and looks so romantic and pretty.